Thursday, March 3, 2016

Limits Unknown

Here is the last of three prints that I made for my younger boys' room that I promised to share.


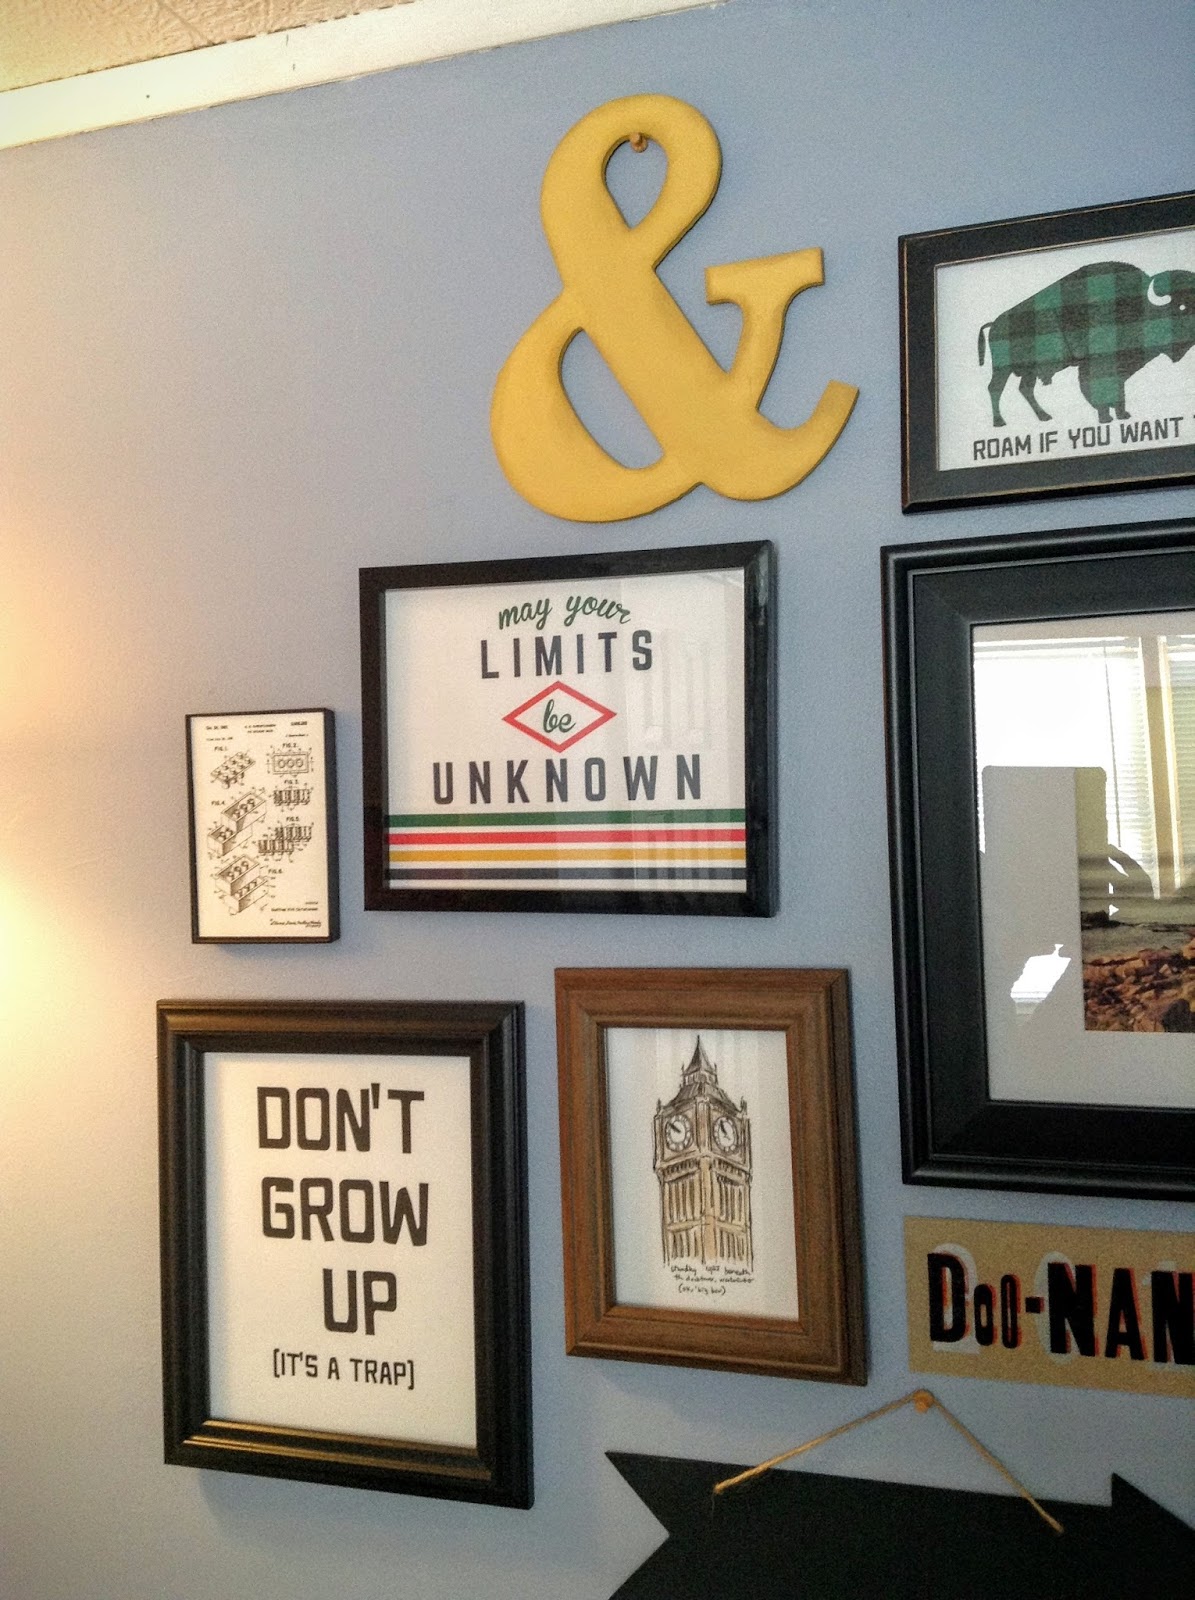
8x10 inspired by The Killers and Pendleton Woolen Mills National Parks Blankets.

Back at the beginning of the school year we chose The Killers song "Be Still" as our theme for this school year. I love the lyrics of this song. It is full of messages that I want my kids to internalize: life is hard; there are people who will try to drag you down but you can rise above all that; you have infinite worth; remember who you are and stay true to that; you are special.

It also reminds me that my kids will be on their own all too soon and I need to take this time to teach them and prepare them for the world. If you haven't heard it before, give it a listen. I love it and I think it is really beautiful. The whole Battle Born album is fantastic. The Killers have become one of my favorite bands.


So there you have three prints that you could use to make a nice little grouping on a bedroom wall. It's like a ready made gallery wall starter kit. You can download these prints free for personal use. Please don't post them on your own site. Showing a photograph of a room you have decorated with them is fine (I'd love to see what you do if you use them) but please give proper credit and send people here to my blog for the downloads. Just right click the image and save as. I usually save to my desktop so I can find whatever I've saved easily. Don't forget to check out my other free creations here.


Tuesday, March 1, 2016

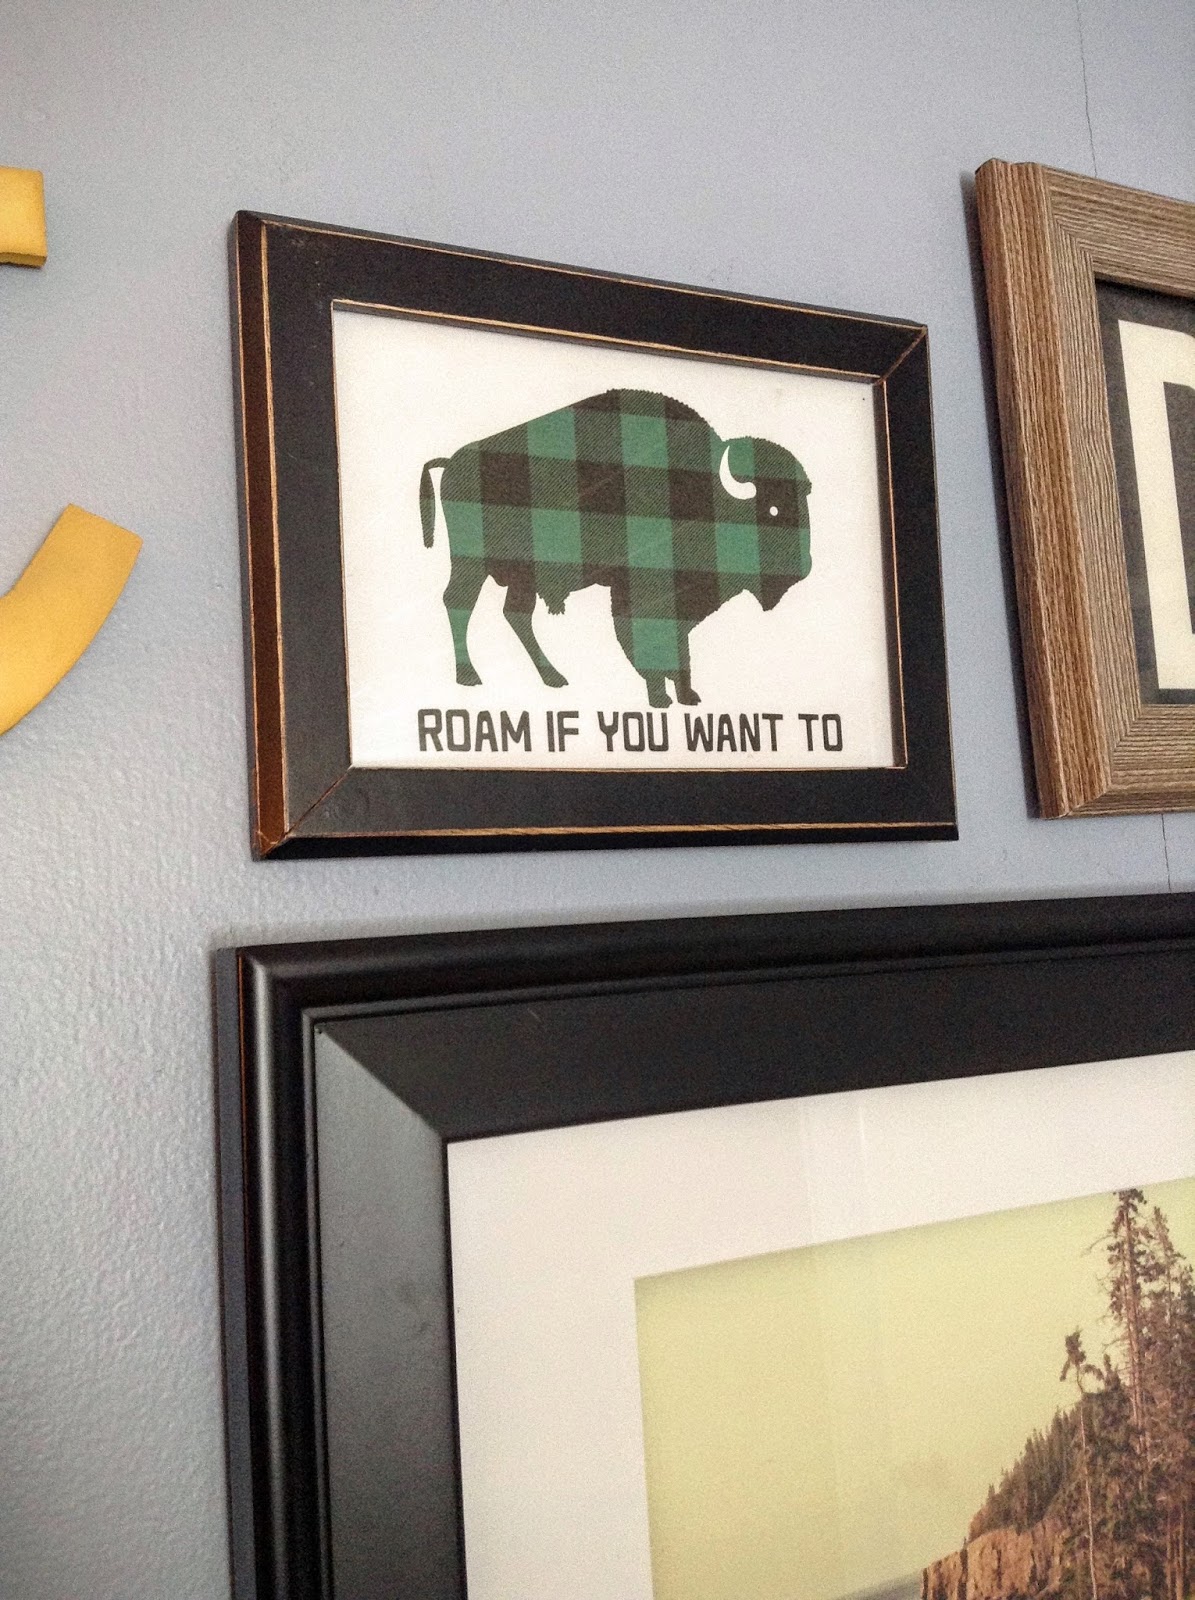
Buffalo Plaid Buffalo Print

Here is the second of three prints that I made for my younger boys' room that I promised to share.
5x7 inspired by The B52s and America's National Parks
I've been a little obsessed with buffalo plaid lately so I thought why not make a buffalo plaid buffalo. My 8 year old made sure to point out to me that this is actually a bison. Yeah, I know buddy. Thanks. Our family has spent quite a bit of time at several national parks. We love them and have happy memories of those times so I wanted this little print to be a kind of reminder of that.

If you want to share this, please give proper credit and send people here to my blog for the download. Just right click the image and save as. I usually save to my desktop so I can find whatever I've saved easily. Don't forget to check out my other free creations here.


Thursday, February 25, 2016

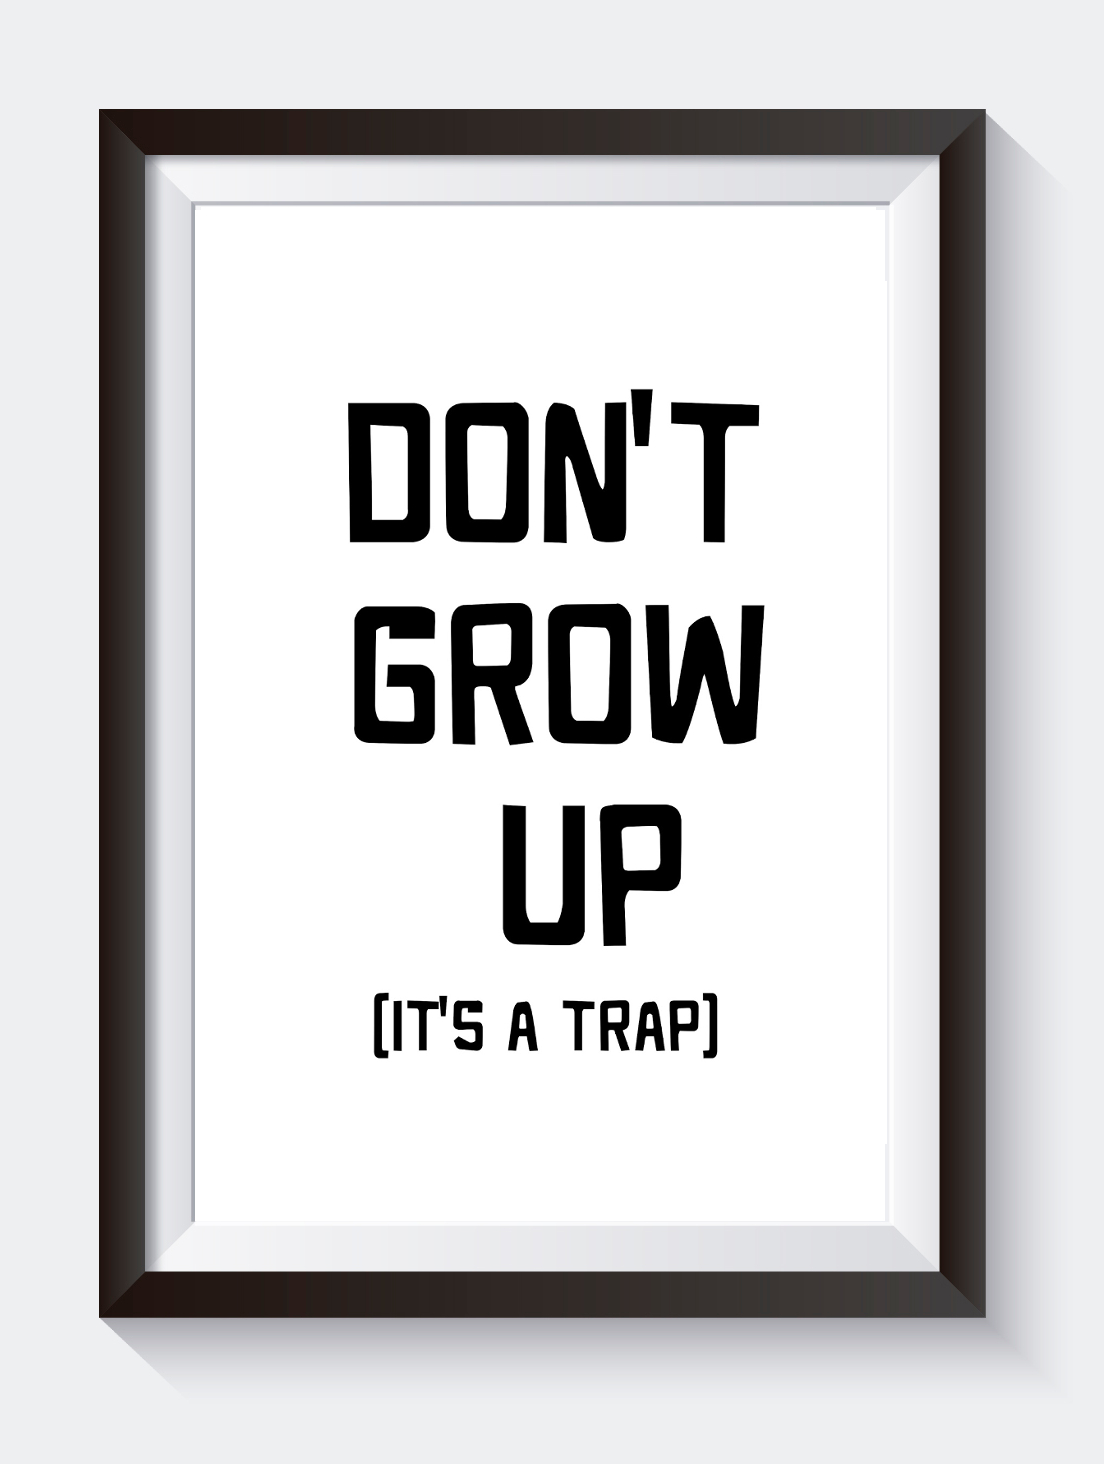
Don't Grow Up Print

Here is the first of three prints that I made for my younger boys' room that I promised to share.
8x10 inspired by my youngest's love of Peter Pan and this.

It's too late for my older boys--they are full blown teenagers--but I'm determined to keep my younger boys young for as long as possible.

If you want to share this, please give proper credit and send people here to my blog for the download. Just right click the image and save as. I usually save to my desktop so I can find whatever I've saved easily. Don't forget to check out my other free creations here.


Tuesday, February 23, 2016

Teen Boys' Room Tour

I saved the best for last.

Just kidding. Out of all the rooms in our house I have done the least in this room (other than putting a hole in their ceiling with a broomstick handle because I wanted to see what was under the ceiling tiles).

I've honestly been kind of dreading sharing this room because it needs so much attention. On the other hand, there's probably more potential here than anywhere else because I haven't done hardly anything.

Figuring out how to decorate a room for two teenagers who are just about as opposite as brothers can be adds a whole new dimension to the challenge of designing for boys. So, consider these the "before" pictures and hopefully in a couple of months I will have some impressive "after" pictures of their space to share.

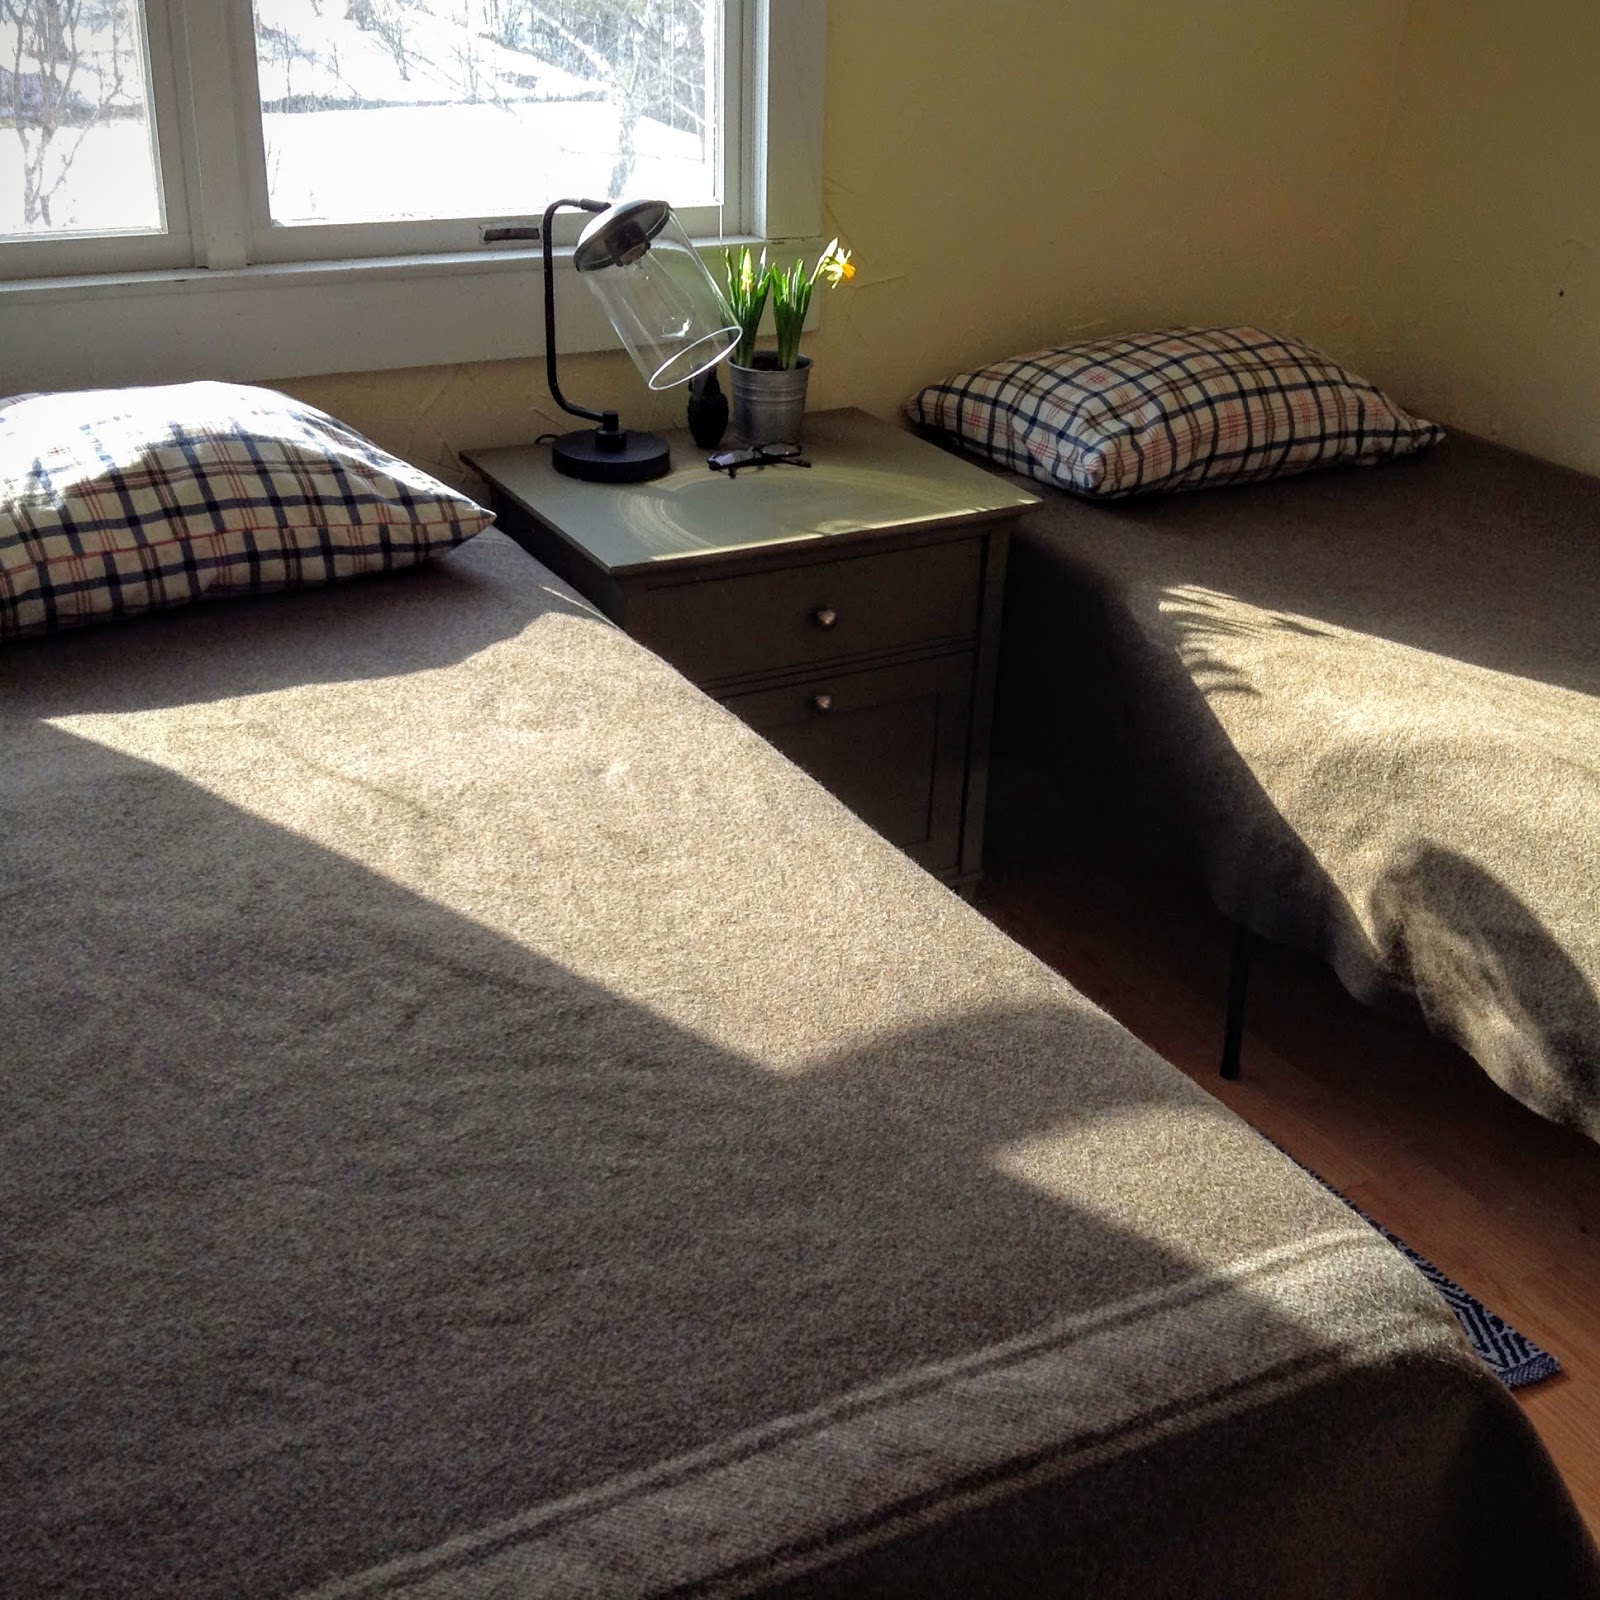
Like the other bedrooms, this room is pretty small. Because of the size, there isn't really an alternative furniture arrangement that works. Two beds, a nightstand, and a dresser pretty much take up the whole room.
Looking into the room from the hallway.

The cinder block bookcase is a temporary solution for some of the boys books. We needed the bookcase to be small because access to the attic is also in this little corner (behind the bifold doors to the left). I thought I should get my oldest son ready for being a poor college student since he will be graduating this year and heading to college in the fall. Ha. I already had the wood so it cost me less than $5 to make it. It isn't beautiful but it is functional. I'm calling it dorm room chic.

The beds are also cheap. They are just frames with mattresses. No box springs. They are almost more like cots, but they are reasonably comfortable because we got decent mattresses. The boys' room before we moved had bunk beds, but the bunk beds did not fit in this little room so we had to come up with an affordable solution at a time when we had just spent all our money on buying a house. Eventually I'd like to get some real twin beds with headboards. That almost seems downright extravagant. ;)


 The room needs to be taken down to the studs. The walls are textured plaster over paneling. My oldest son calls it "hideous". The room is painted a pastel yellow that I actually kind of like, but it isn't a hit with my teenagers. I had an American flag hanging on the wall behind the dresser to hide a crack that runs pretty much the whole height of the wall but I took it down not long ago and put up the picture of the ship instead.

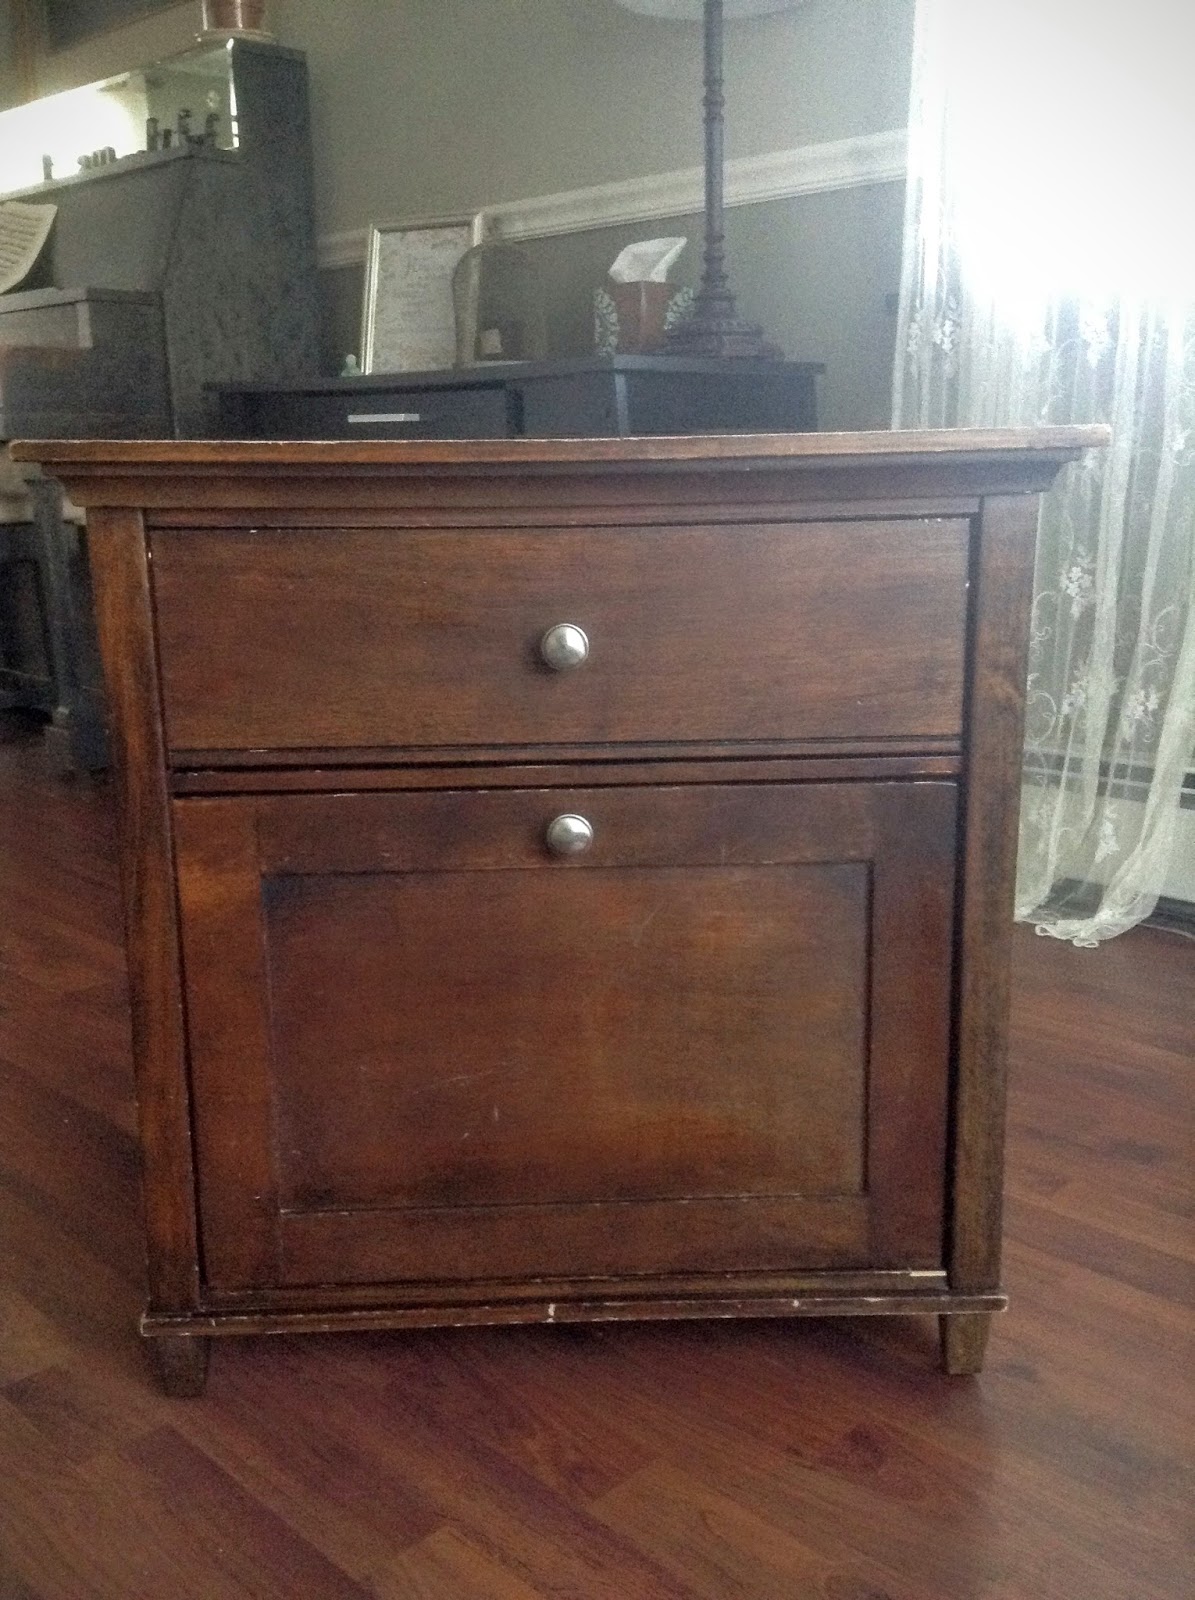
The dresser is in dire need of refinishing and it is on the short list of things I want to do in the house soon. It was a thrift store purchase by a friend who then handed it down to us when she moved so it is old and worn and looks awful in it's current condition, but I think it has some potential.


You can see a little of the texture (and the crack I mentioned) in the above photo.

The floating shelves were here when we moved in. They aren't my favorite. At one point someone put something too heavy on the bottom shelf  and it started to pull the shelf off the wall just a little bit so now I always feel like everything on it is going to slide off and give my 14 year old a concussion in his sleep. I put some books on it for the photos, but I'll probably take them off before he goes to bed tonight. Ha ha. When we rip out the walls we'll take them down and may end up putting them back up or replacing them with something else.


The ceiling is a dropped ceiling like the rest of the house, but as I mentioned before it has a hole in it. When I knocked the hole in it I was hoping that the wooden floor from the attic would just be underneath because that could make a pretty cool looking ceiling, but it looks like that isn't the case.

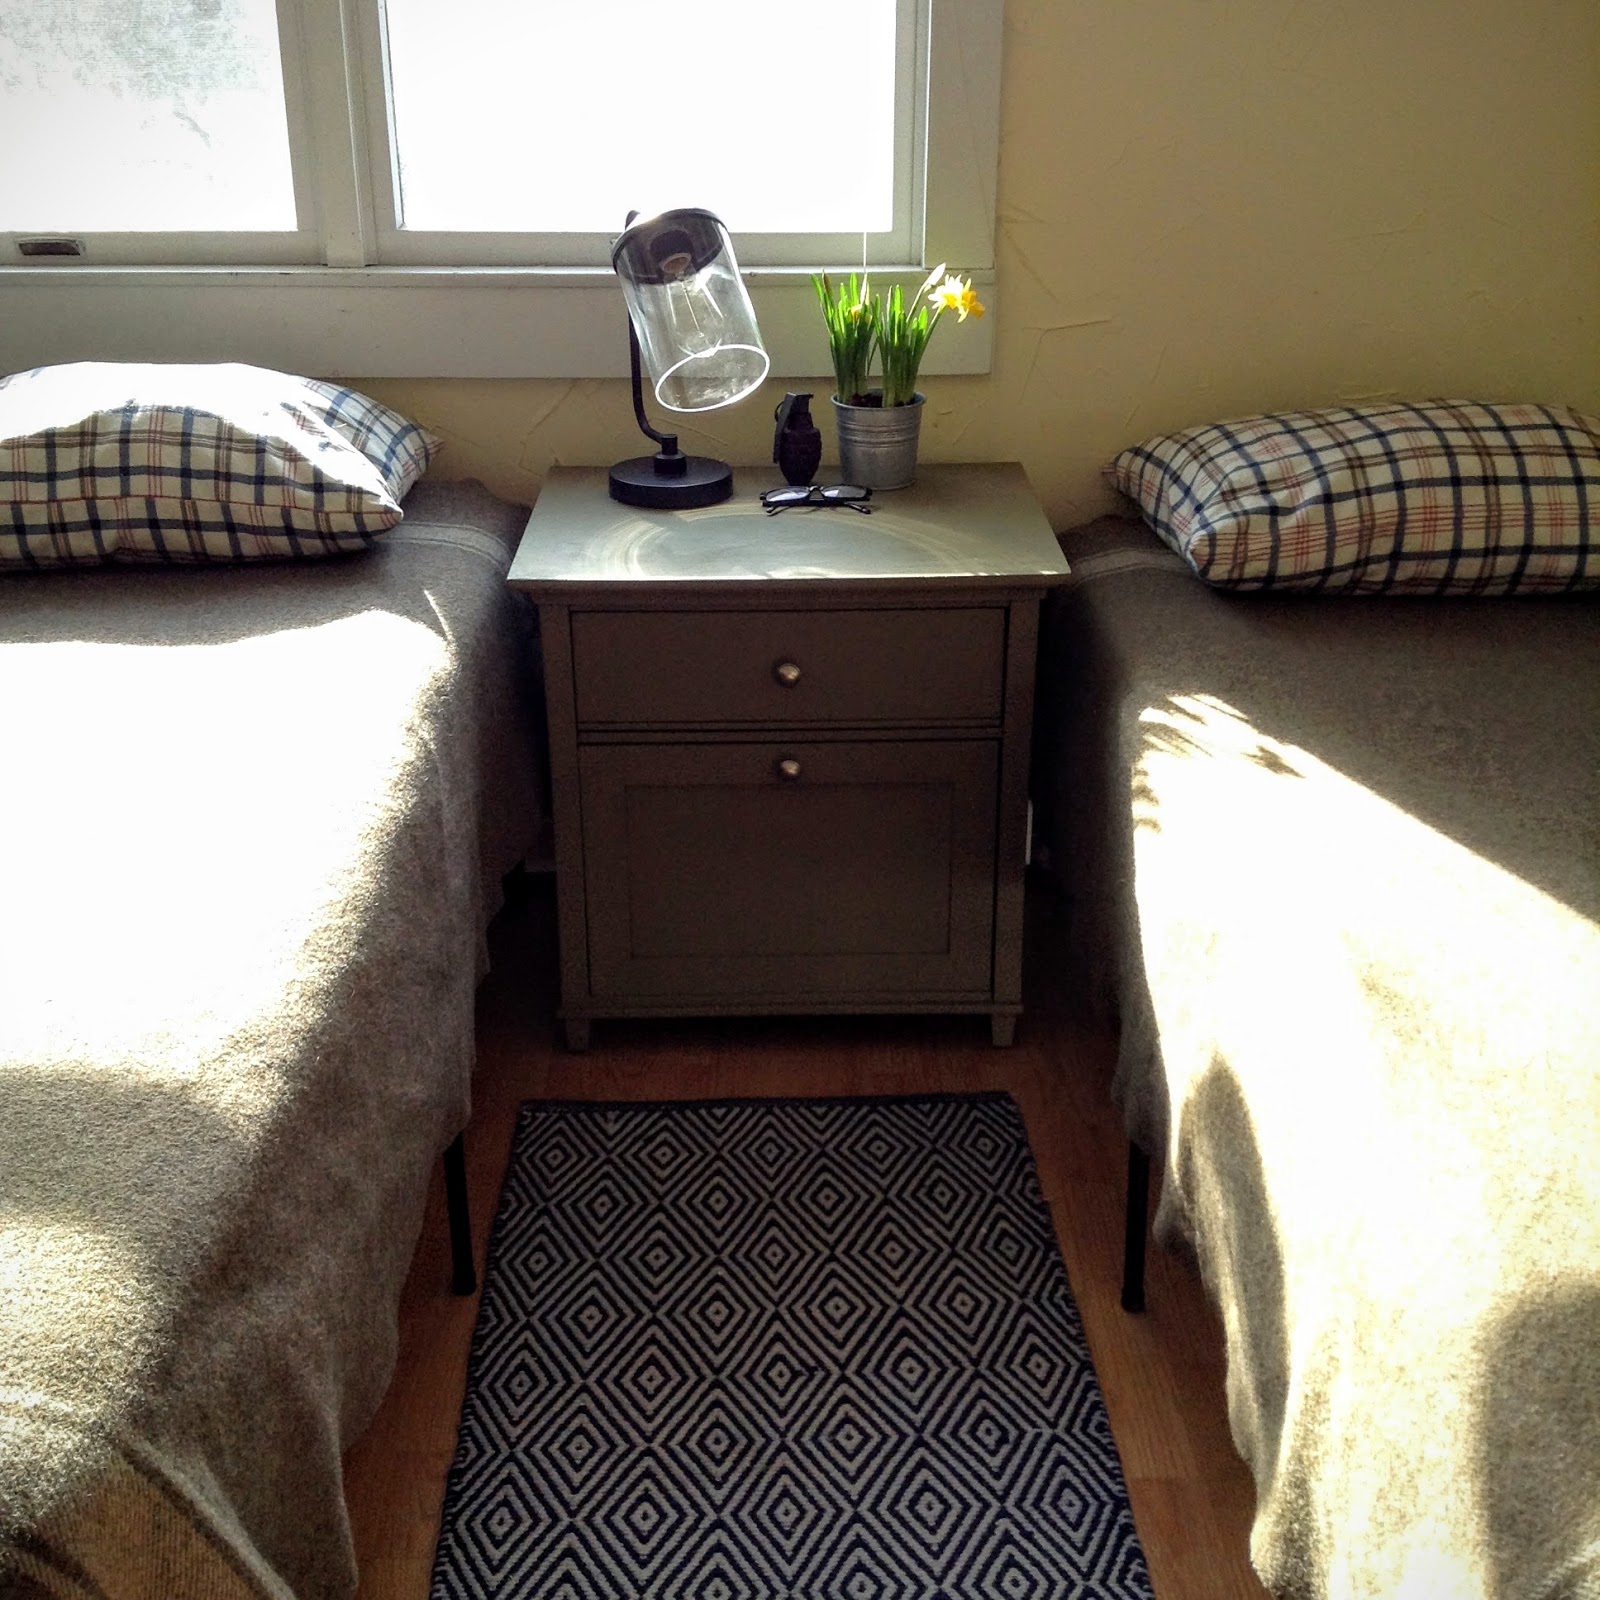
My favorite things about the room are the wool Italian army blankets that I bought from an army surplus place for their beds.


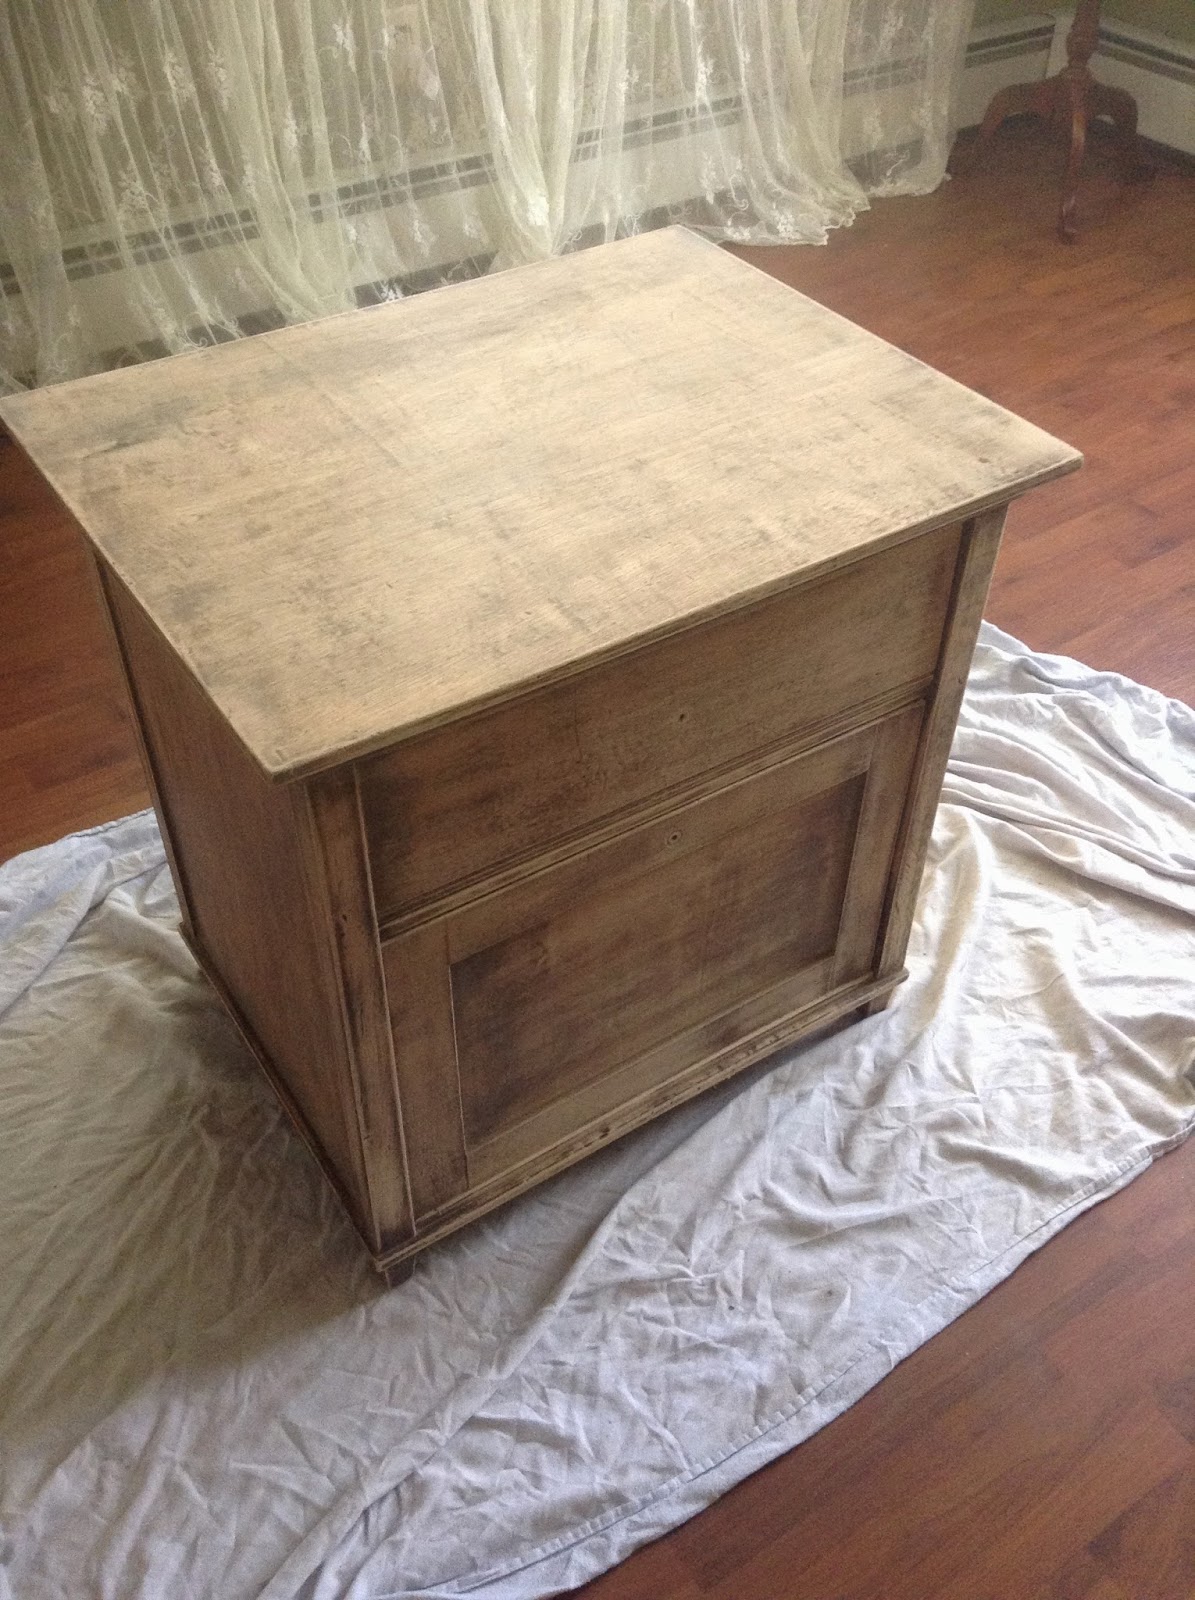
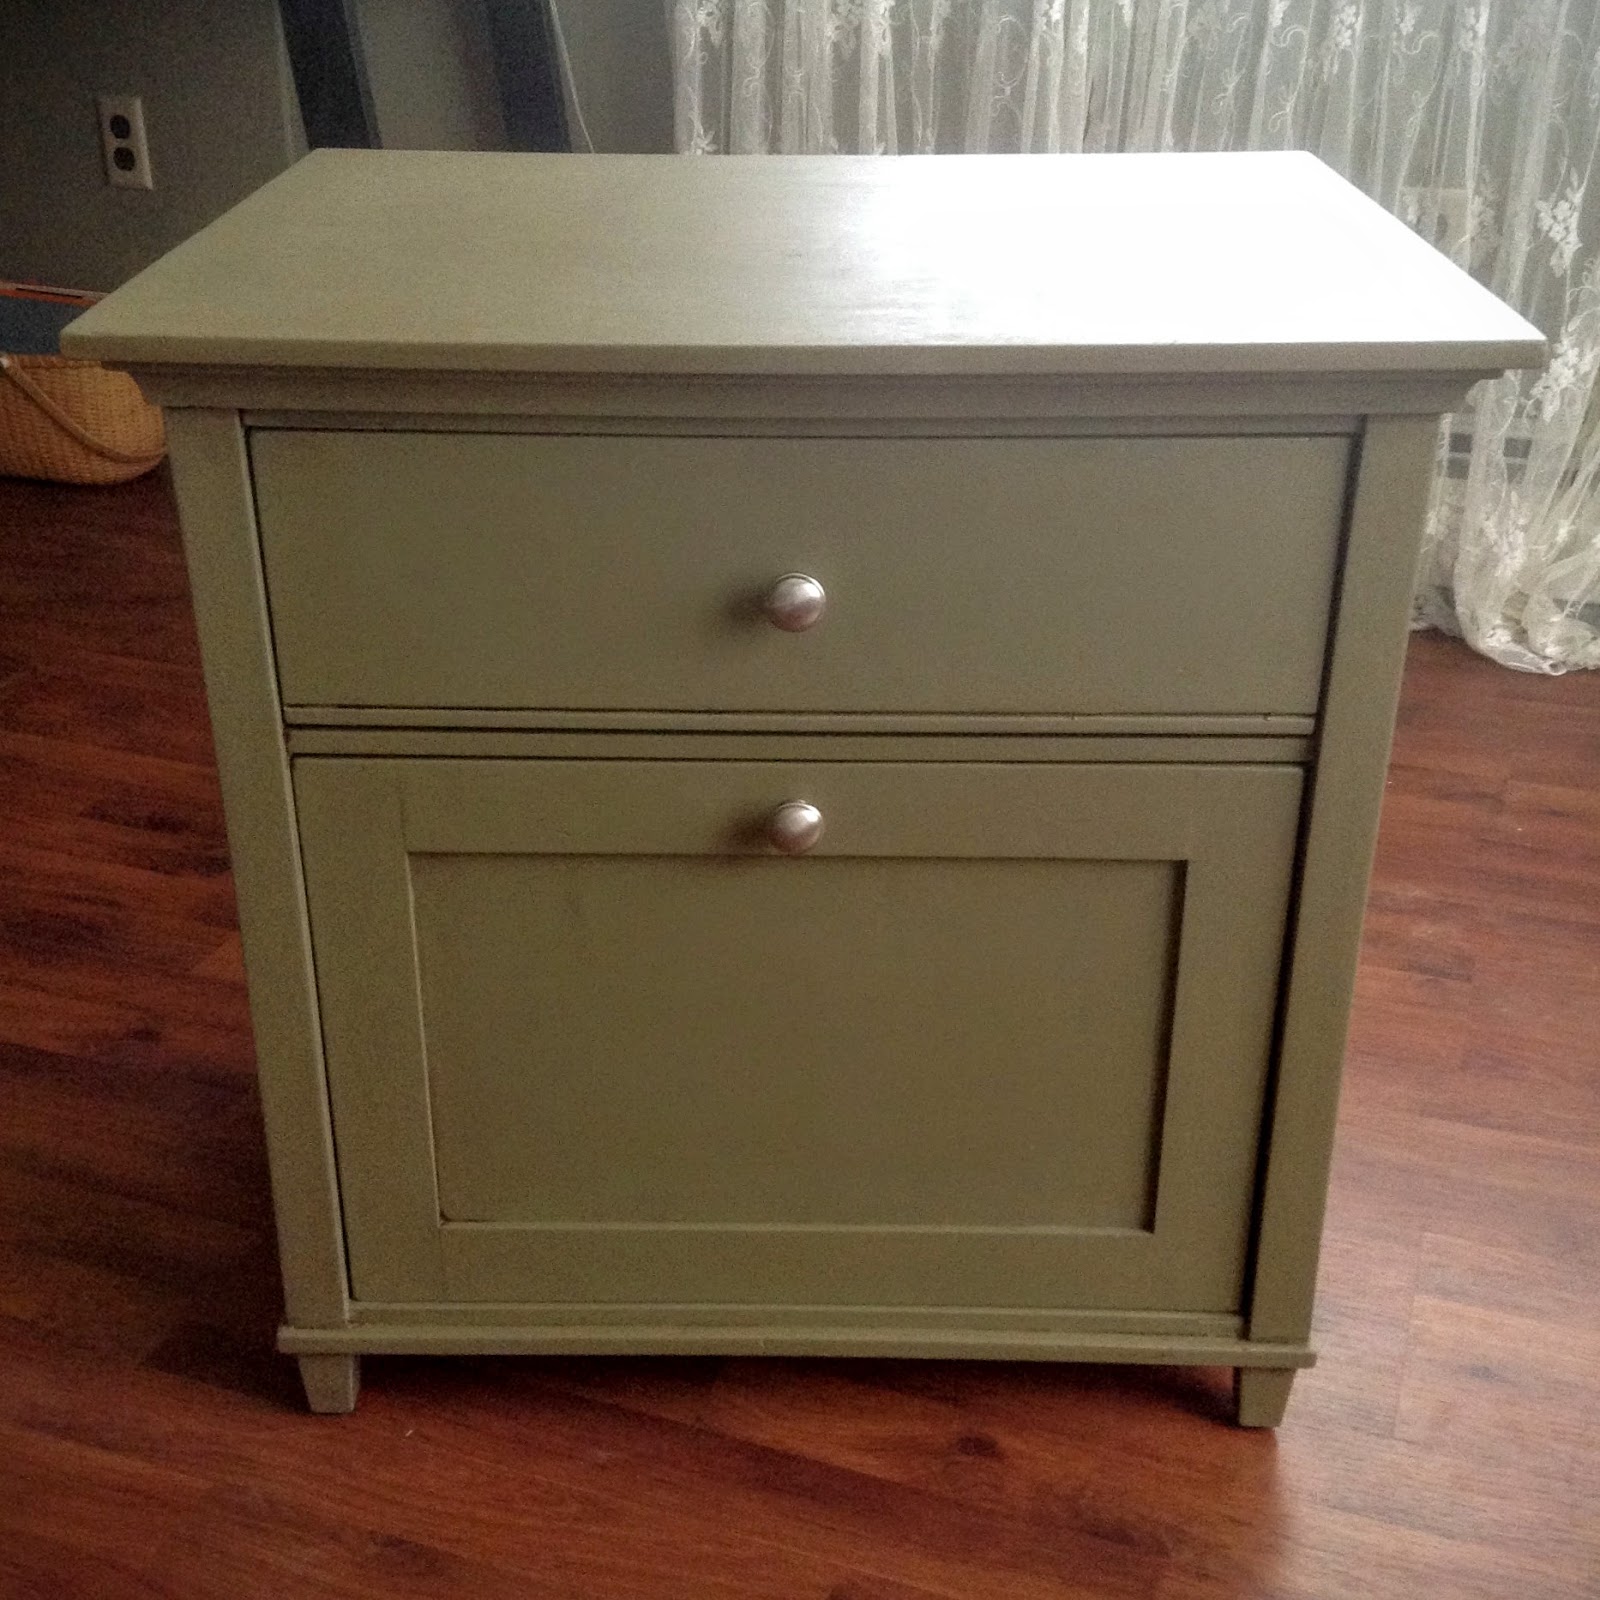
 I also like the little table between the beds that I sanded down and painted with olive green milk paint last year. The rest needs serious help.

BEFORE
DURING
AFTER


Unlike all the other tours of my house that I have shared up to this point, I am not actually going to share all the changes I want to make in this room because I think it will make a more dramatic surprise when I share the finished room. I was stuck for awhile but I have started to get a pretty good idea of what I want to do. I am, however, open to suggestions if you have any great ideas you want to share with me.

That concludes the tour of our 1920s Cape Cod home. In a few months when the weather warms up I'll share a tour of our walk-up attic (don't get too excited--it's an attic) and our yard. I hope you've enjoyed these glimpses into our living space. Make sure to check back here on the blog often for updates to the rooms I've shared here, plus lots of other stuff too. I'll be sharing some of the prints I made for the younger boys' room in the next week or so.

Thursday, February 18, 2016

Younger Boys' Bedroom Tour

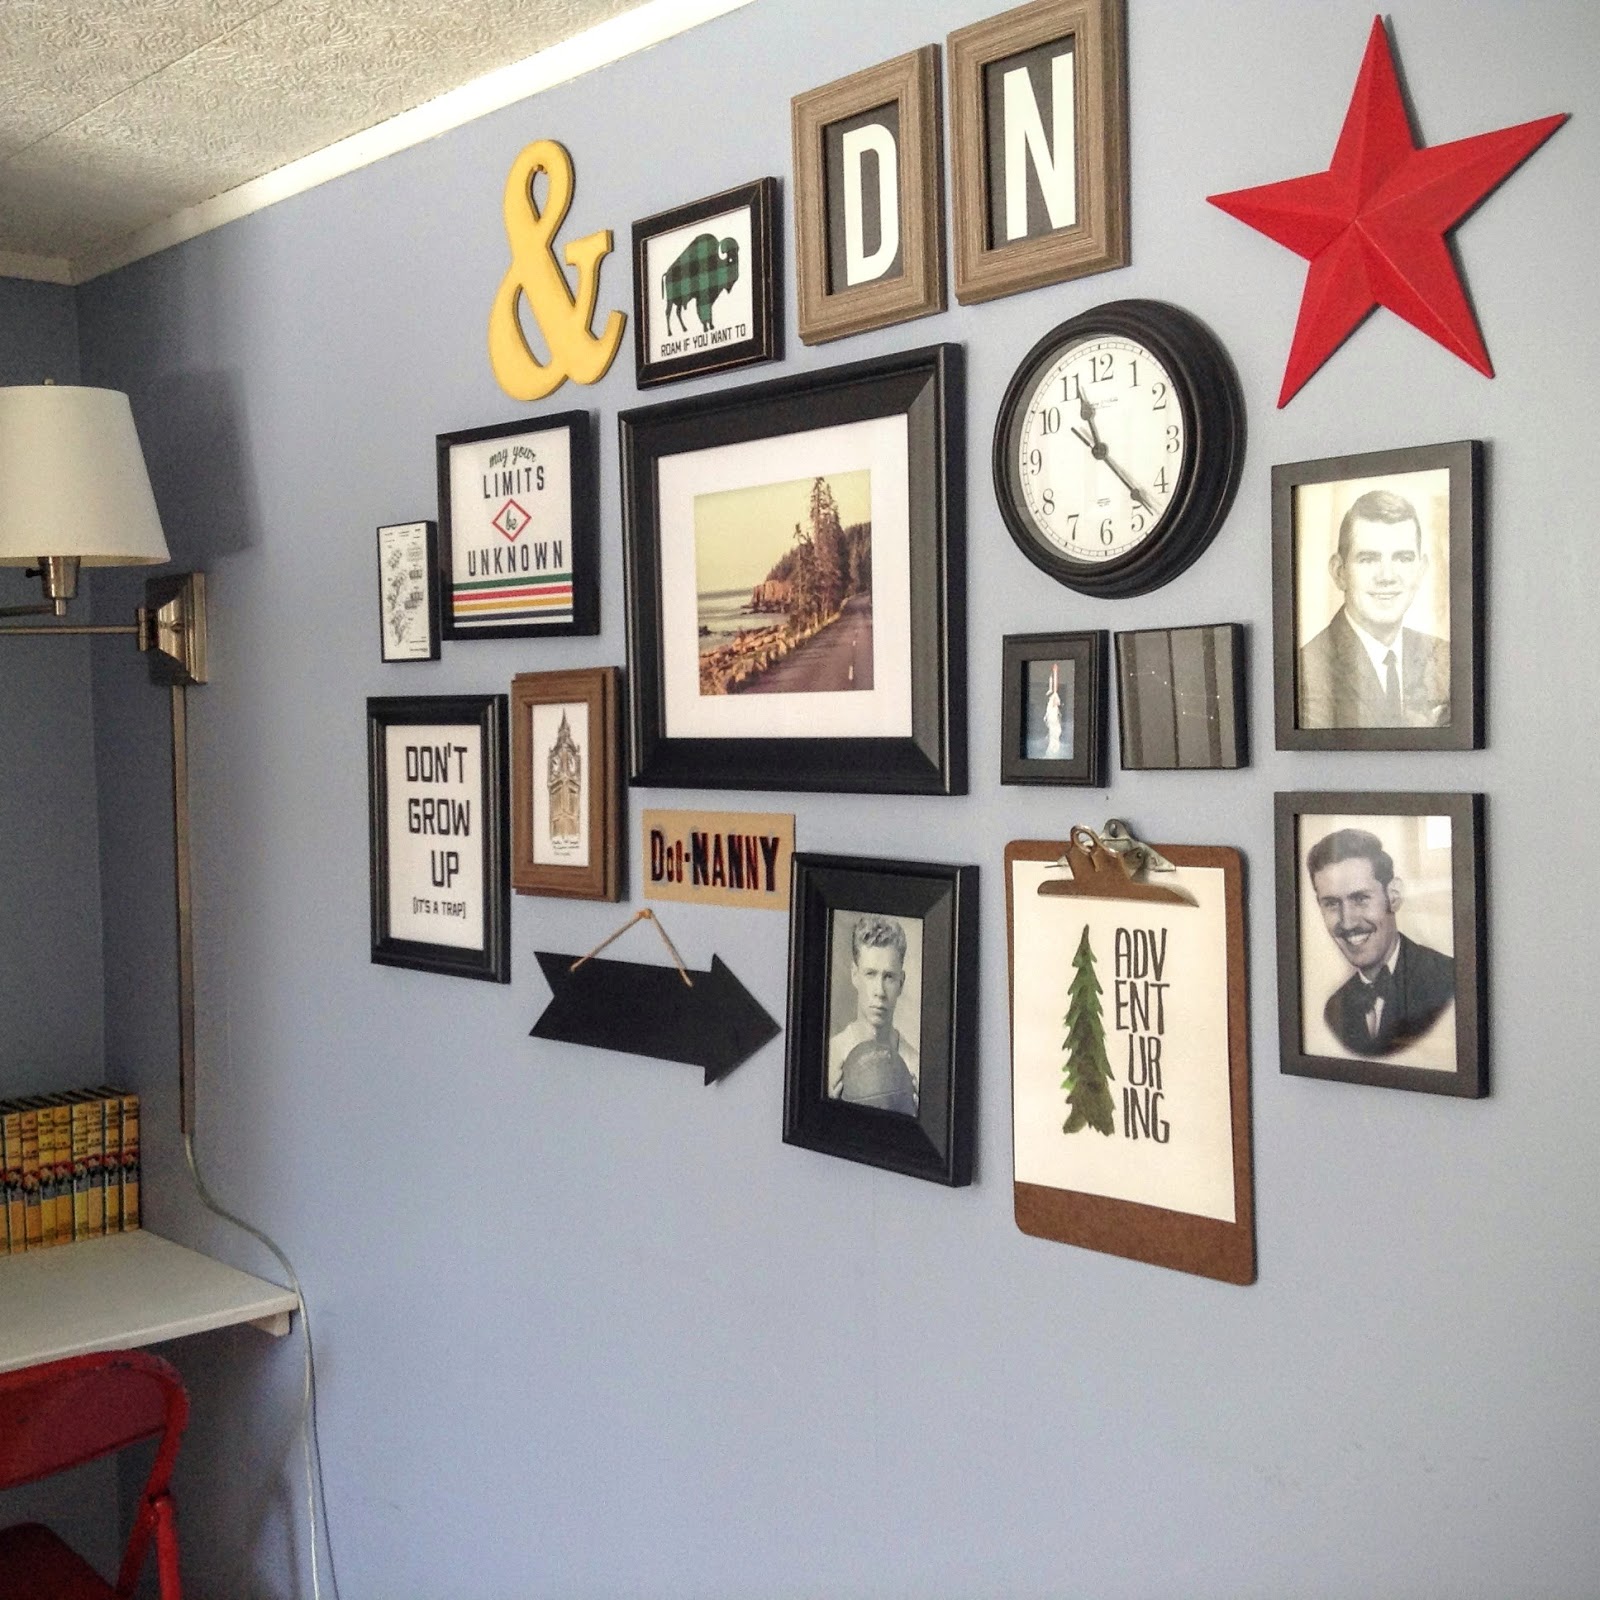
I've been on a mission to make the younger boys' bedroom a little more grown up. I have a lot of things I'd still like to do in here but the first thing I wanted to do was to update their gallery wall. I had a bunch of art on the wall and it was cute but it was also really young.
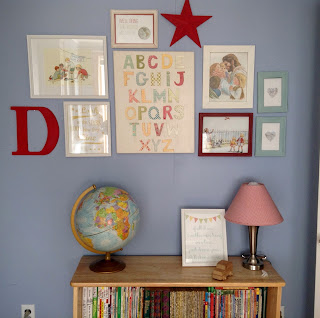
GALLERY WALL BEFORE
It was the same stuff that I had had on the wall since my youngest was 4 (he's 8 now) and my second youngest was 7 (he's 11). It was time.
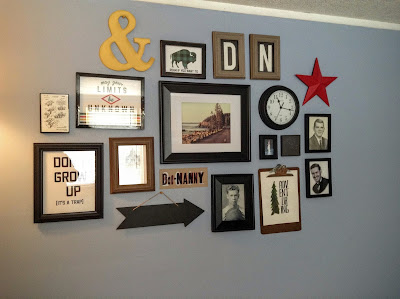
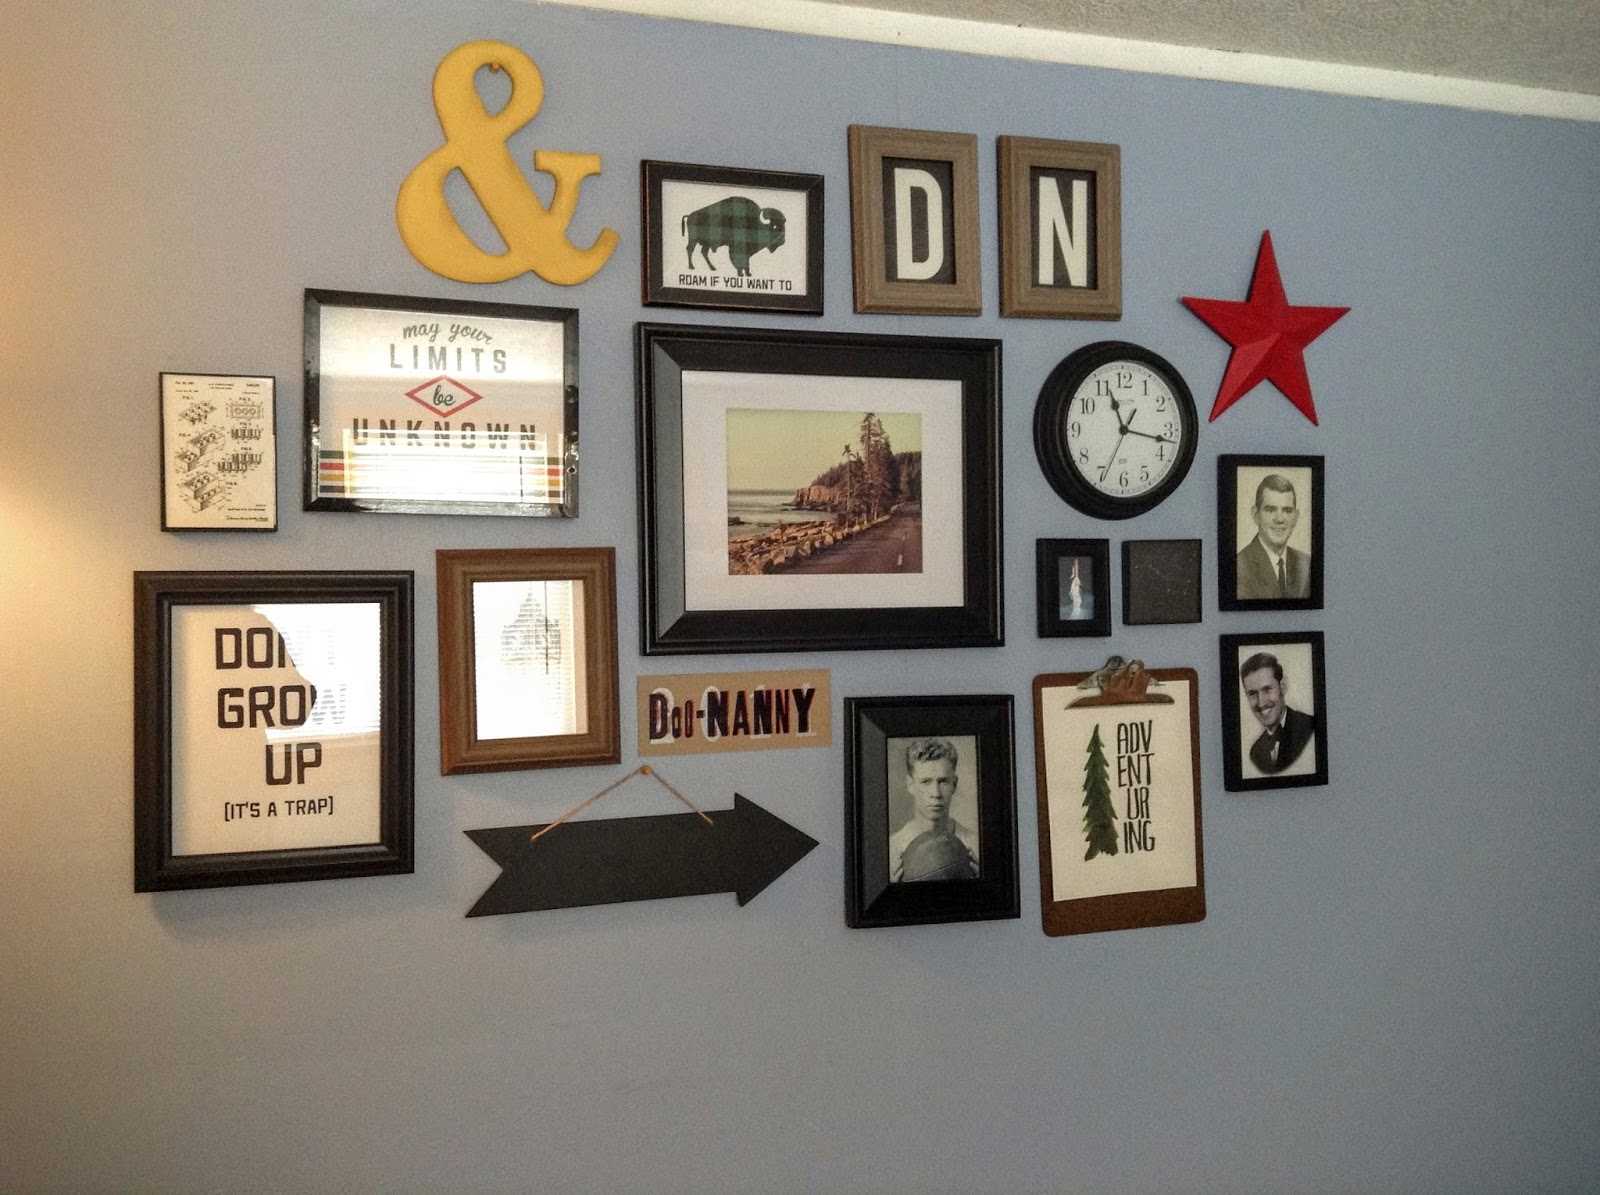
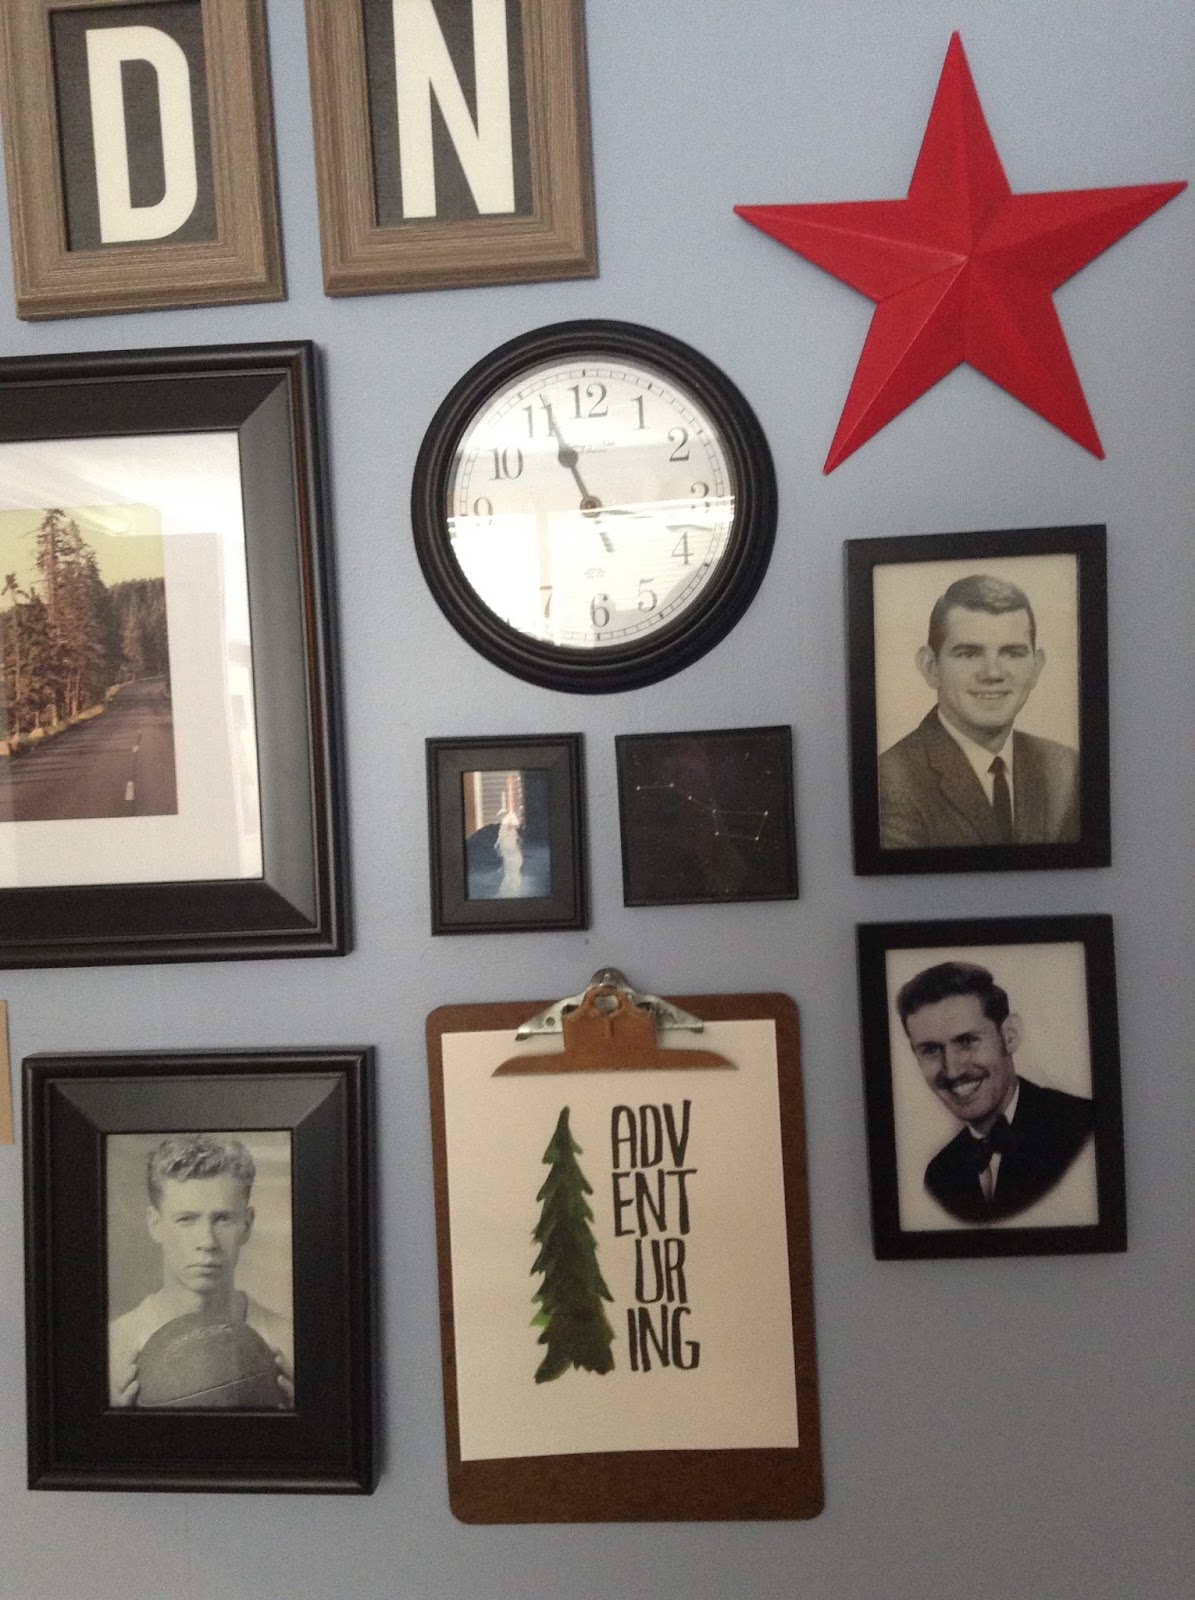
GALLERY WALL AFTER


I'm still in the process of tweaking this a bit. I'm not sure how I feel about the ampersand and the star--I was wanting to tie some of the colors in one of the prints together, but I don't know if they work or not. I might just paint them both black. I'd also like to replace the photo I took at Acadia National Park (in the center) with an Ansel Adams print.

I tried to involve my boys in making choices for what kinds of things they'd like on their wall. I also wanted to use the nail holes that already existed in the wall. The result is a pretty eclectic assortment of art that kind of took on a life of its own as I tried to add in various requests and make everything look cohesive and balanced. I made four of the prints on the wall and I will share them eventually, the rest is a hodgepodge of stuff I found on Pinterest and stuff I already had.


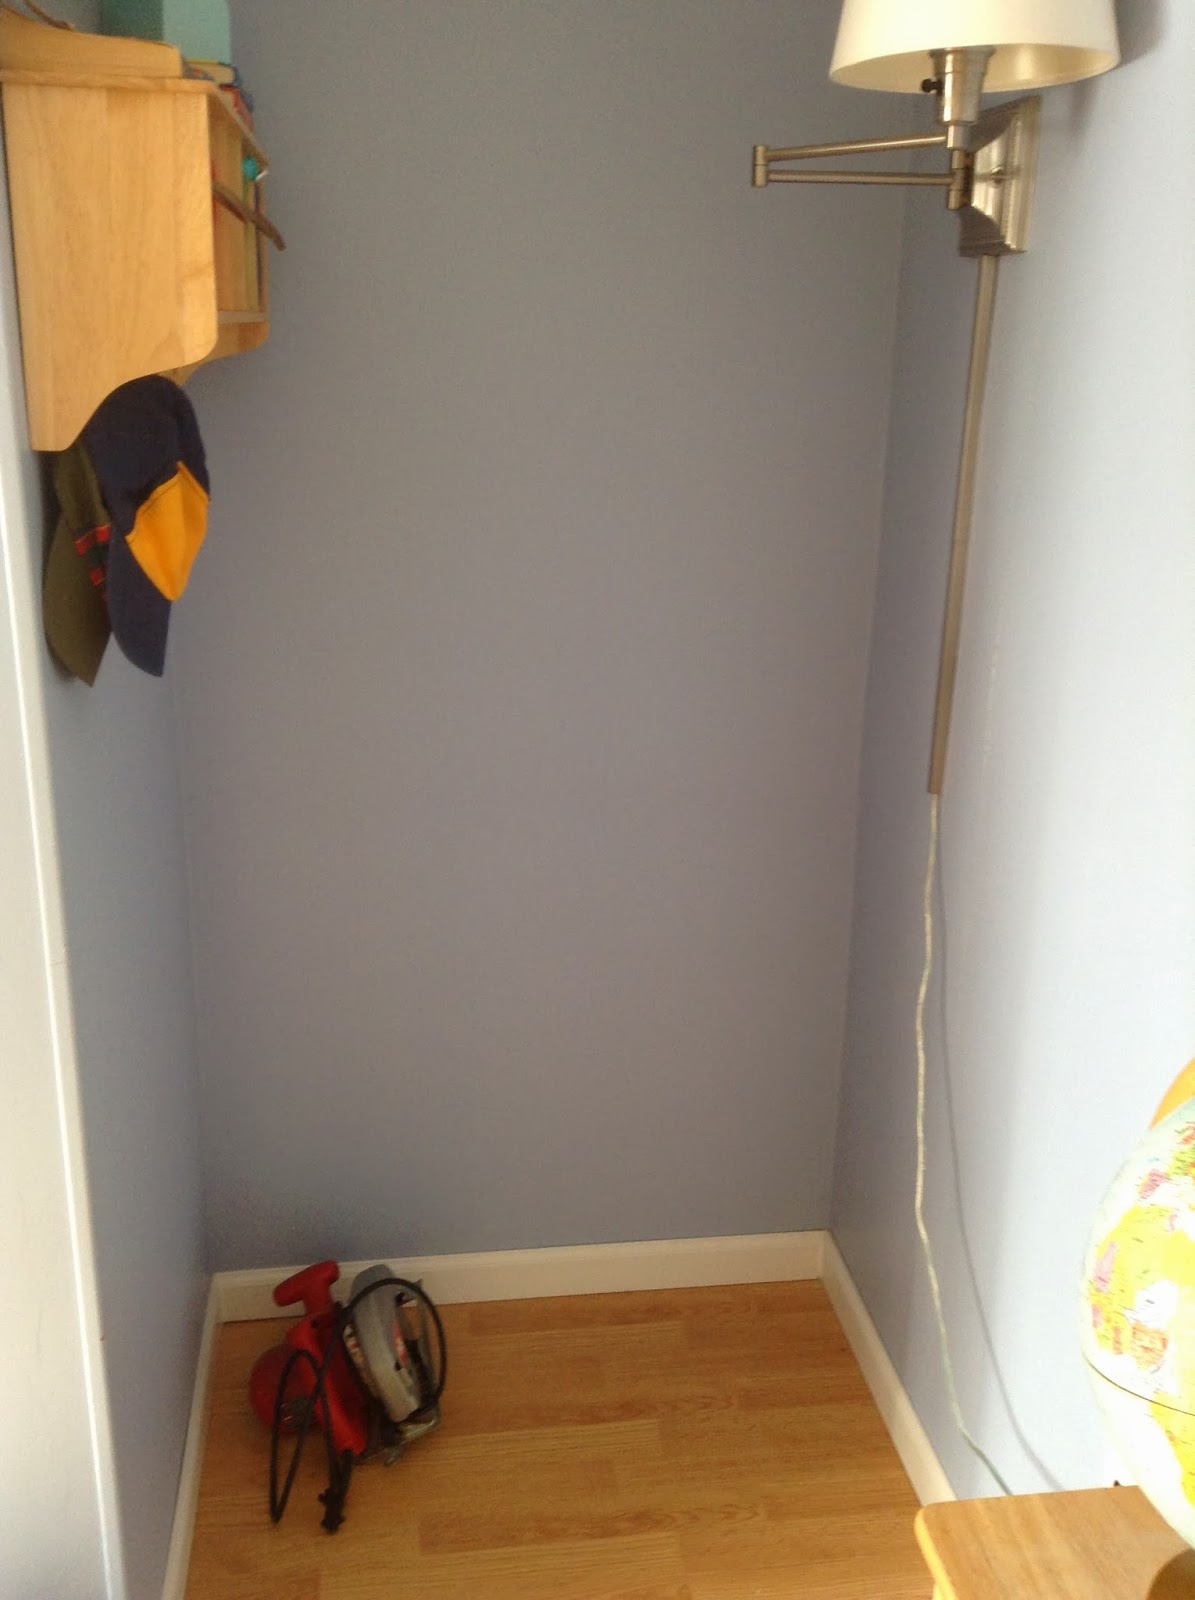
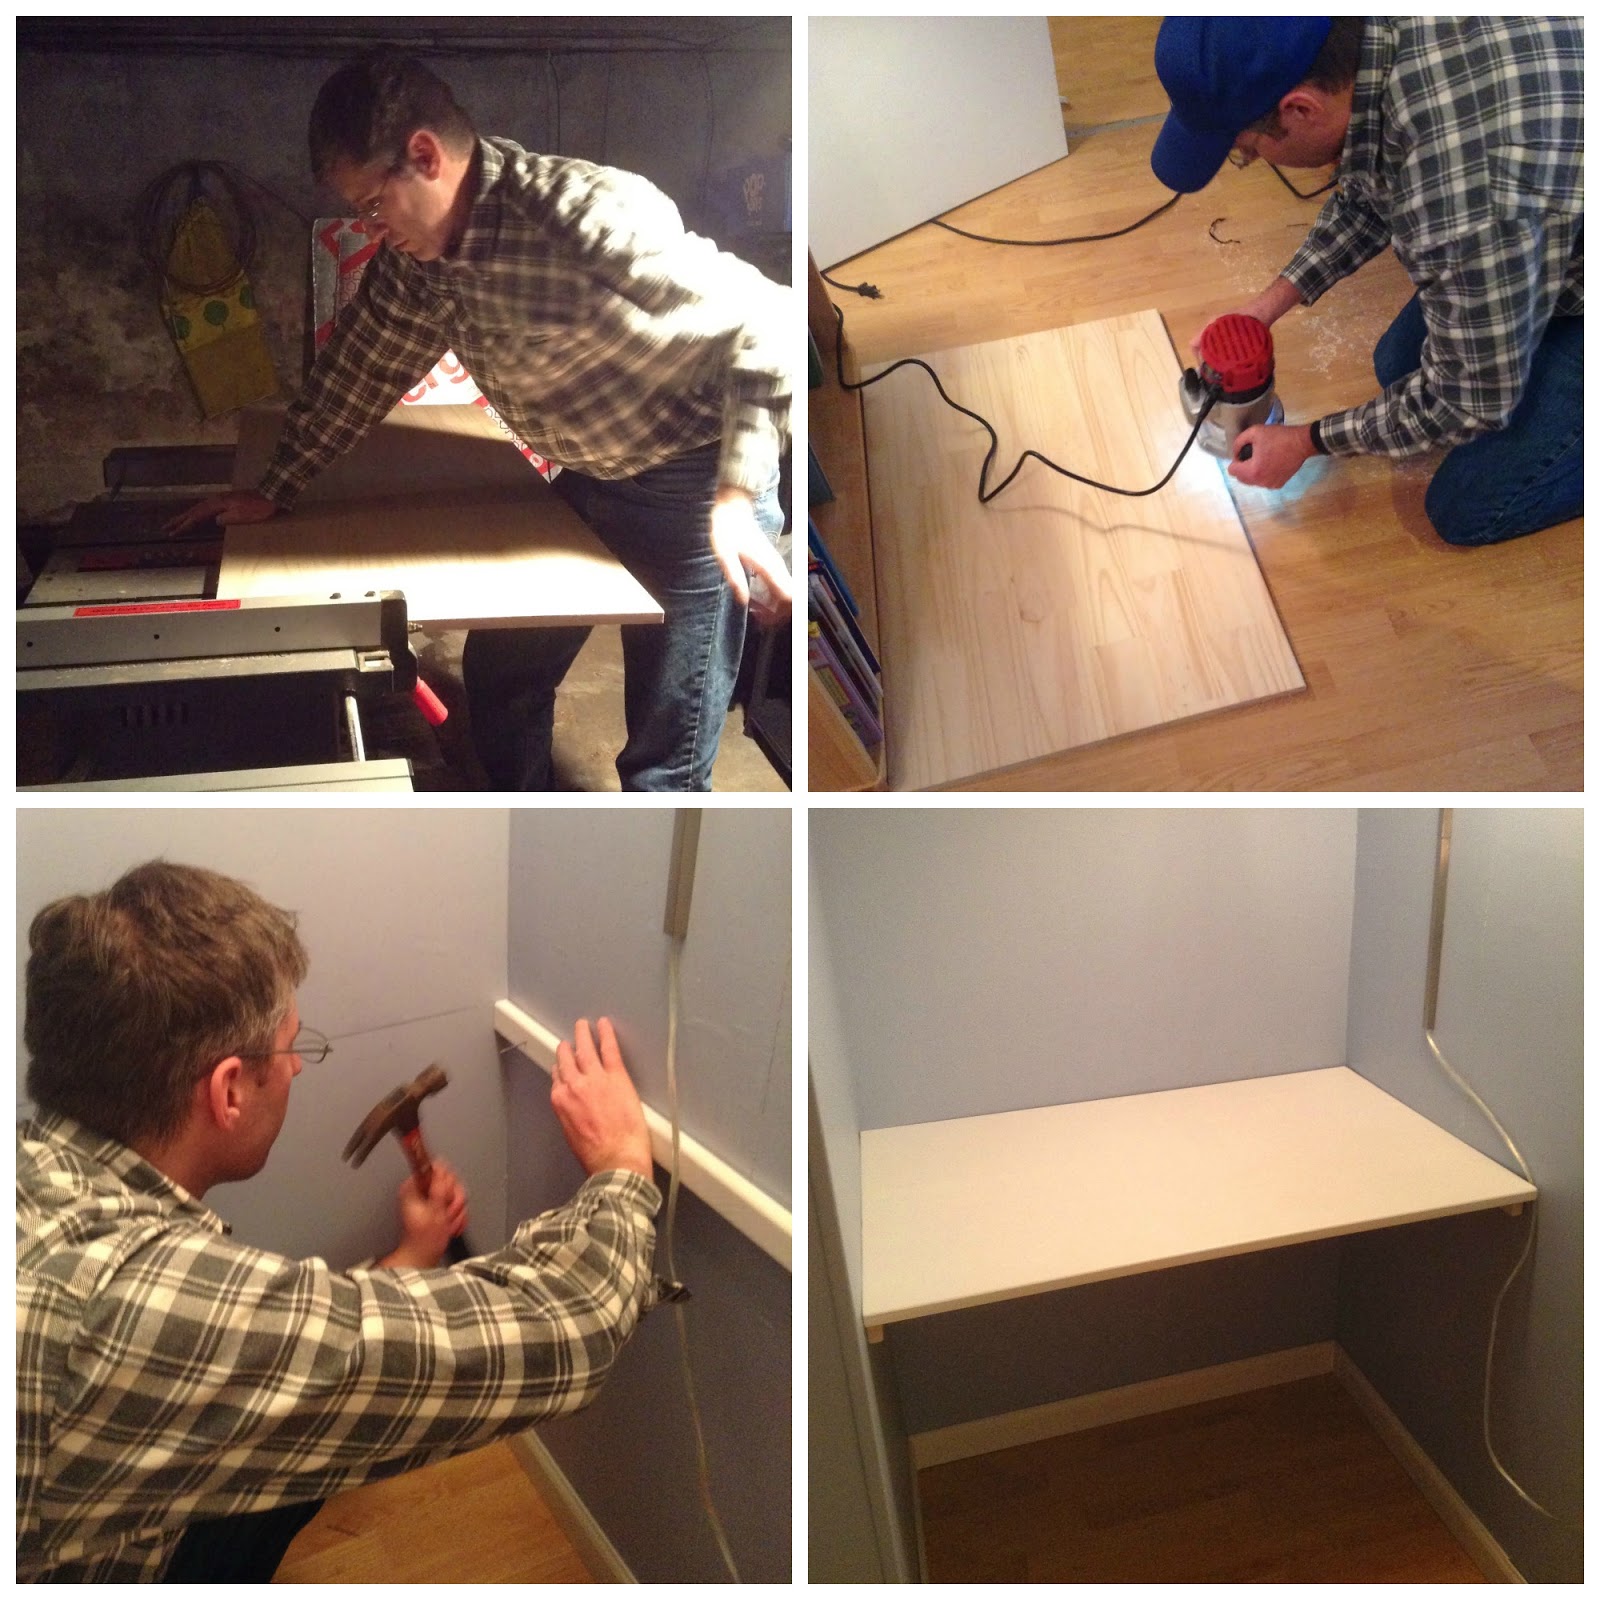
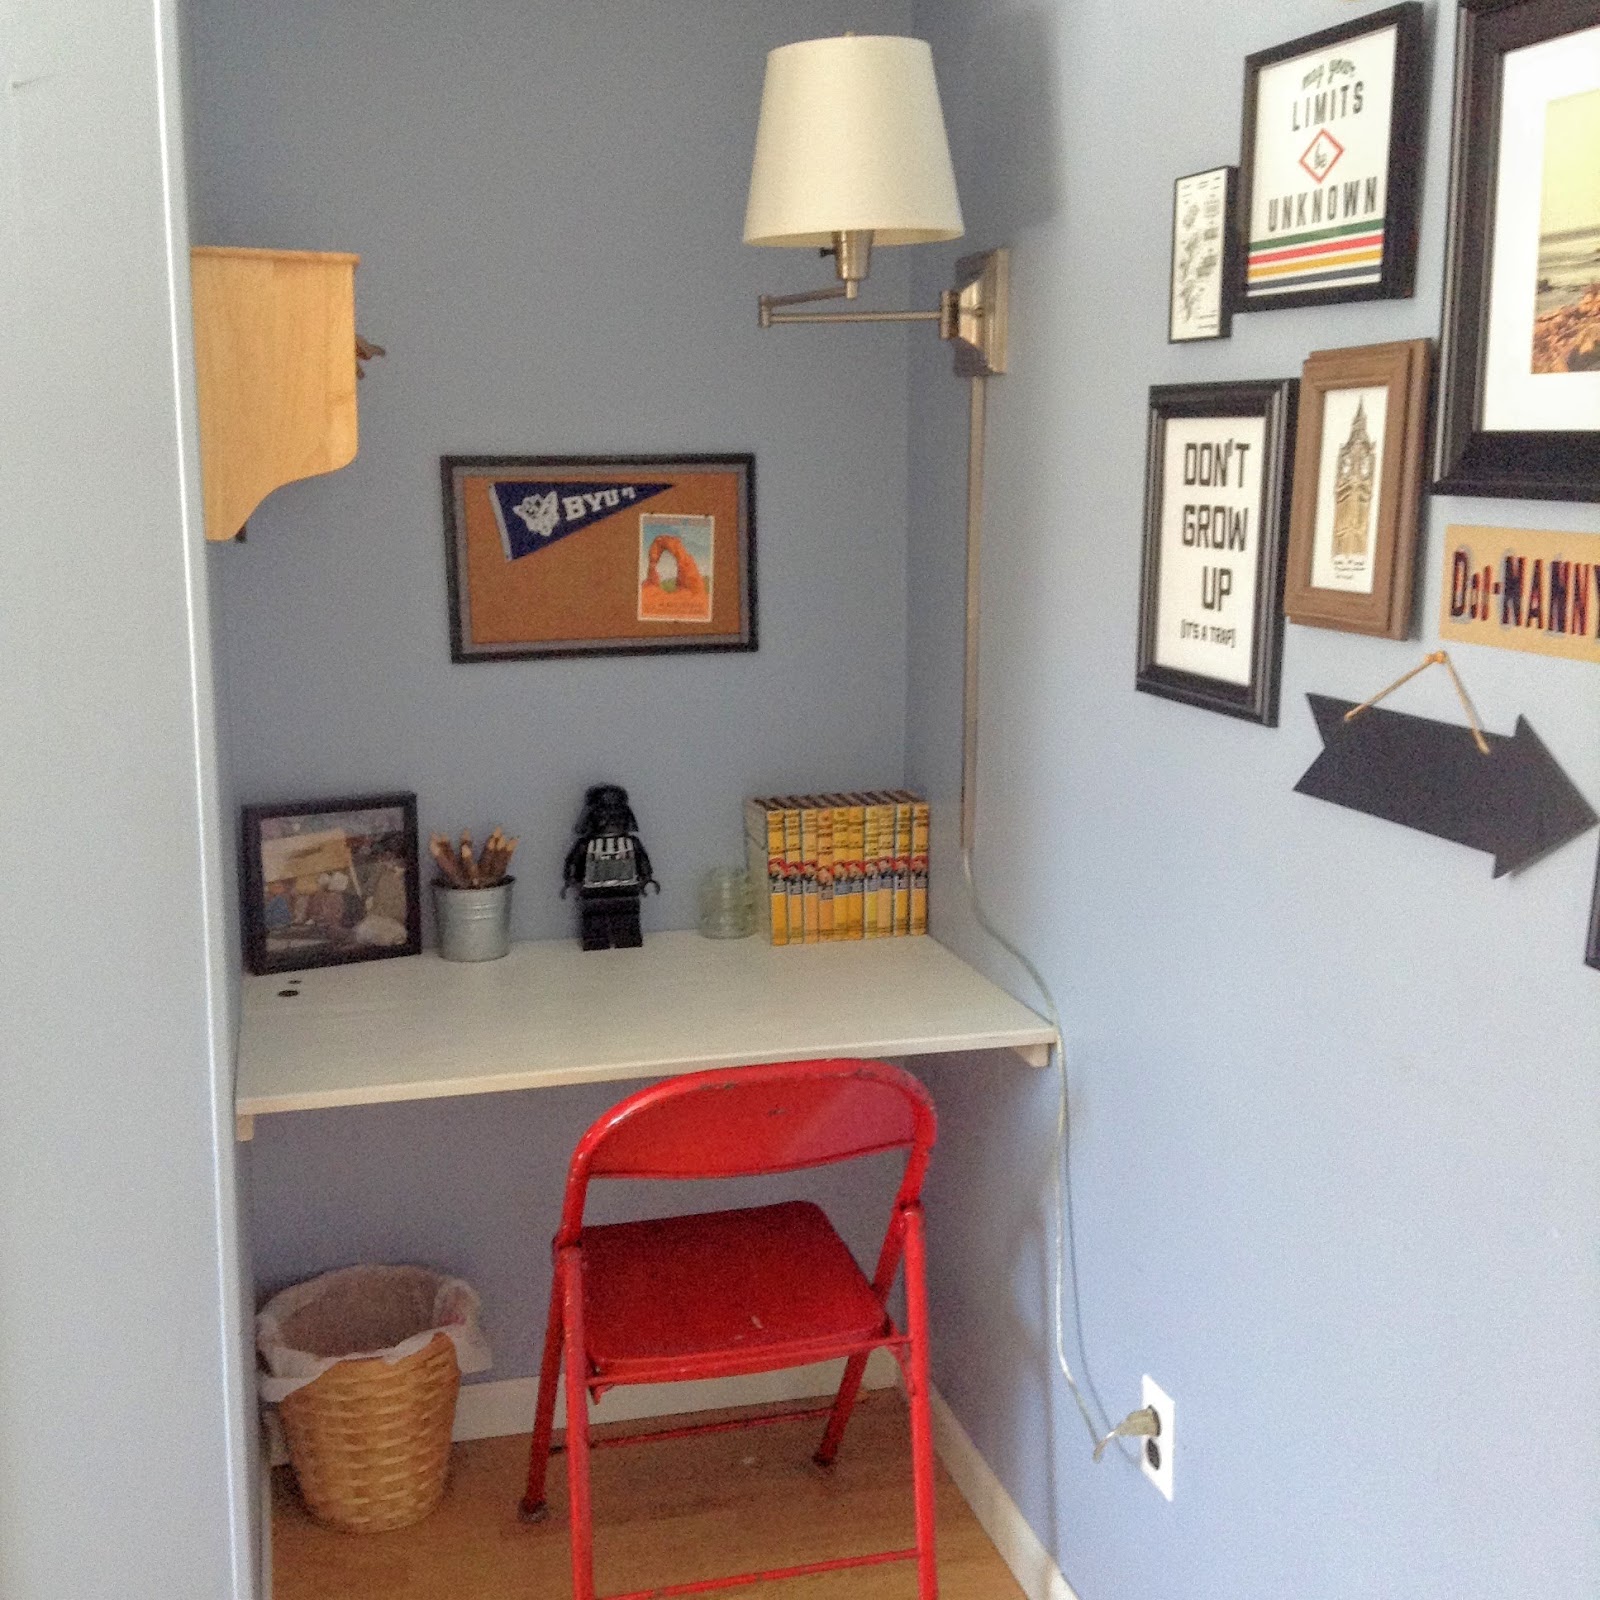
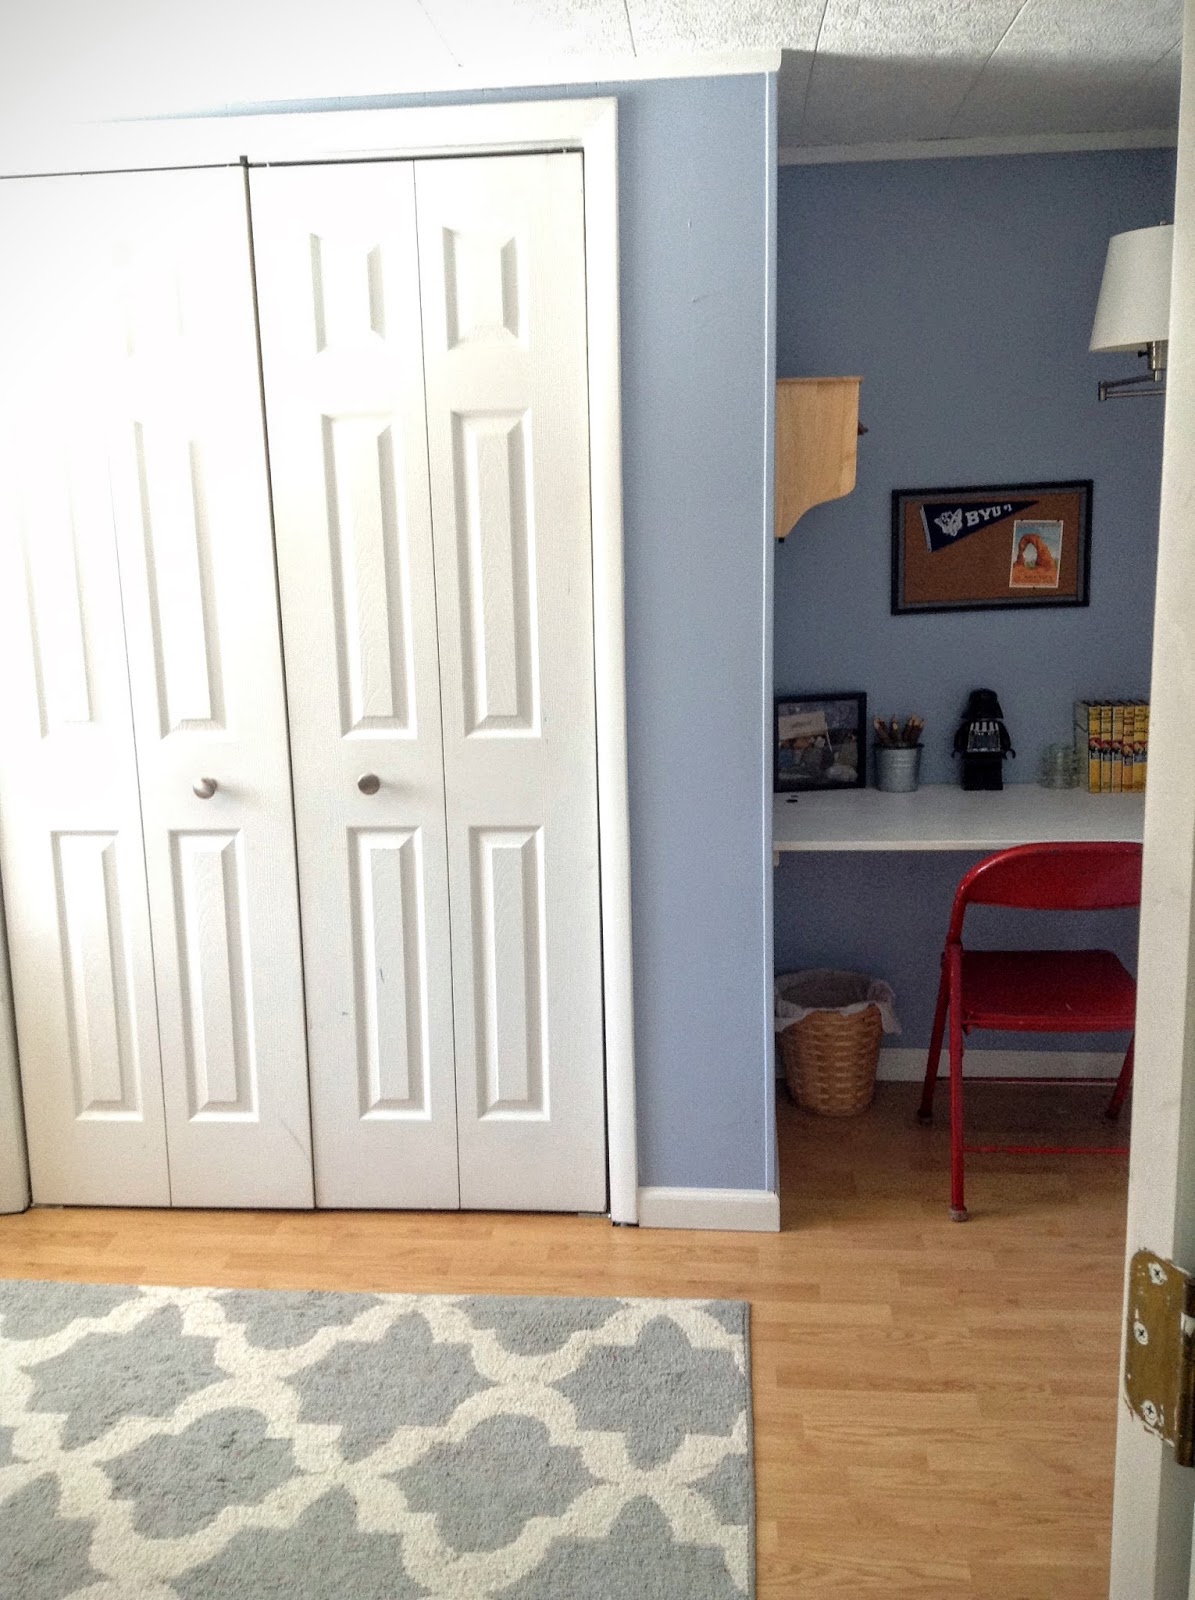
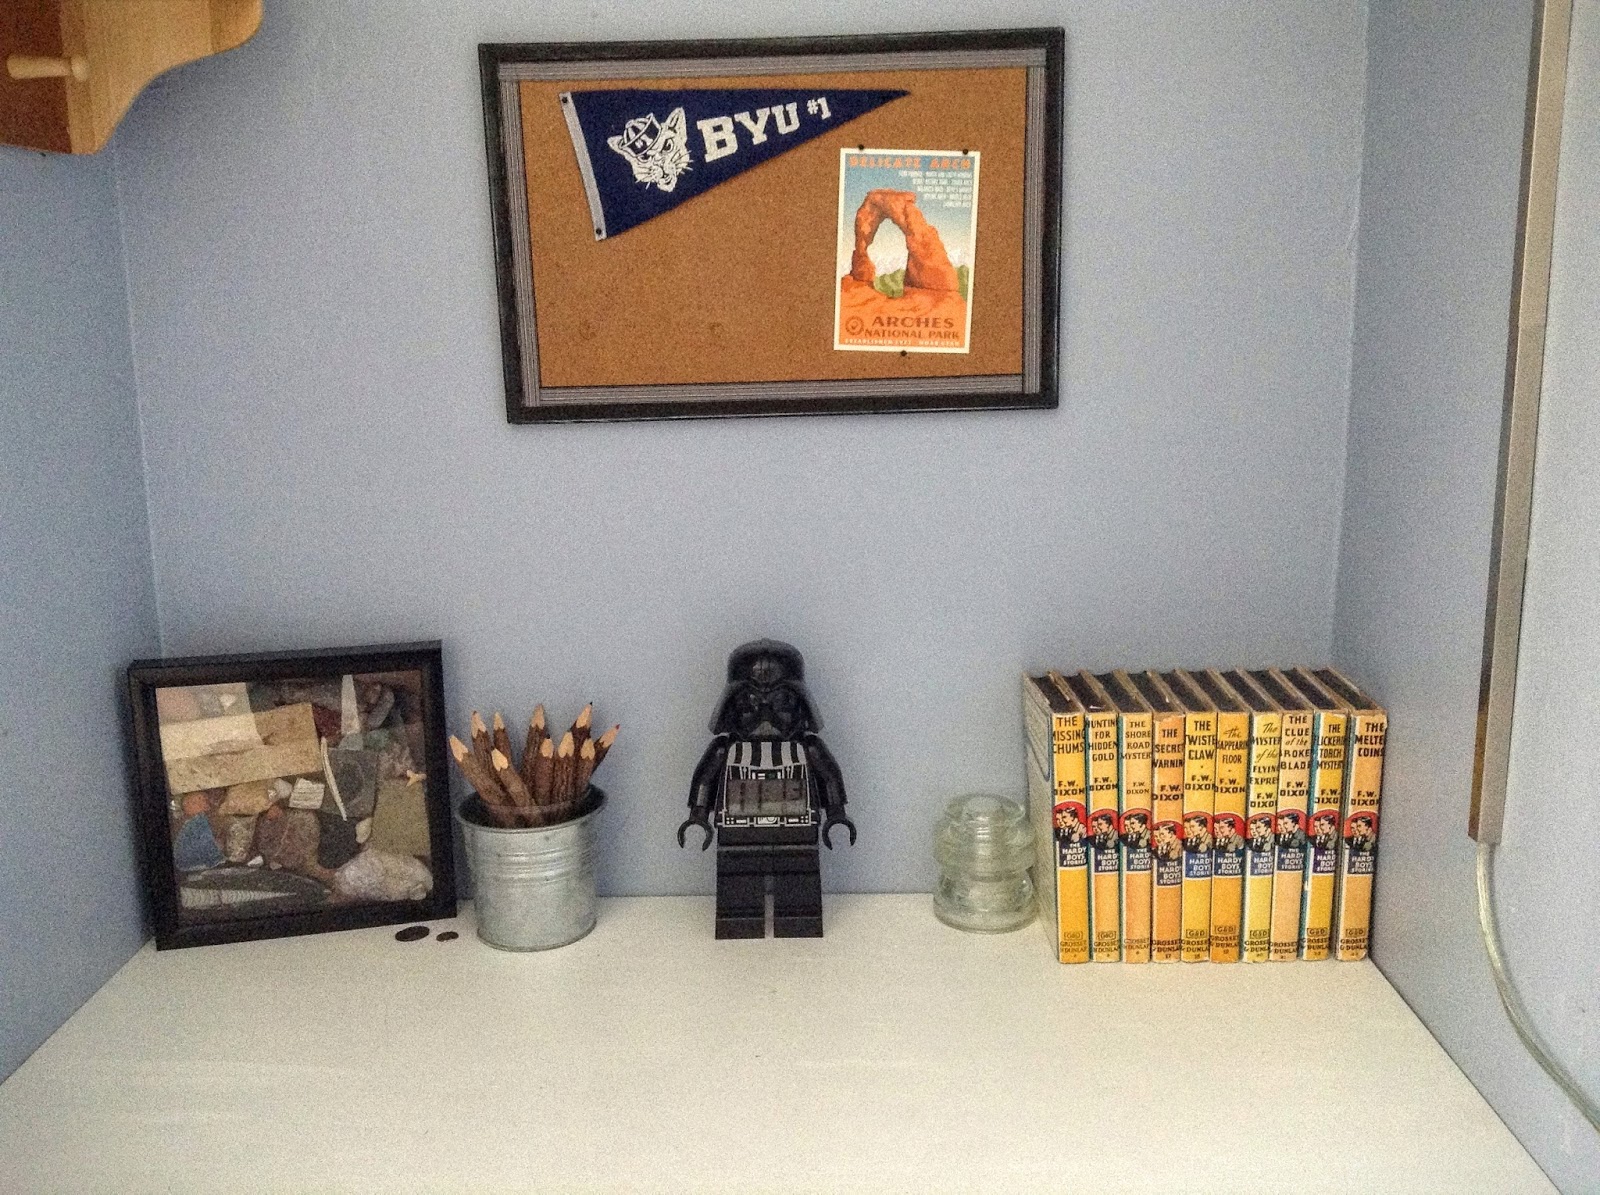
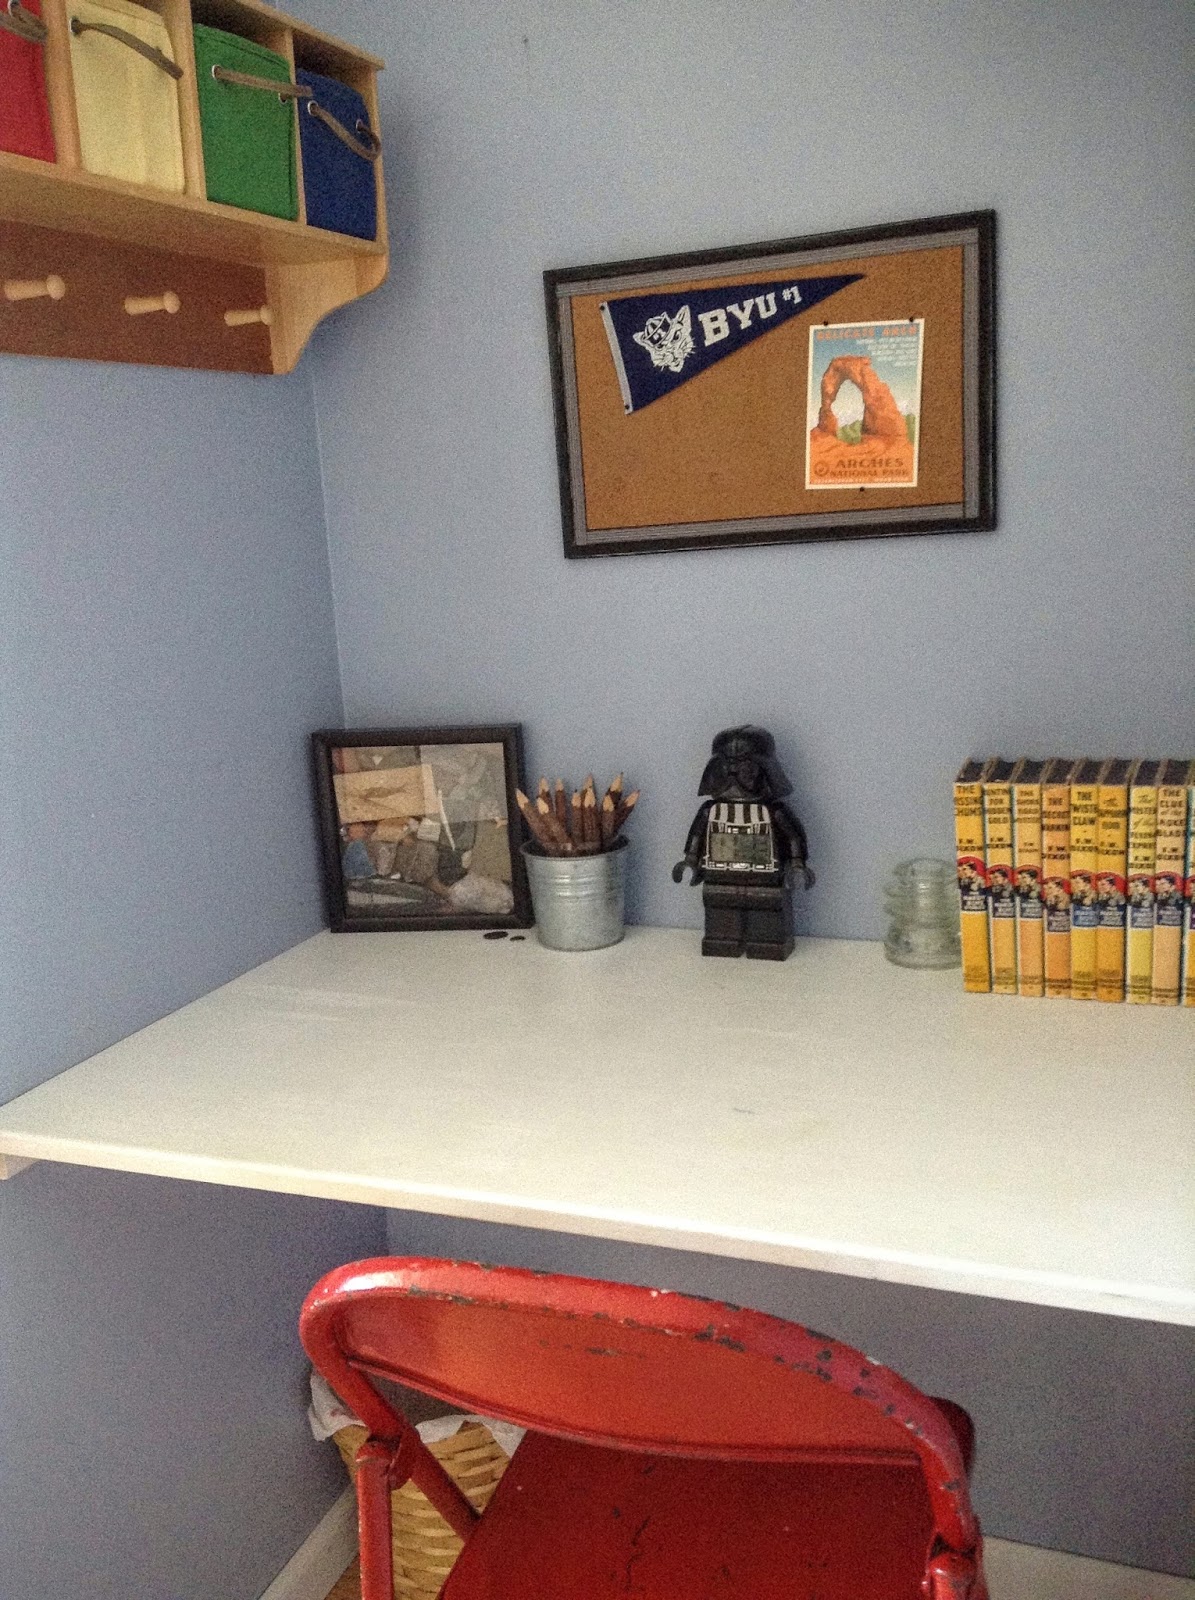
When we moved in there was this odd little corner in the room. I decided it would be perfect for a built in desk so my husband helped me build one.


The idea was that my kids could sit here to do their homework. More often than not it becomes a place to pile junk, or to sit and make origami finger puppets (my 11 year old's latest obsession) but I'm still holding out hope that they will use it for its intended purpose one day.


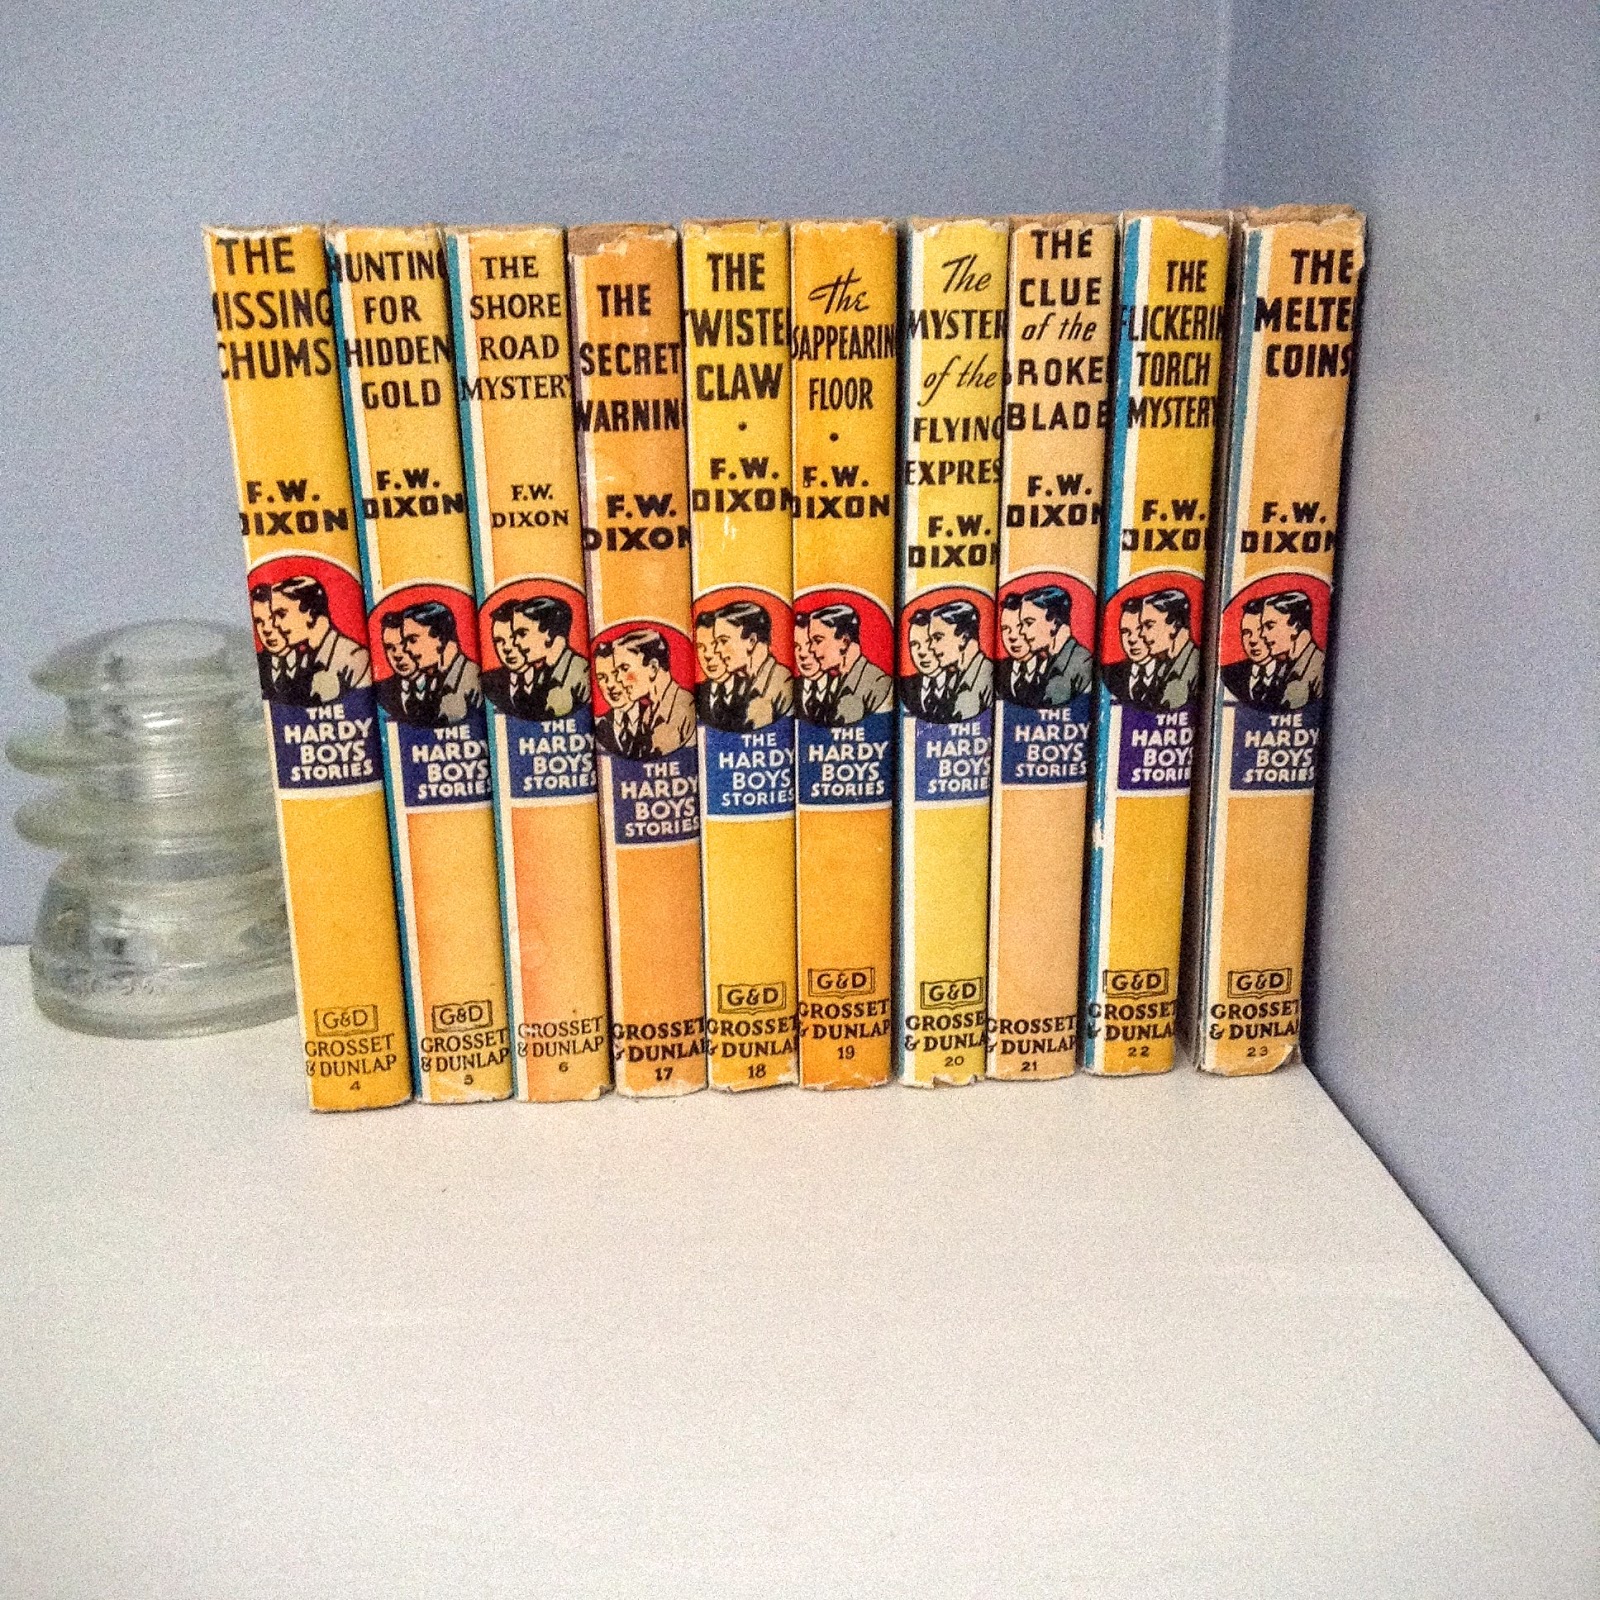
Aren't these Hardy Boys books great? They are part of a larger collection that a friend gave us when we lived in Rochester. I love them.


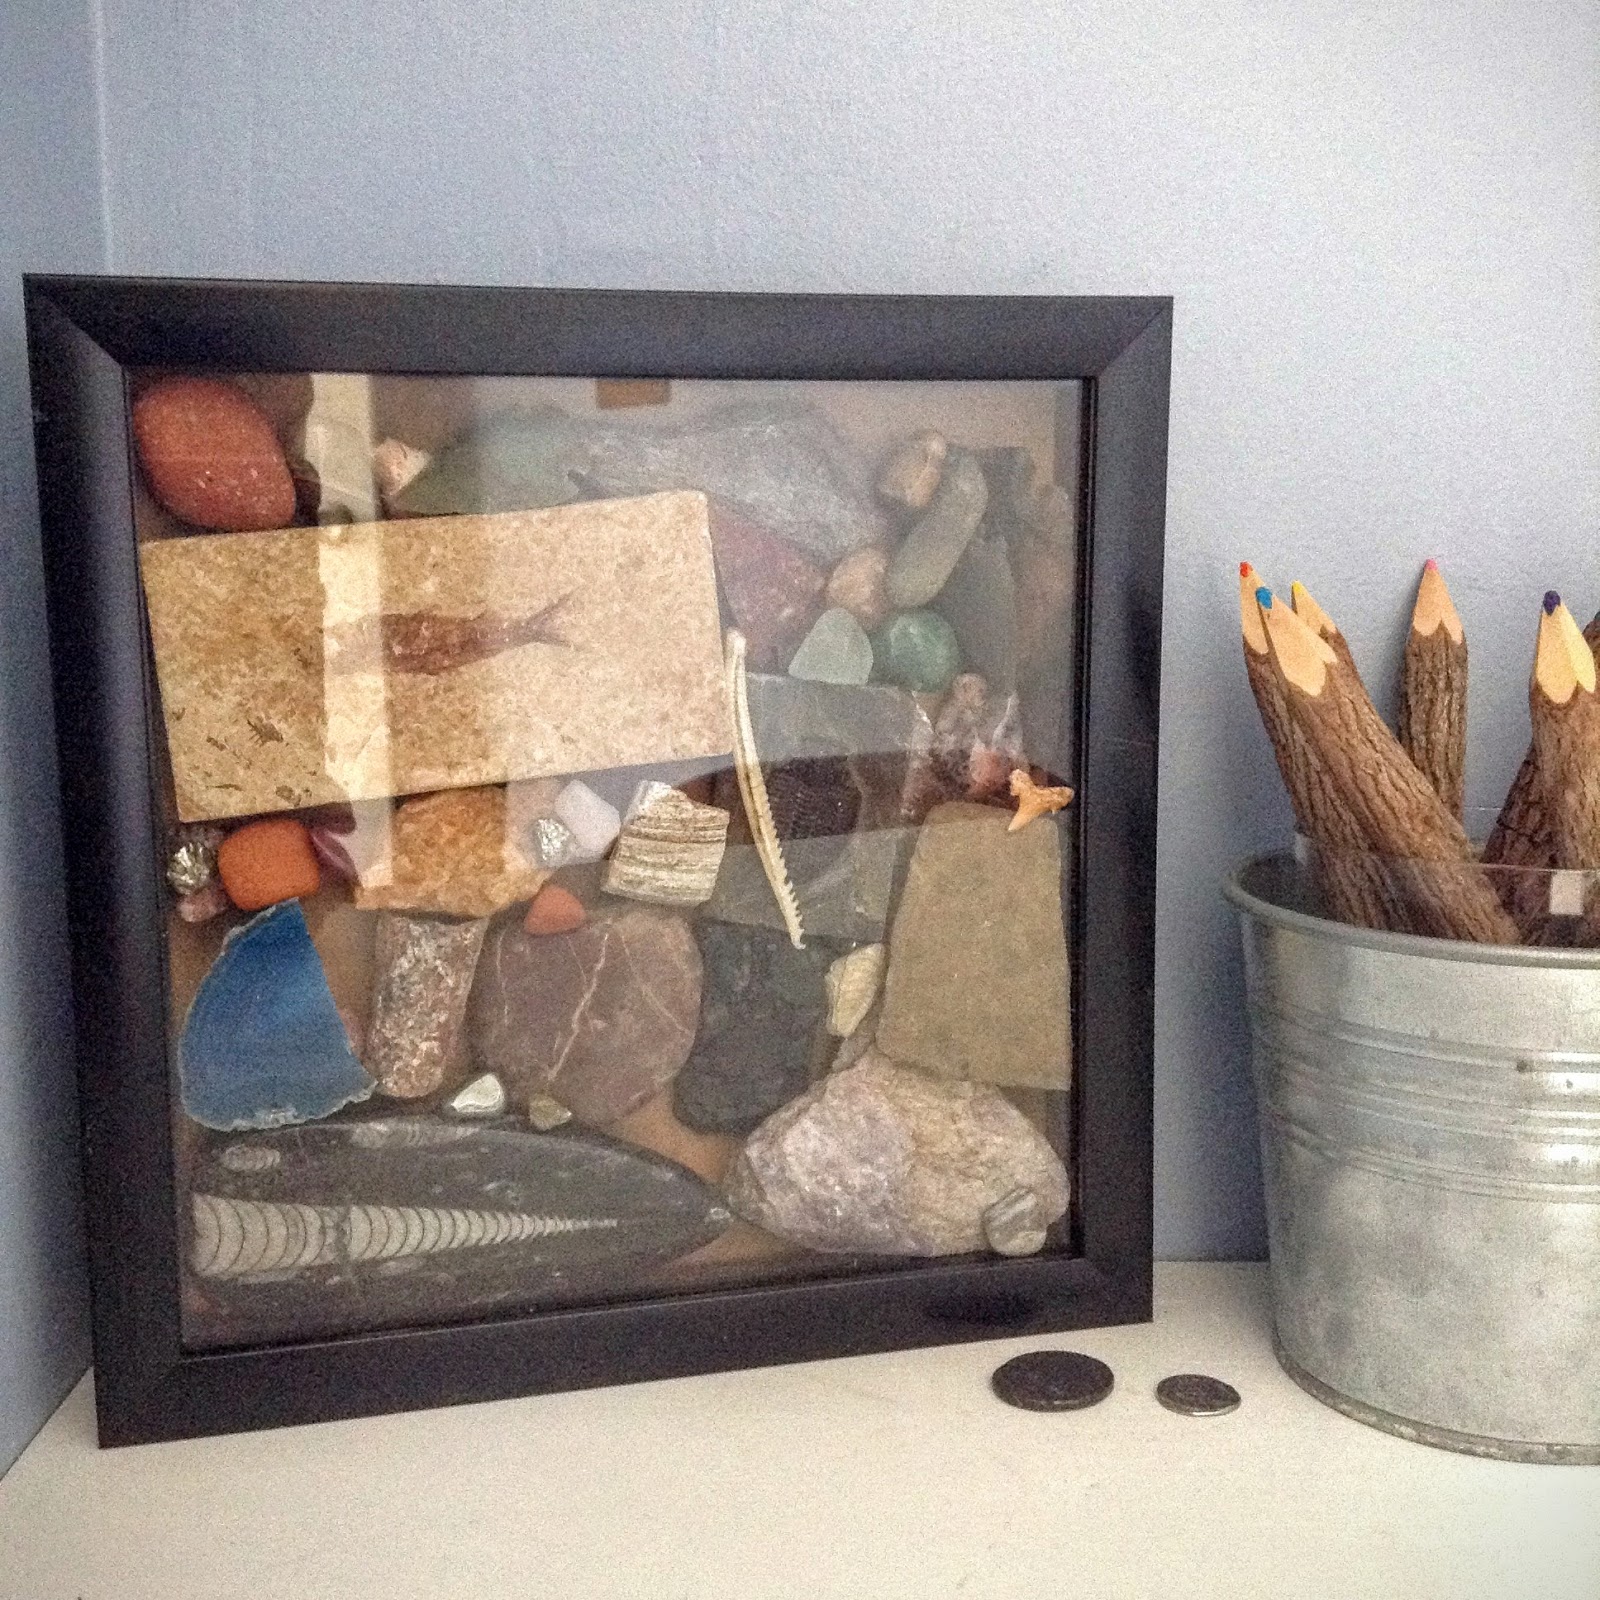
I found the shadow box frame on clearance for $5 so I filled it with a bunch of stuff from my boys' rock and fossil collection. It was all just sitting in a box and now they can enjoy it a little more.


I'll  eventually replace the cork board with a larger one. This is one that I just already had in the basement. The shelf with the colorful canvas bins might also be getting a makeover to help it look a little more grown up. I haven't exactly figured out what I'm going to do yet, but I have ideas. I had all the boys' hats on the pegs but they are home from school on winter break this week so the hats didn't even stay on the pegs long enough to act as a photo prop. I found the red folding chair in the basement when we moved in. It was gross, but I cleaned it up and it makes a nice distressed, vintage chair for the desk.


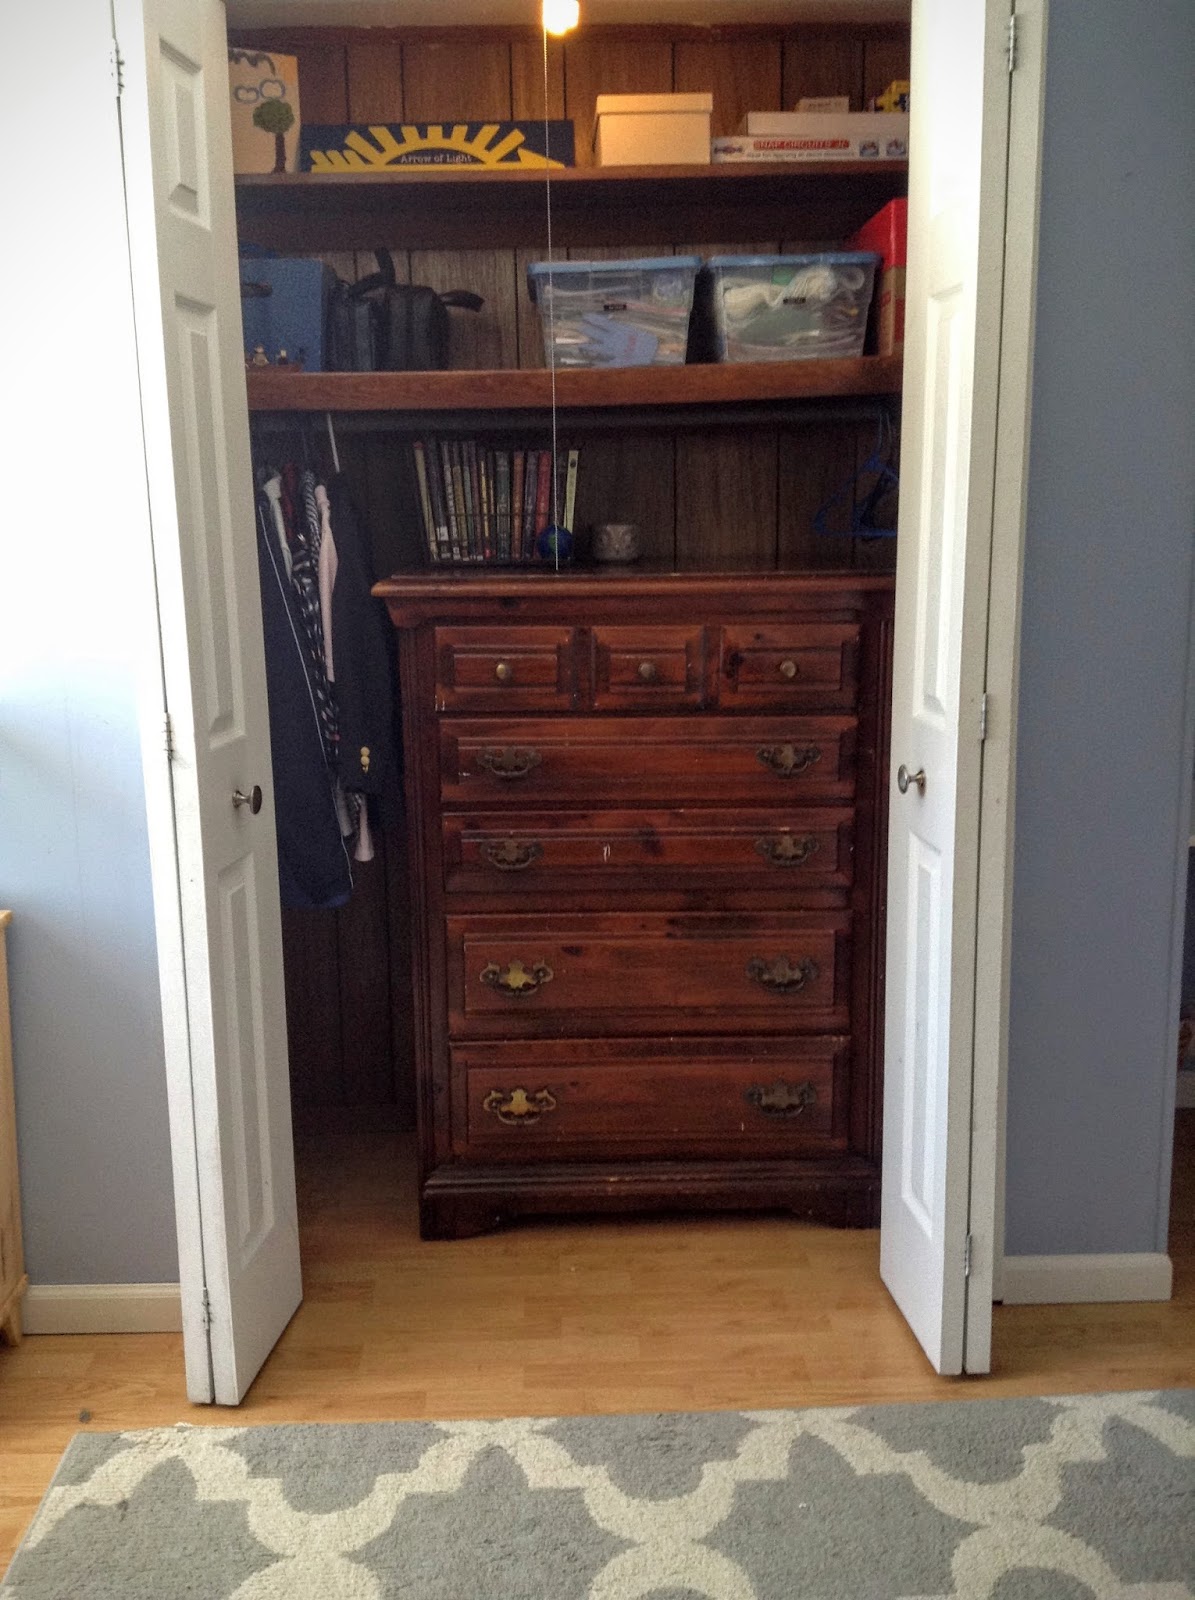
To the left of the desk is the closet. I stuck the dresser in there because why not. It fits and it frees up more space in the room for my kids to play.


Keep looking to the left.


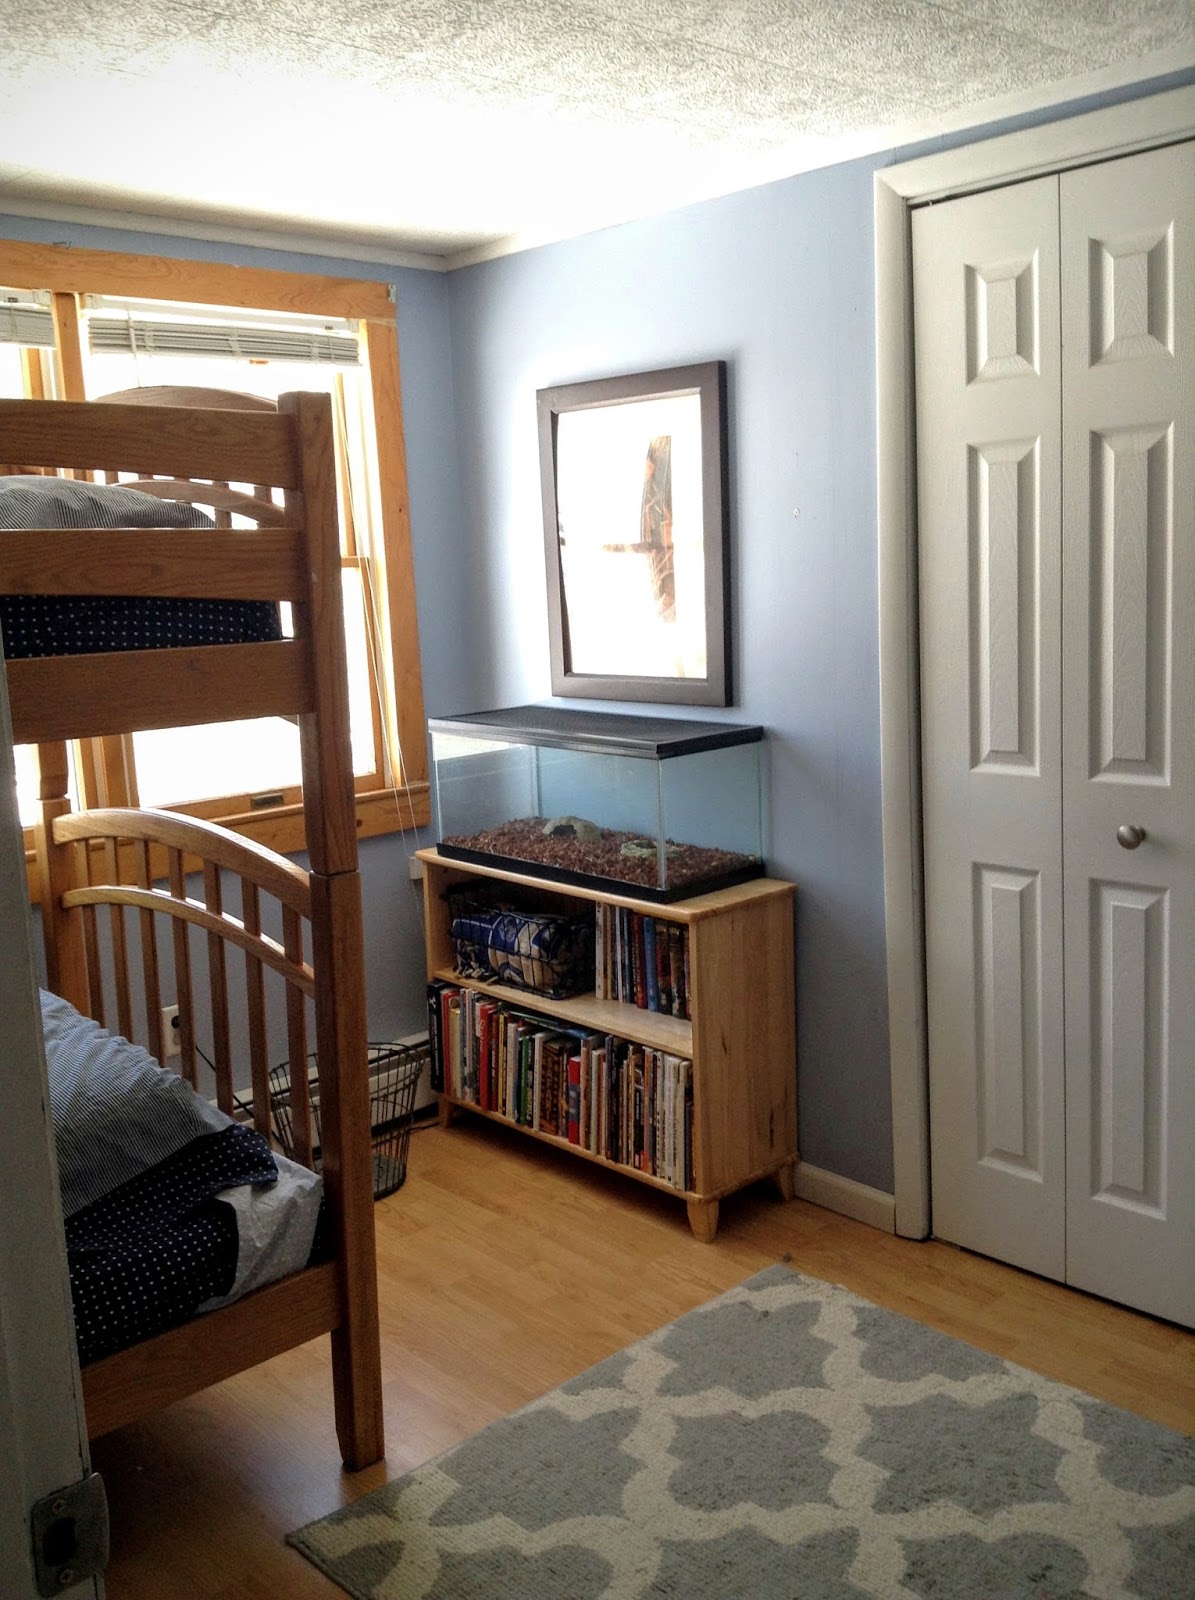
I like this poster, but I have plans for a map wall here in the future.


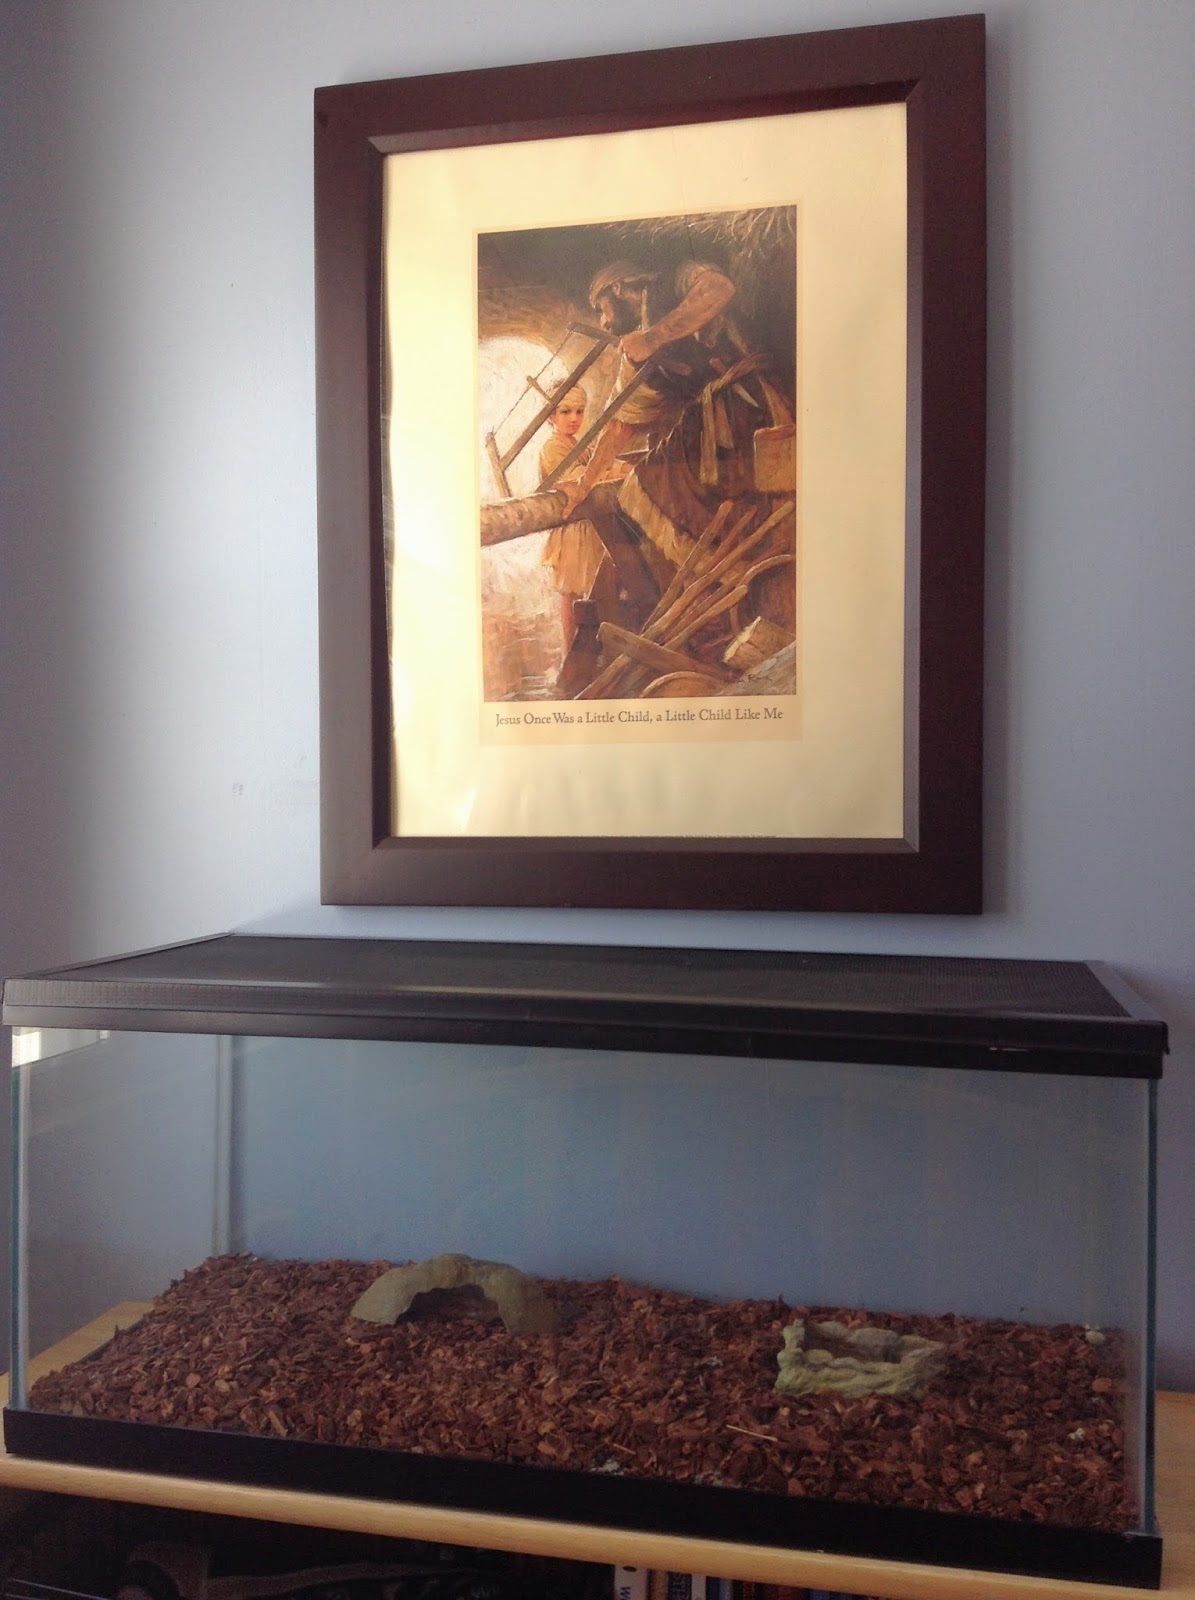
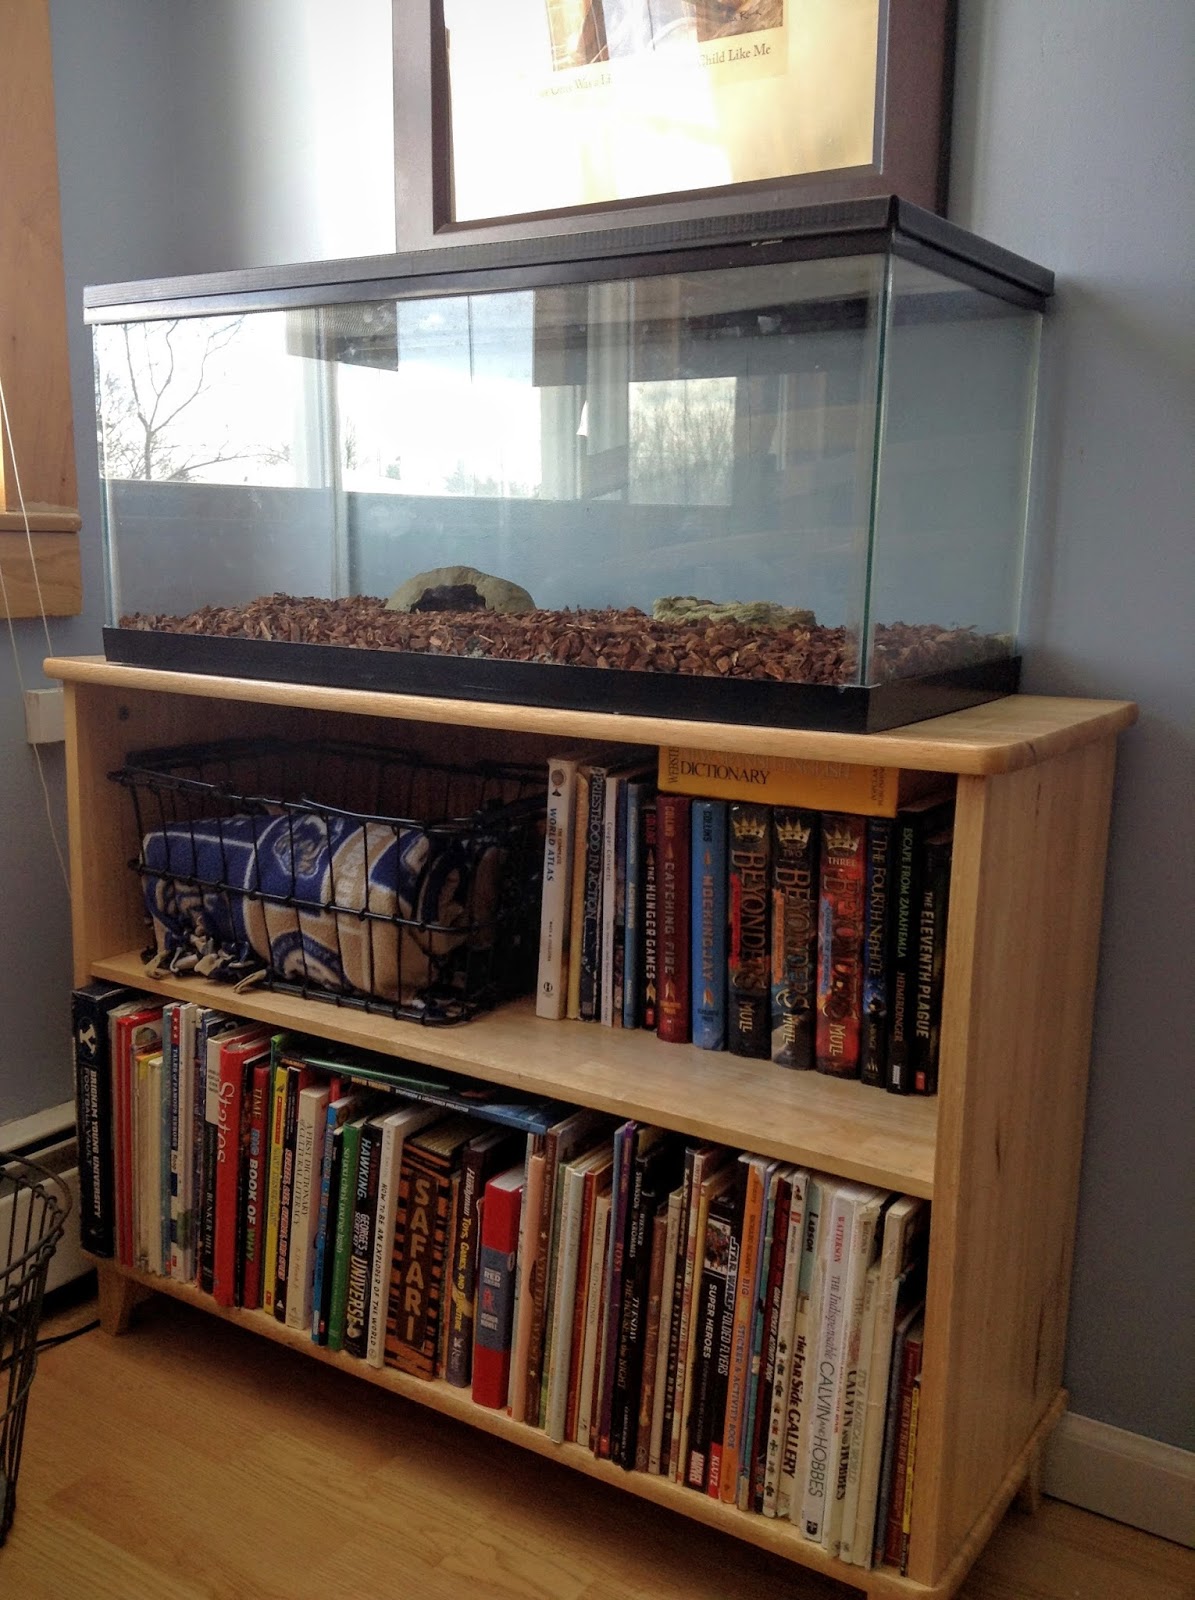
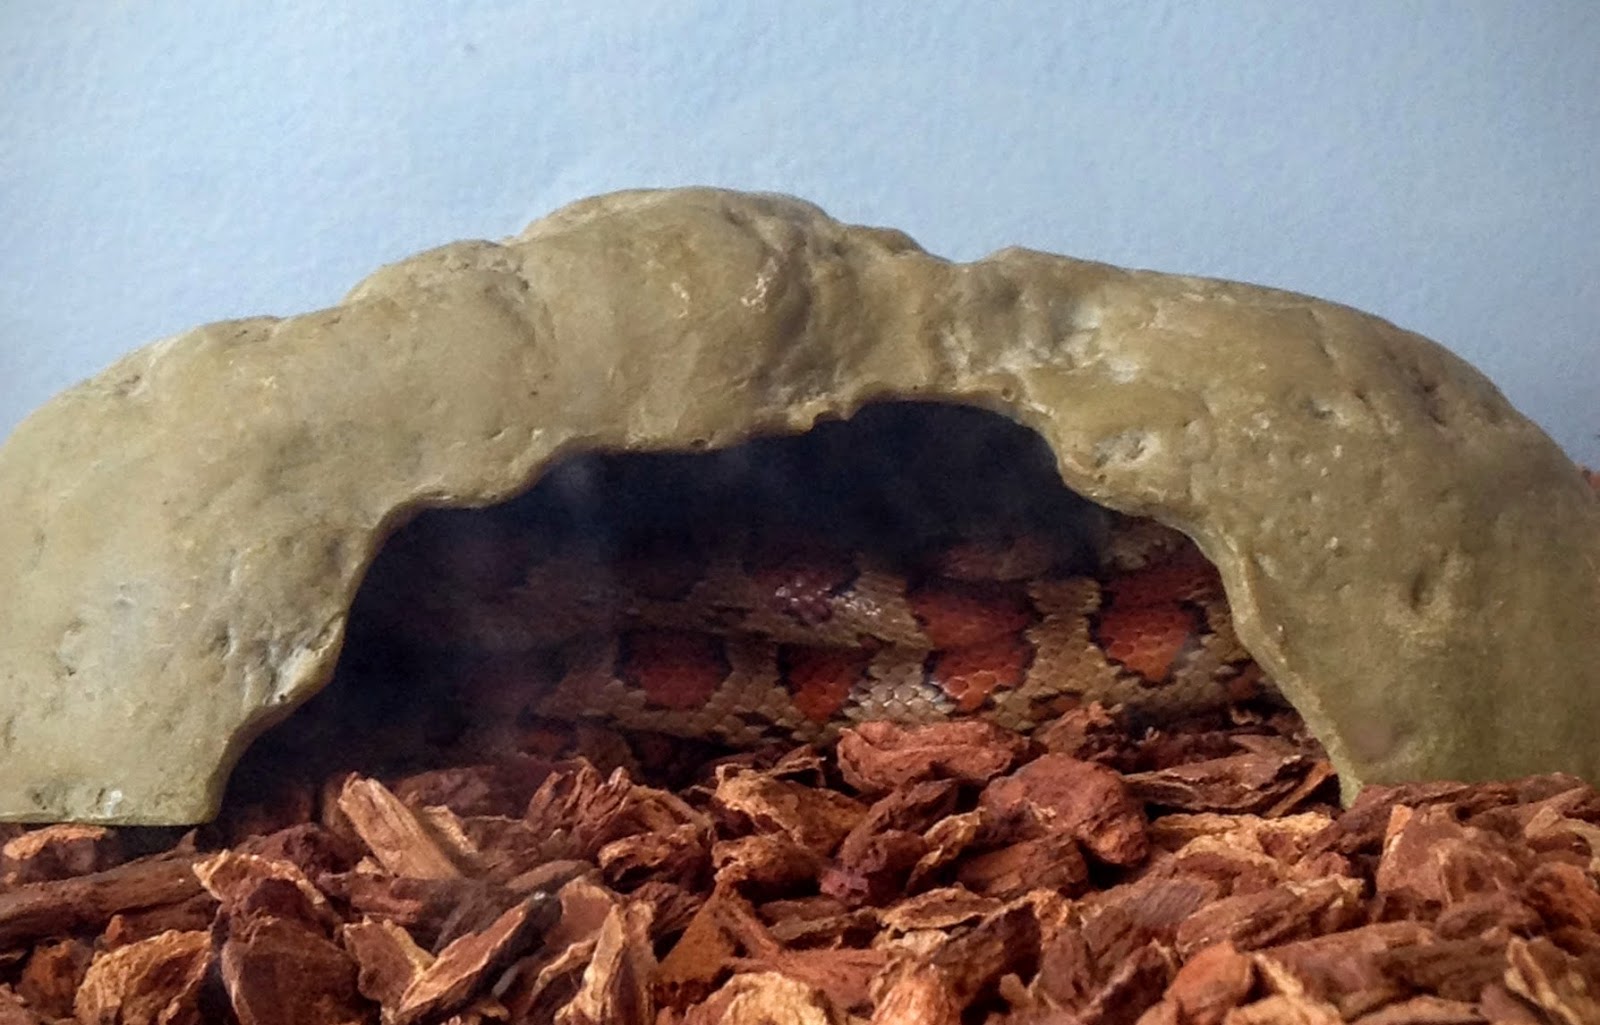
Our pet snake, Sir Hiss-A-Lot, lives on top of this bookcase by the window. Snakes are my favorite pet because I am not the best pet owner and this one doesn't require anything from me other than to fill his water occasionally. My husband takes care of the feeding and stuff.


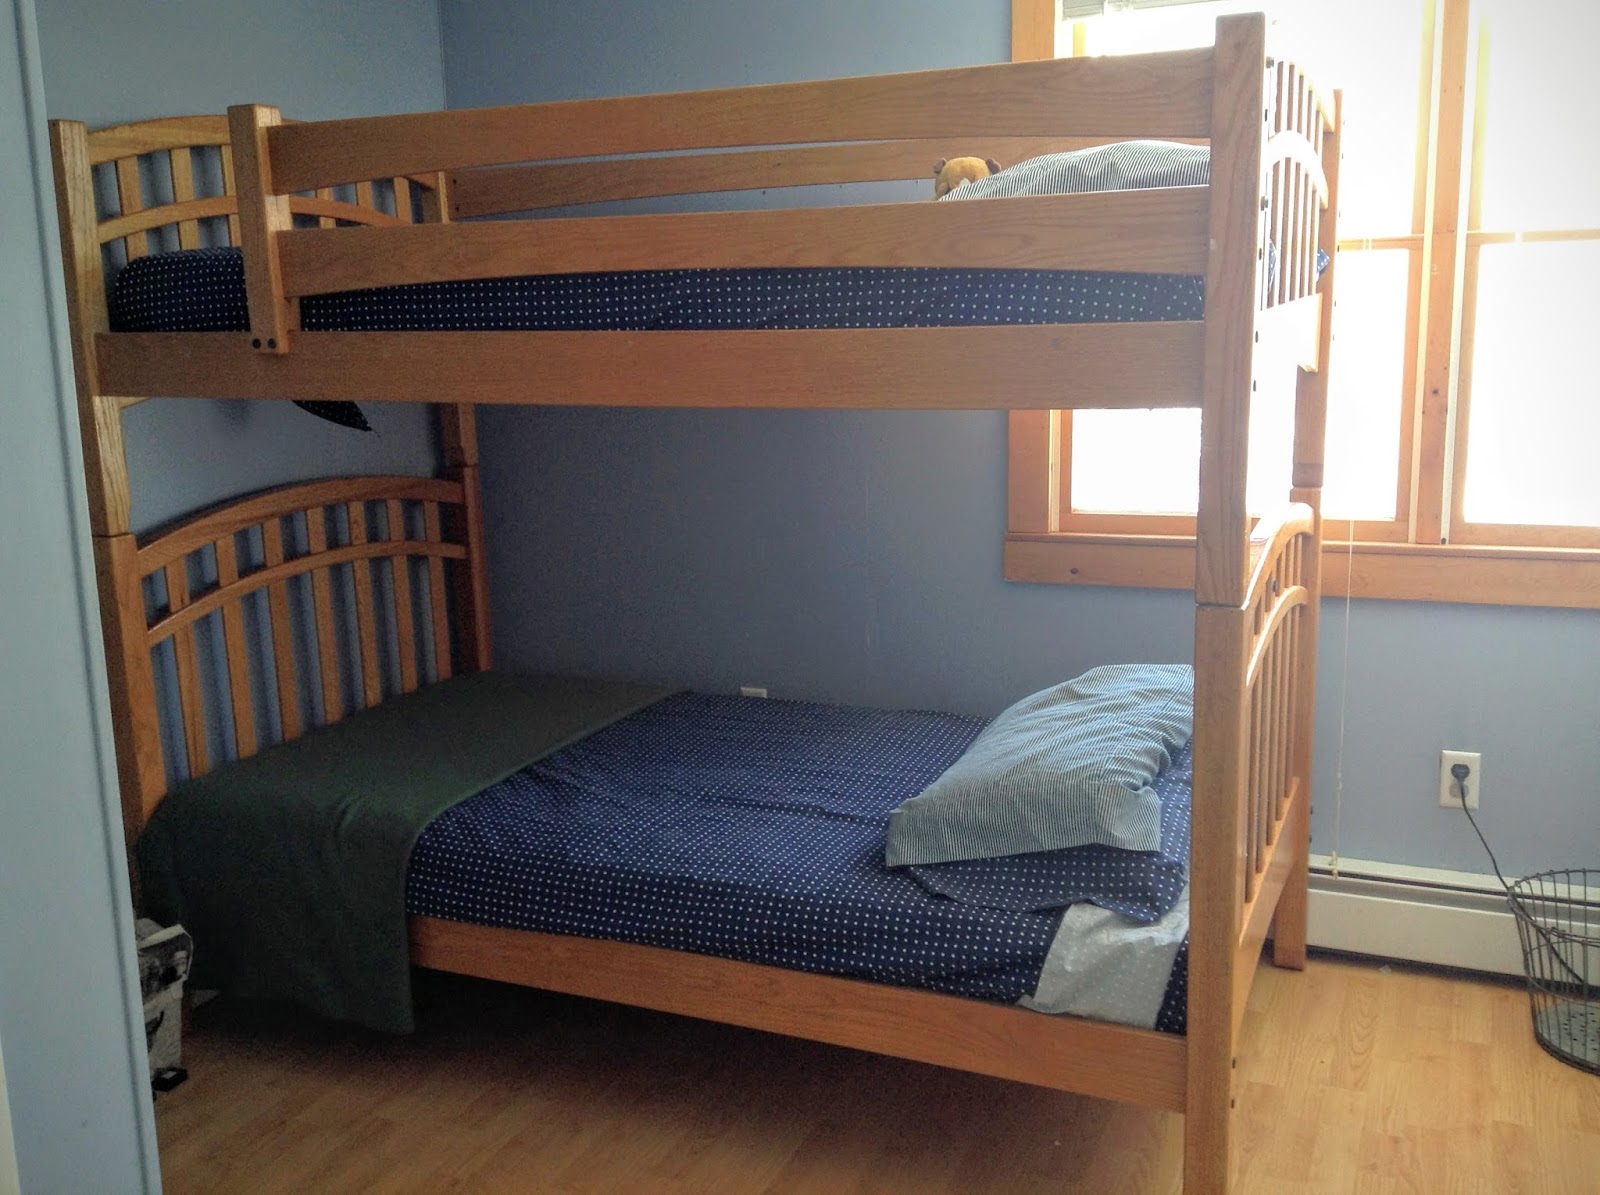
My boys have bunk beds and while they are great for space they are a pain in the neck to make. These beds are made to also work unbunked, but we just don't have the space in this room so this is how they will stay at least until an older brother grows up and moves out of the house (don't get the wrong impression--I'm sad about this, but I know it is coming very soon). My boys also seem to like sleeping with their heads away from the wall for some reason which seems upside down to me, but I'll humor them for now. There is a bedding update happening soon so keep your eyes open in the future for that. 


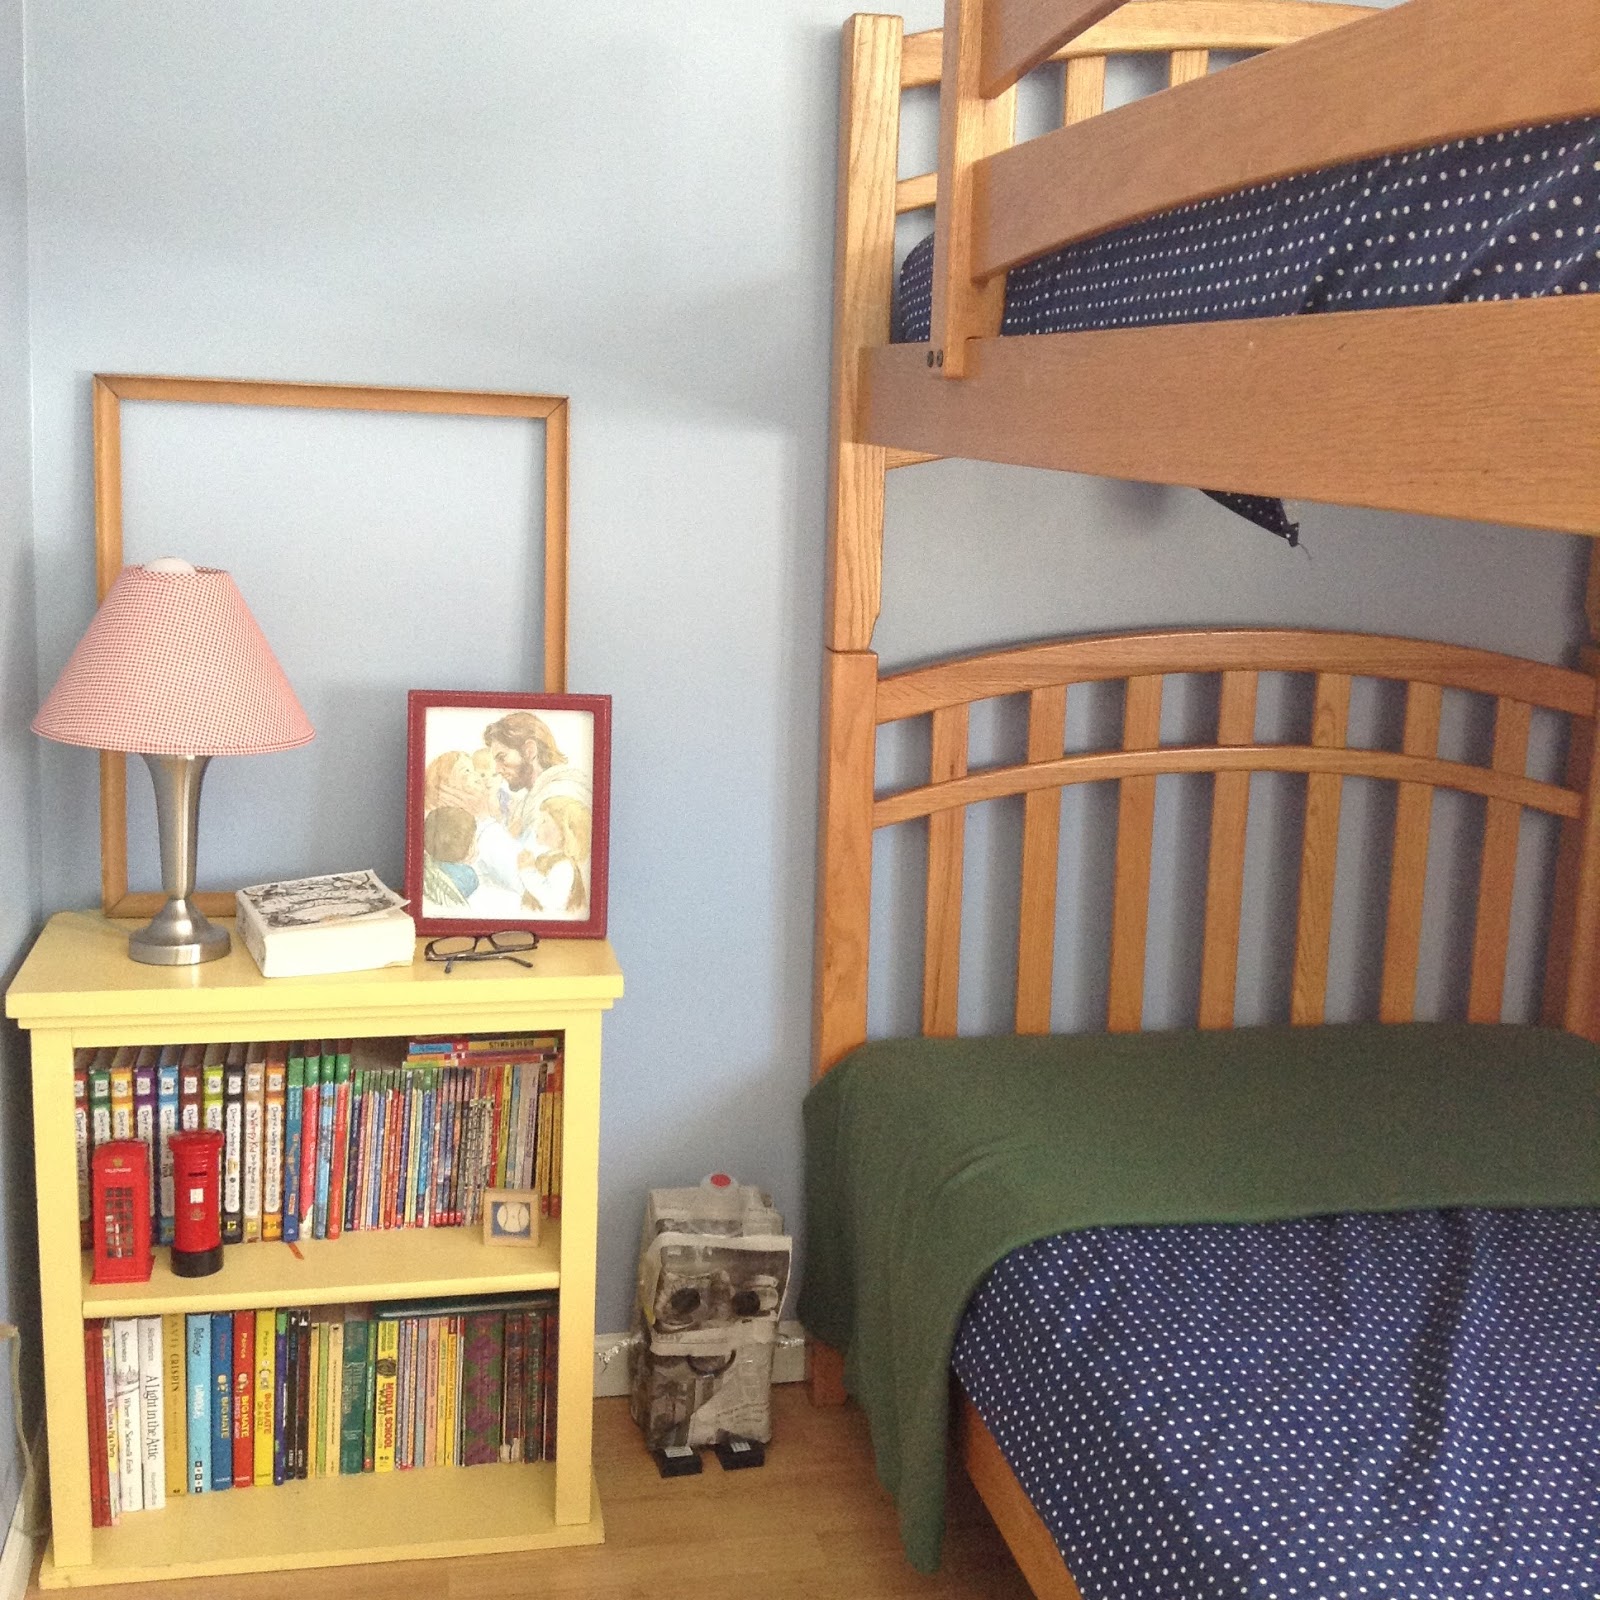
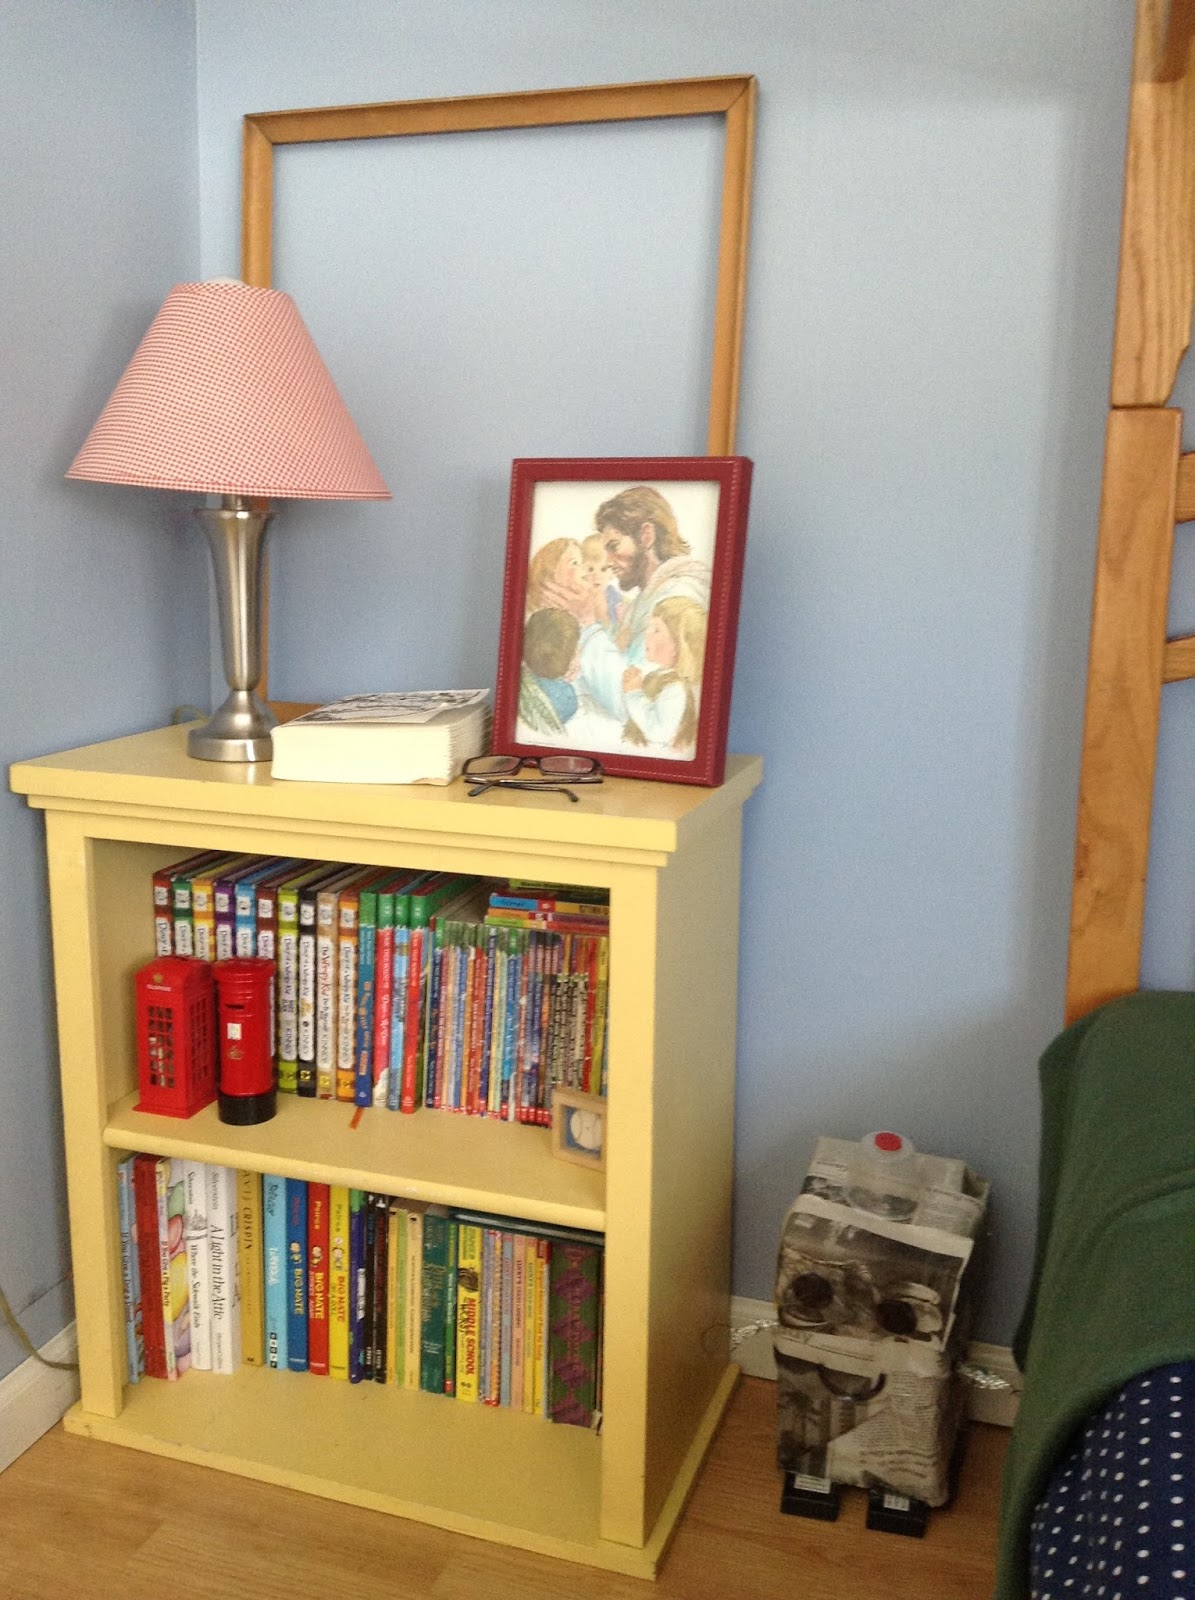
This little bookcase will probably get a paint job sometime soon. I love yellow, but it almost seems too juvenile for what I'm going for in the rest of the room.

The room is a work in progress, but like I have said before, I have to make these improvements just a little bit at a time:
--Replace paneled walls with drywall and replace ceiling
--Install overhead lighting
--Paint walls and window casing
--Window treatment
--New bedding
--Tweak gallery wall
--Paint/update some of the furniture (yellow bookcase, wall shelf, etc.)
--Map wall on small wall above snake terrarium

Boys rooms are definitely a challenge for me. I have four boys so you'd think I'd be a natural at this but nope.

Tuesday, February 16, 2016

Upstairs Bathroom Tour

We have one bathroom upstairs. That might not sound like much for a family of six but with the other bathroom downstairs we manage just fine.

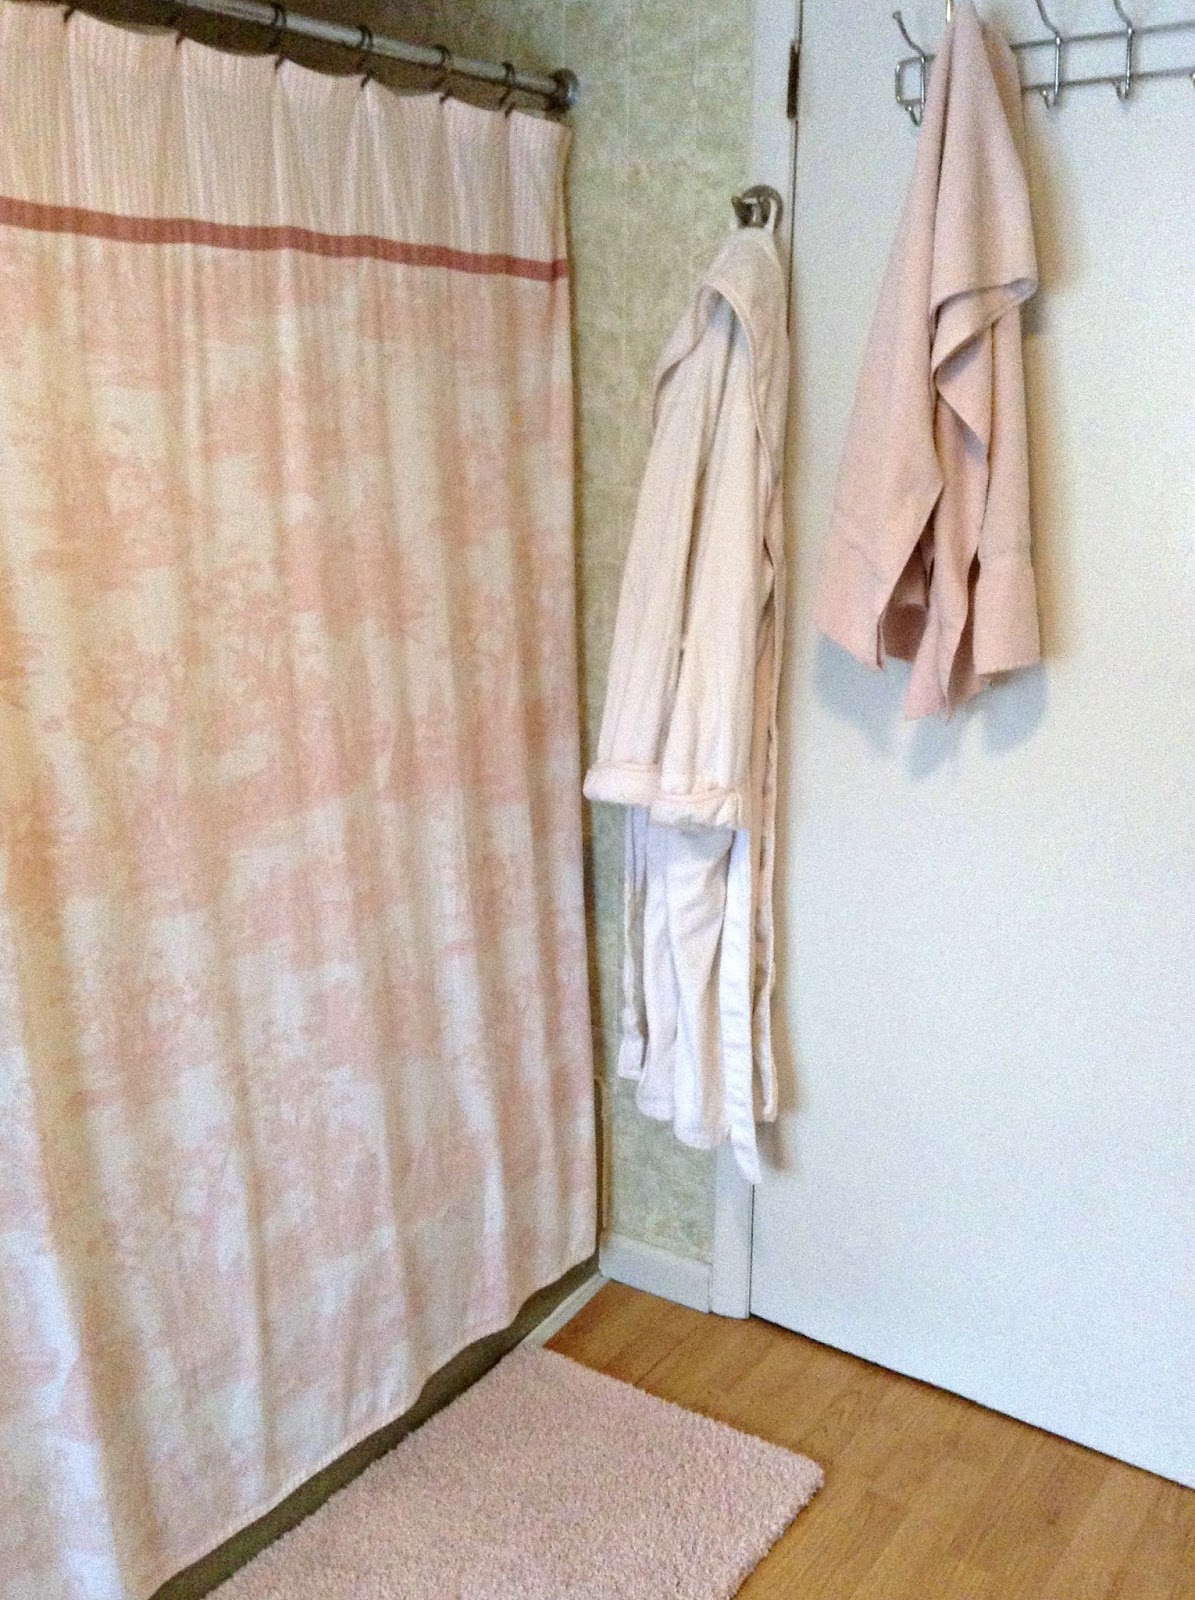
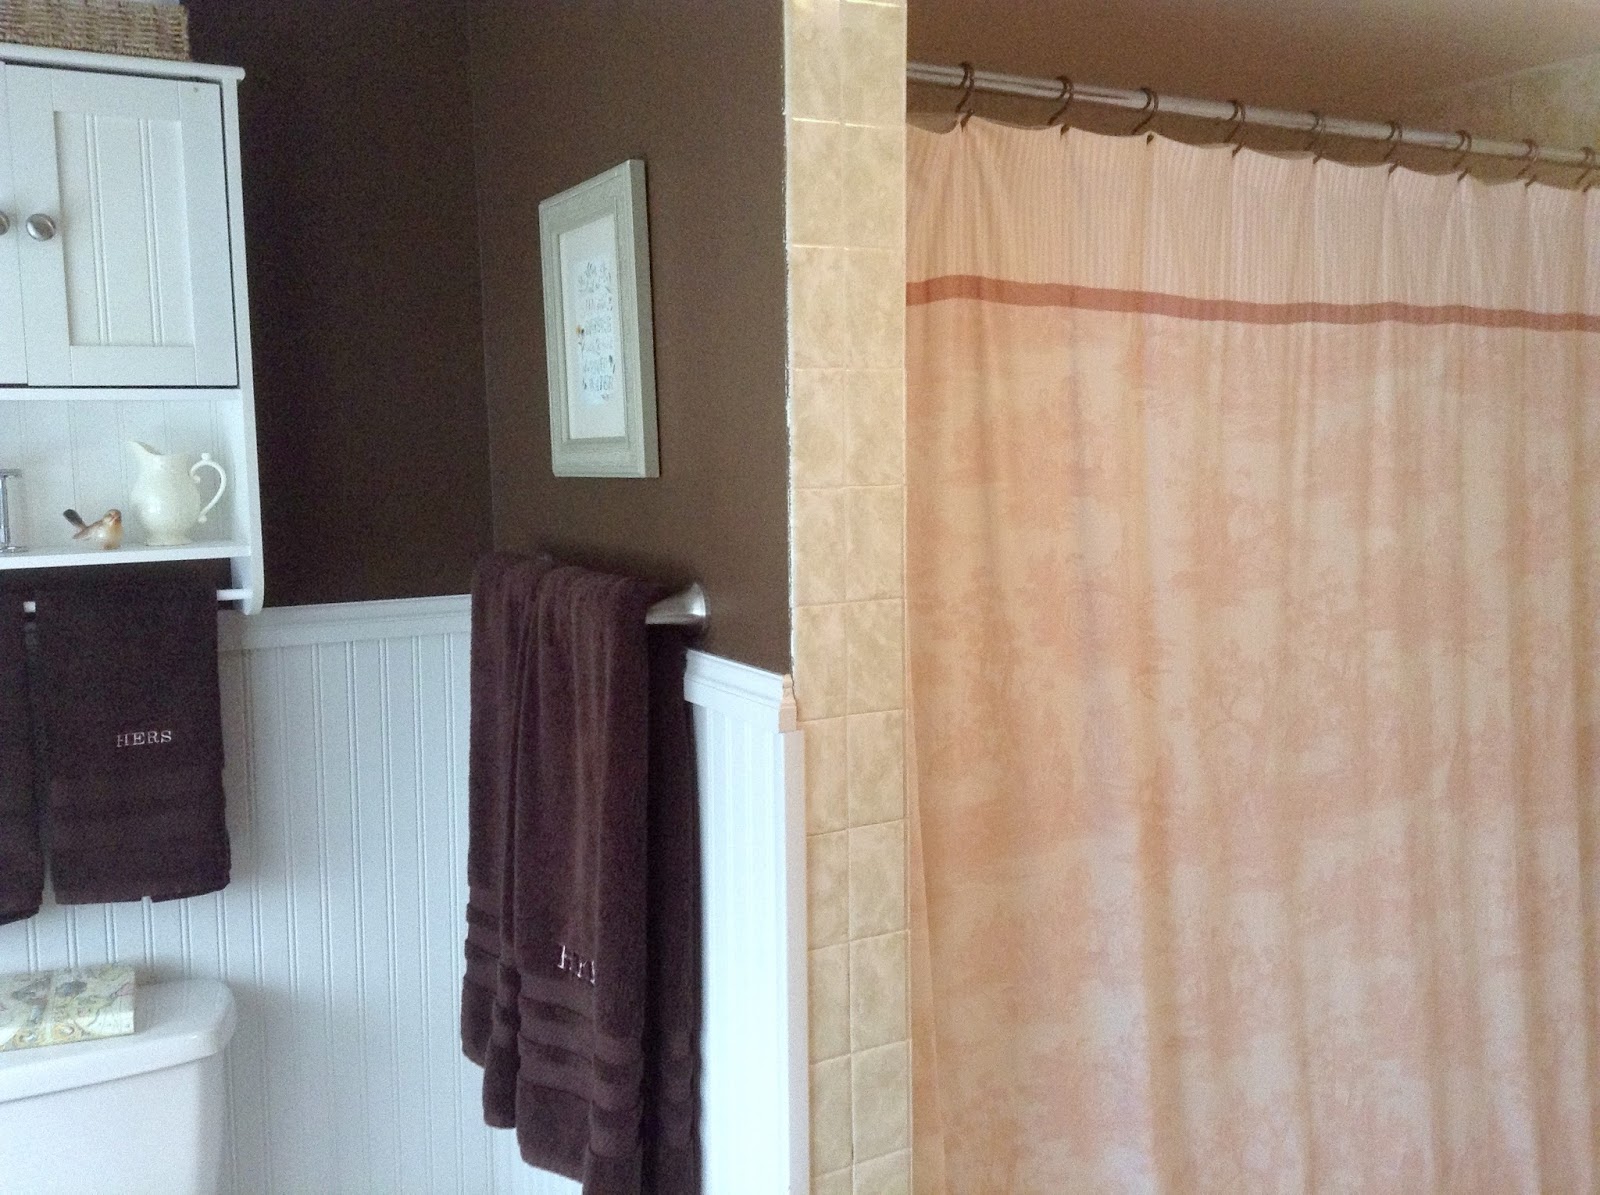
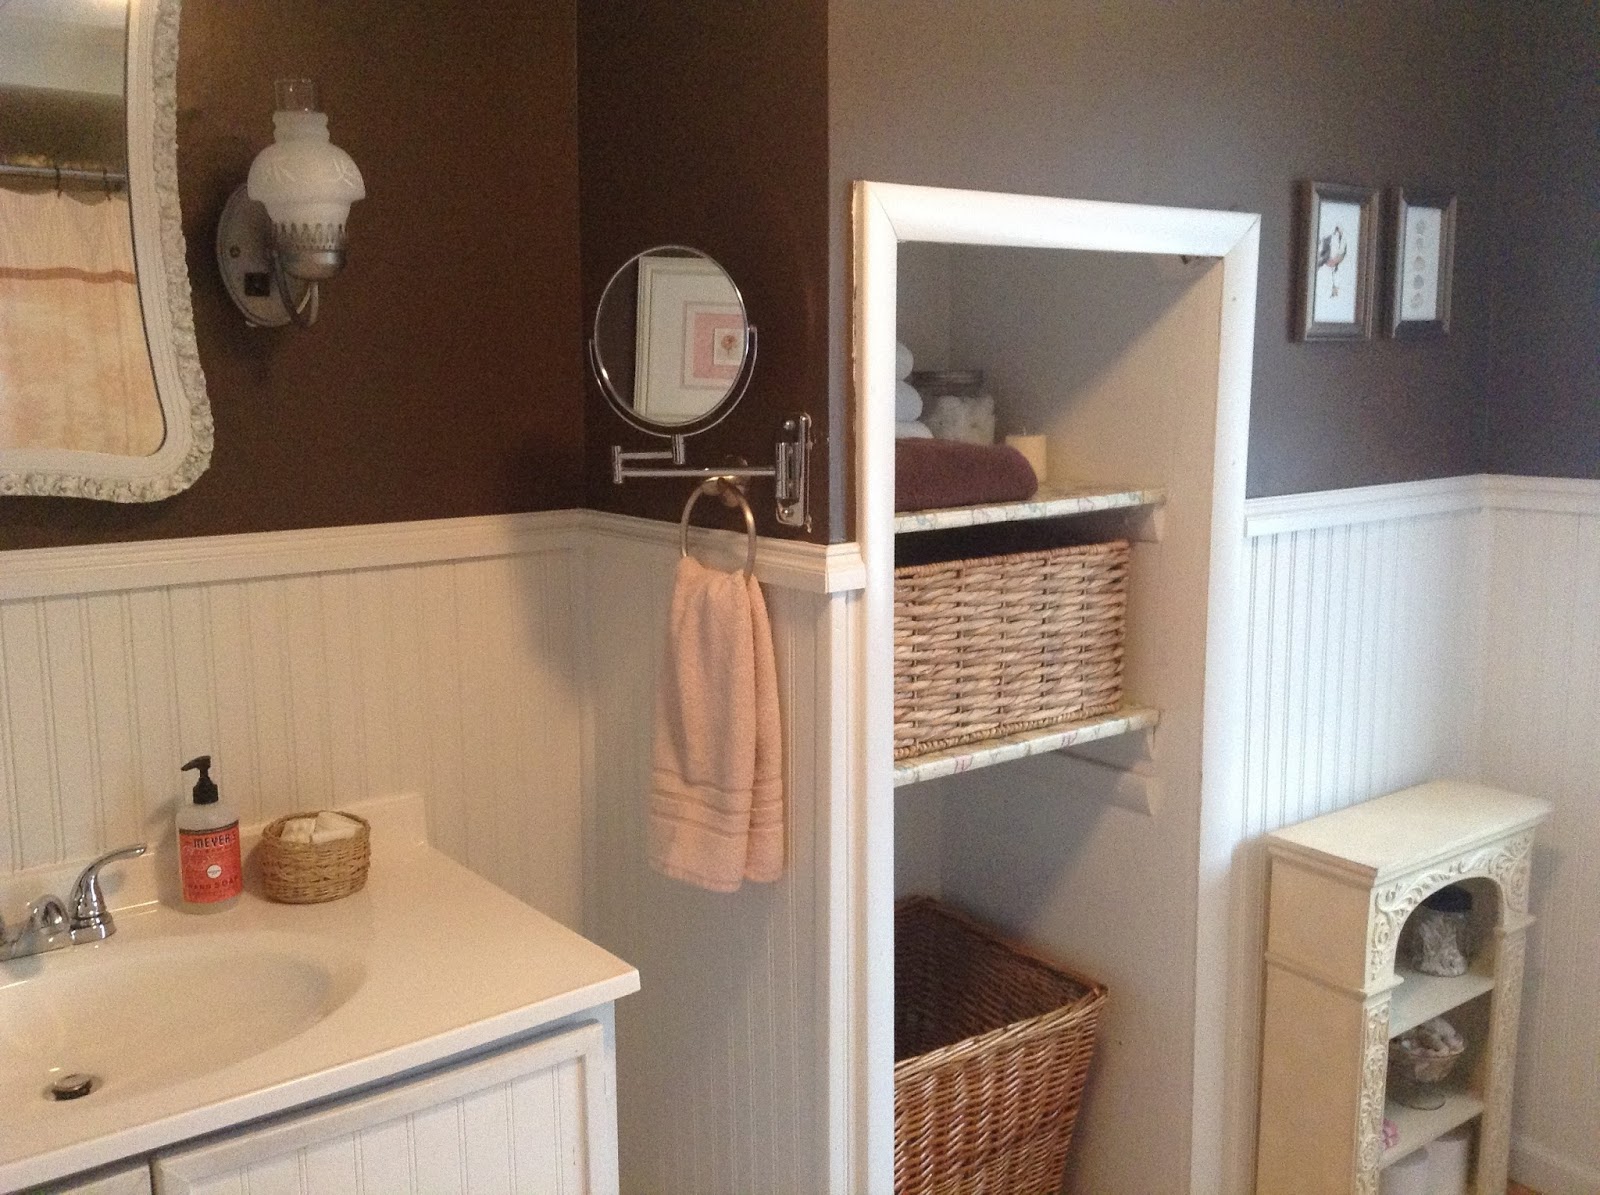
This is definitely the girliest room in the house. I bought the shower curtain years ago when I was feeling overwhelmed by all the blue in my life and the rest of the room follows suit.

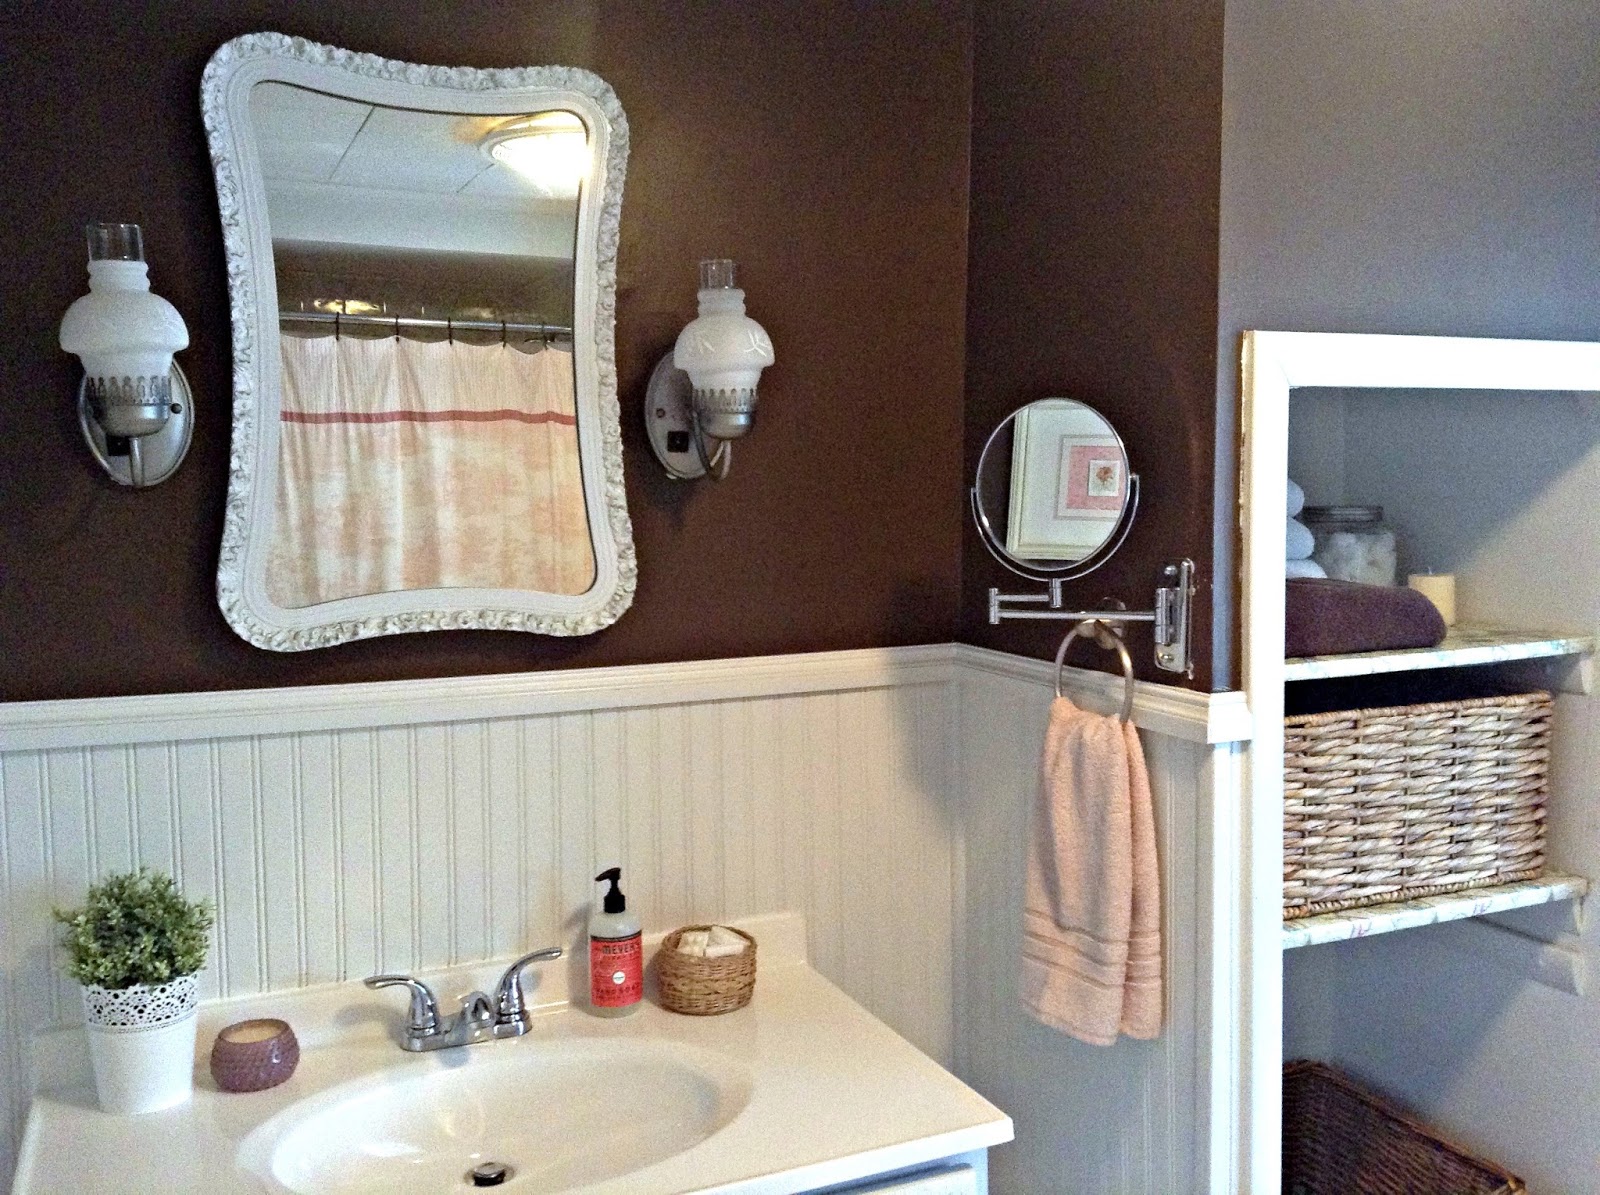
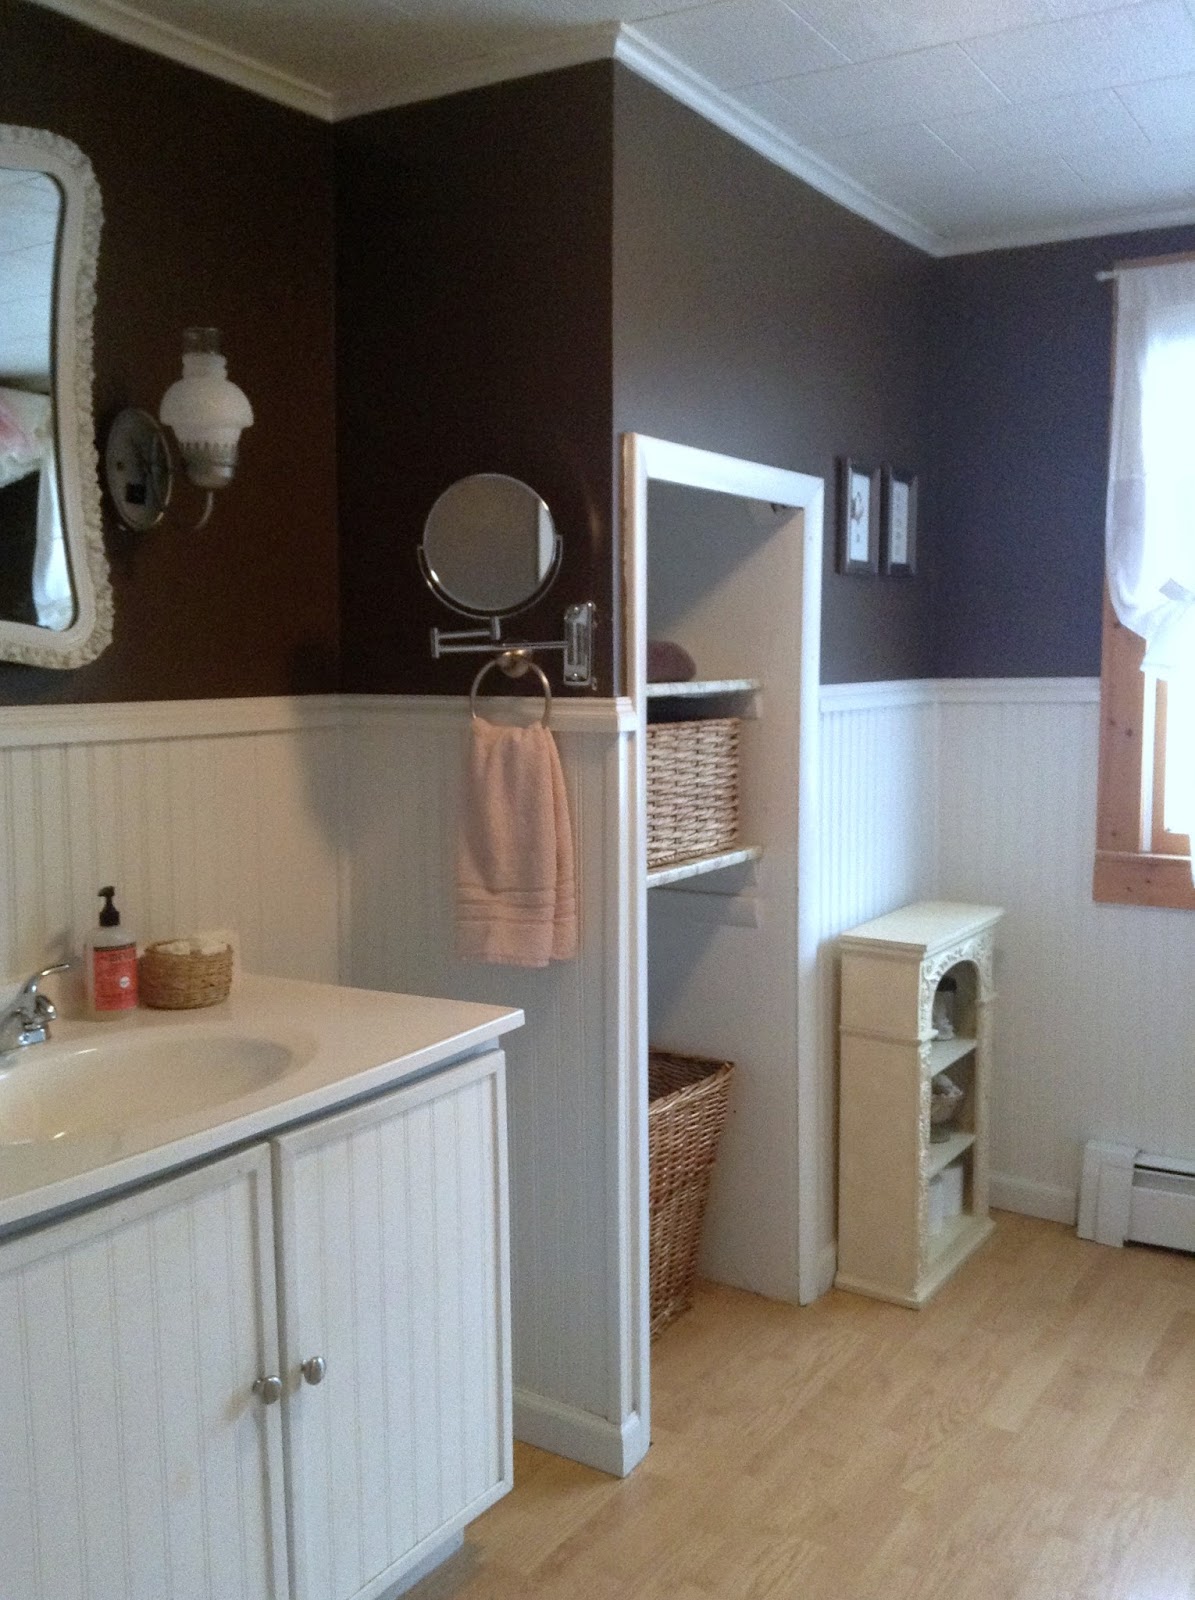
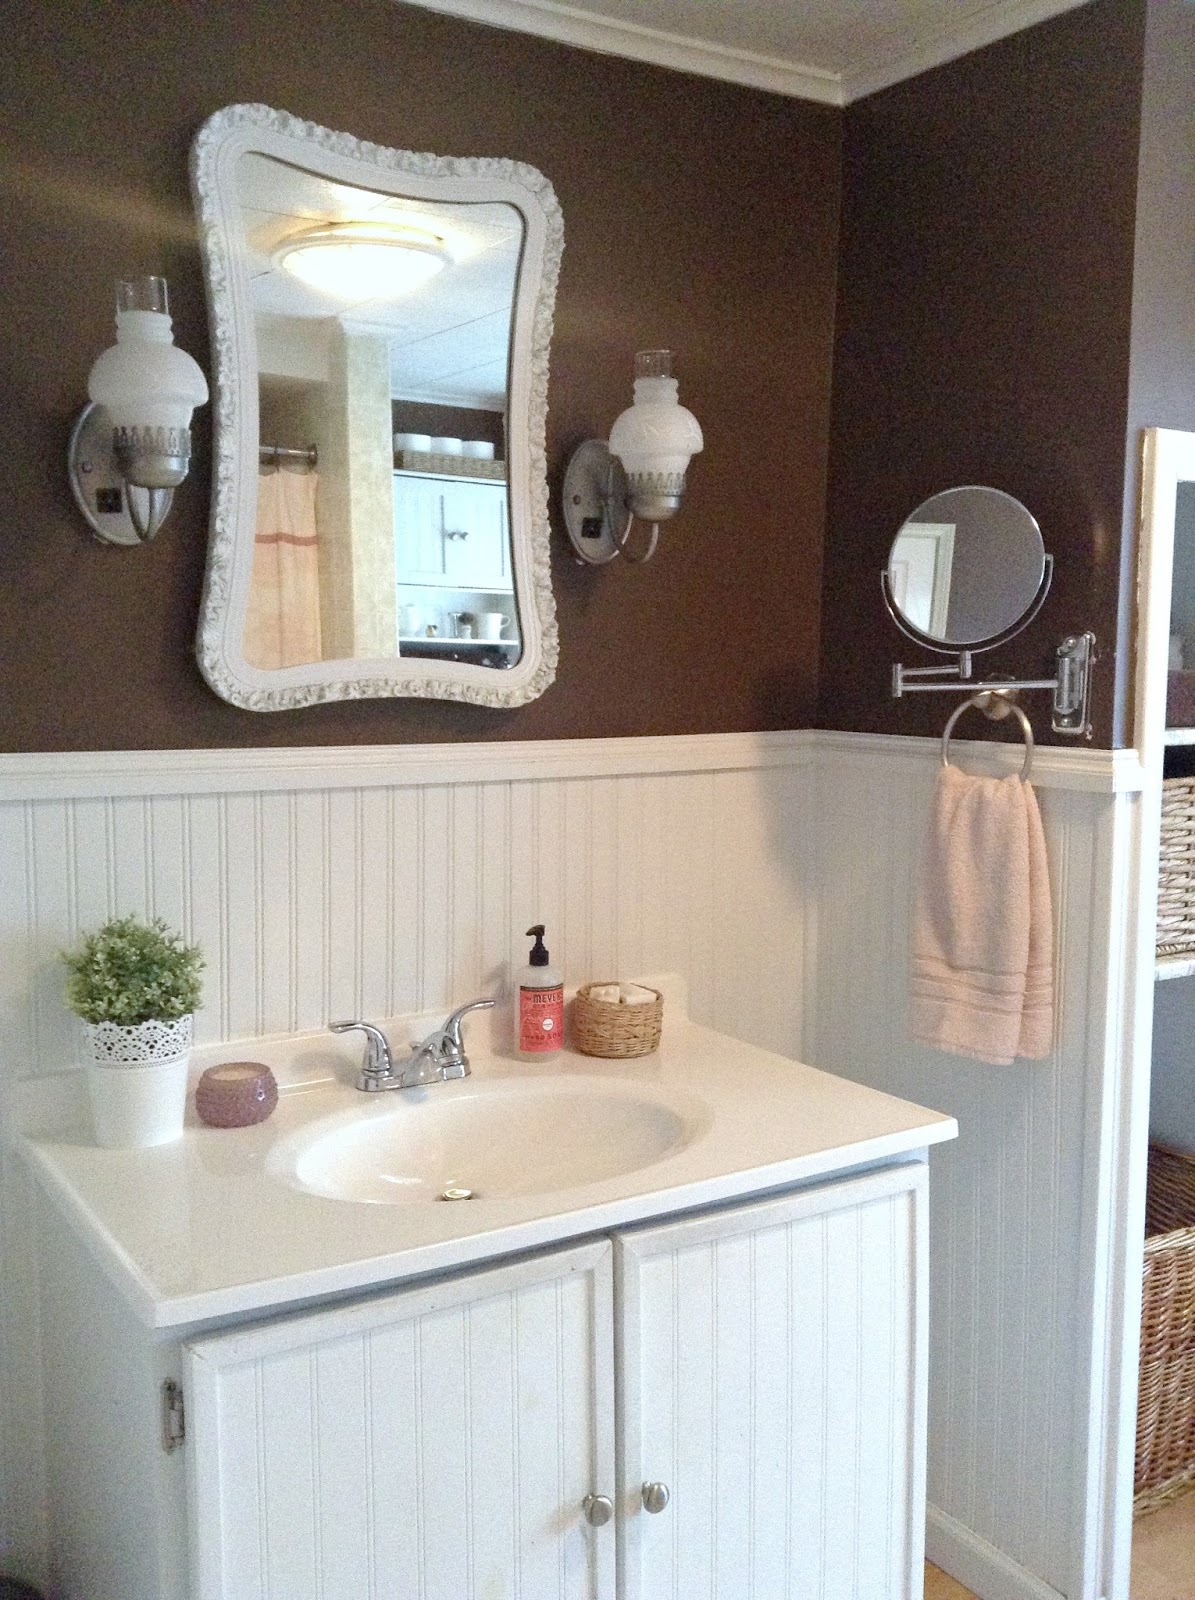
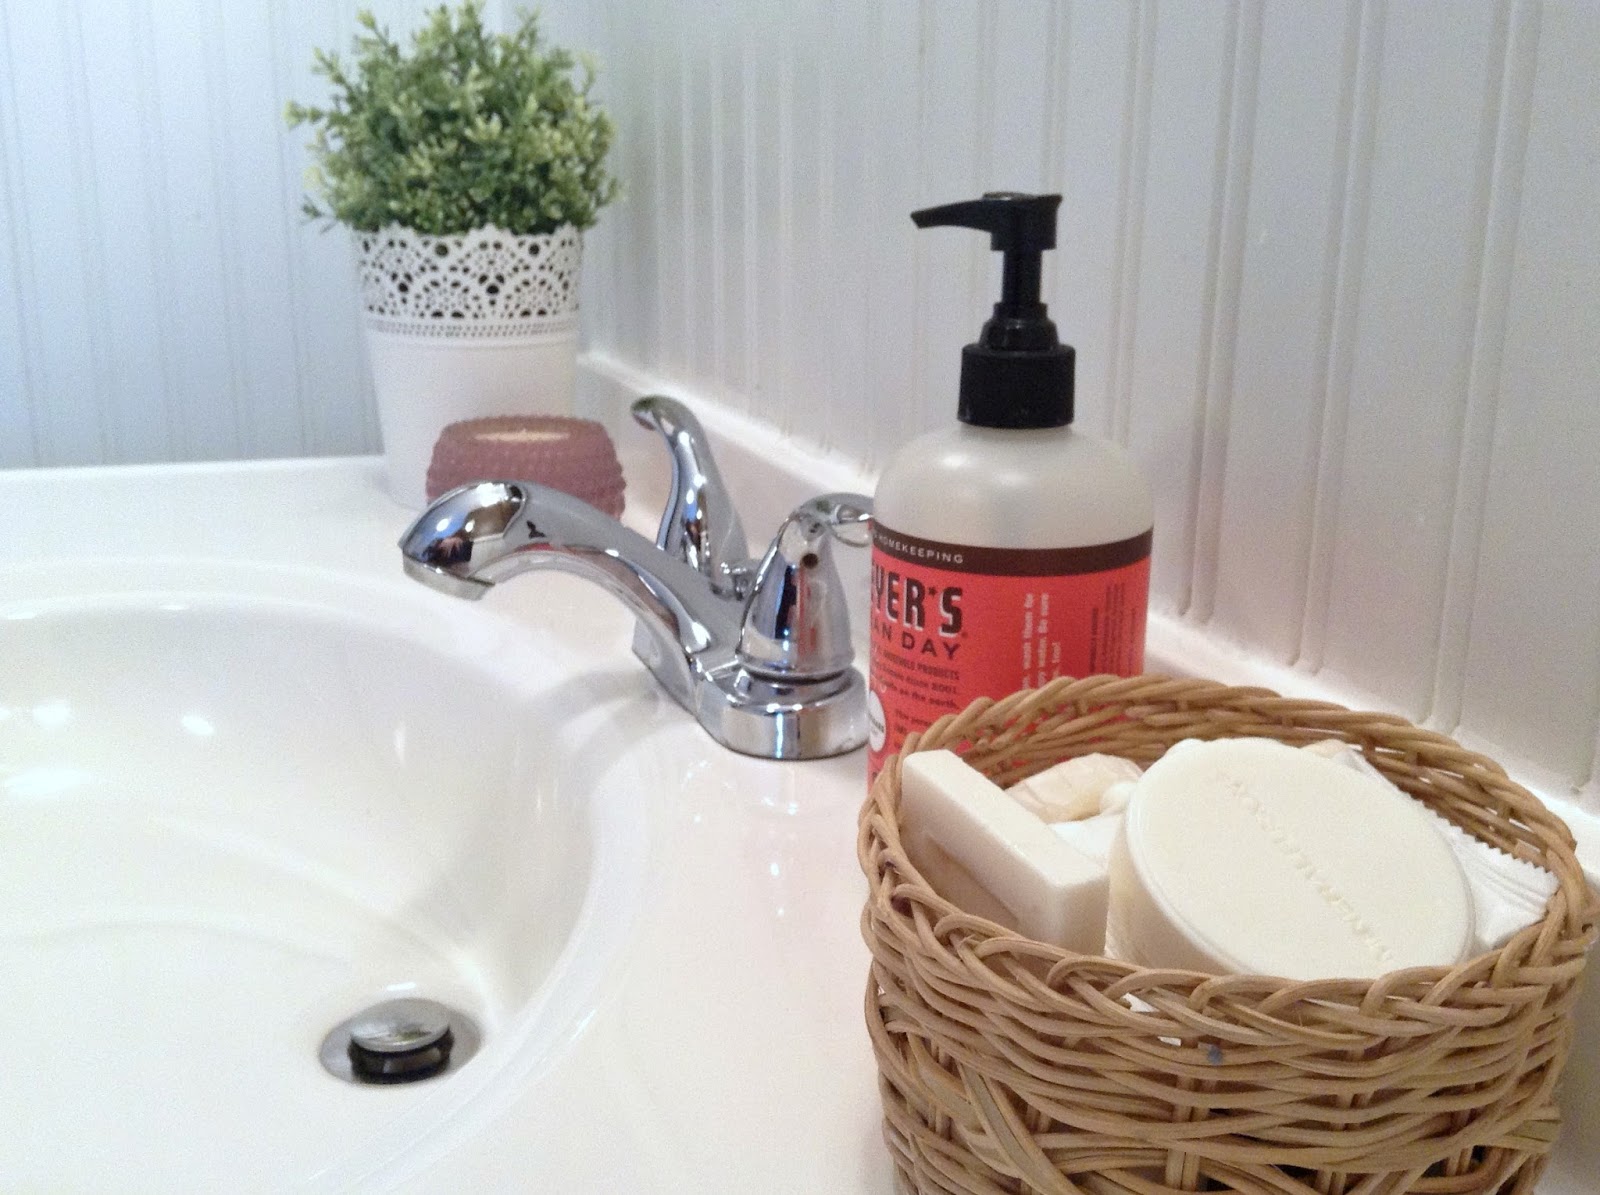
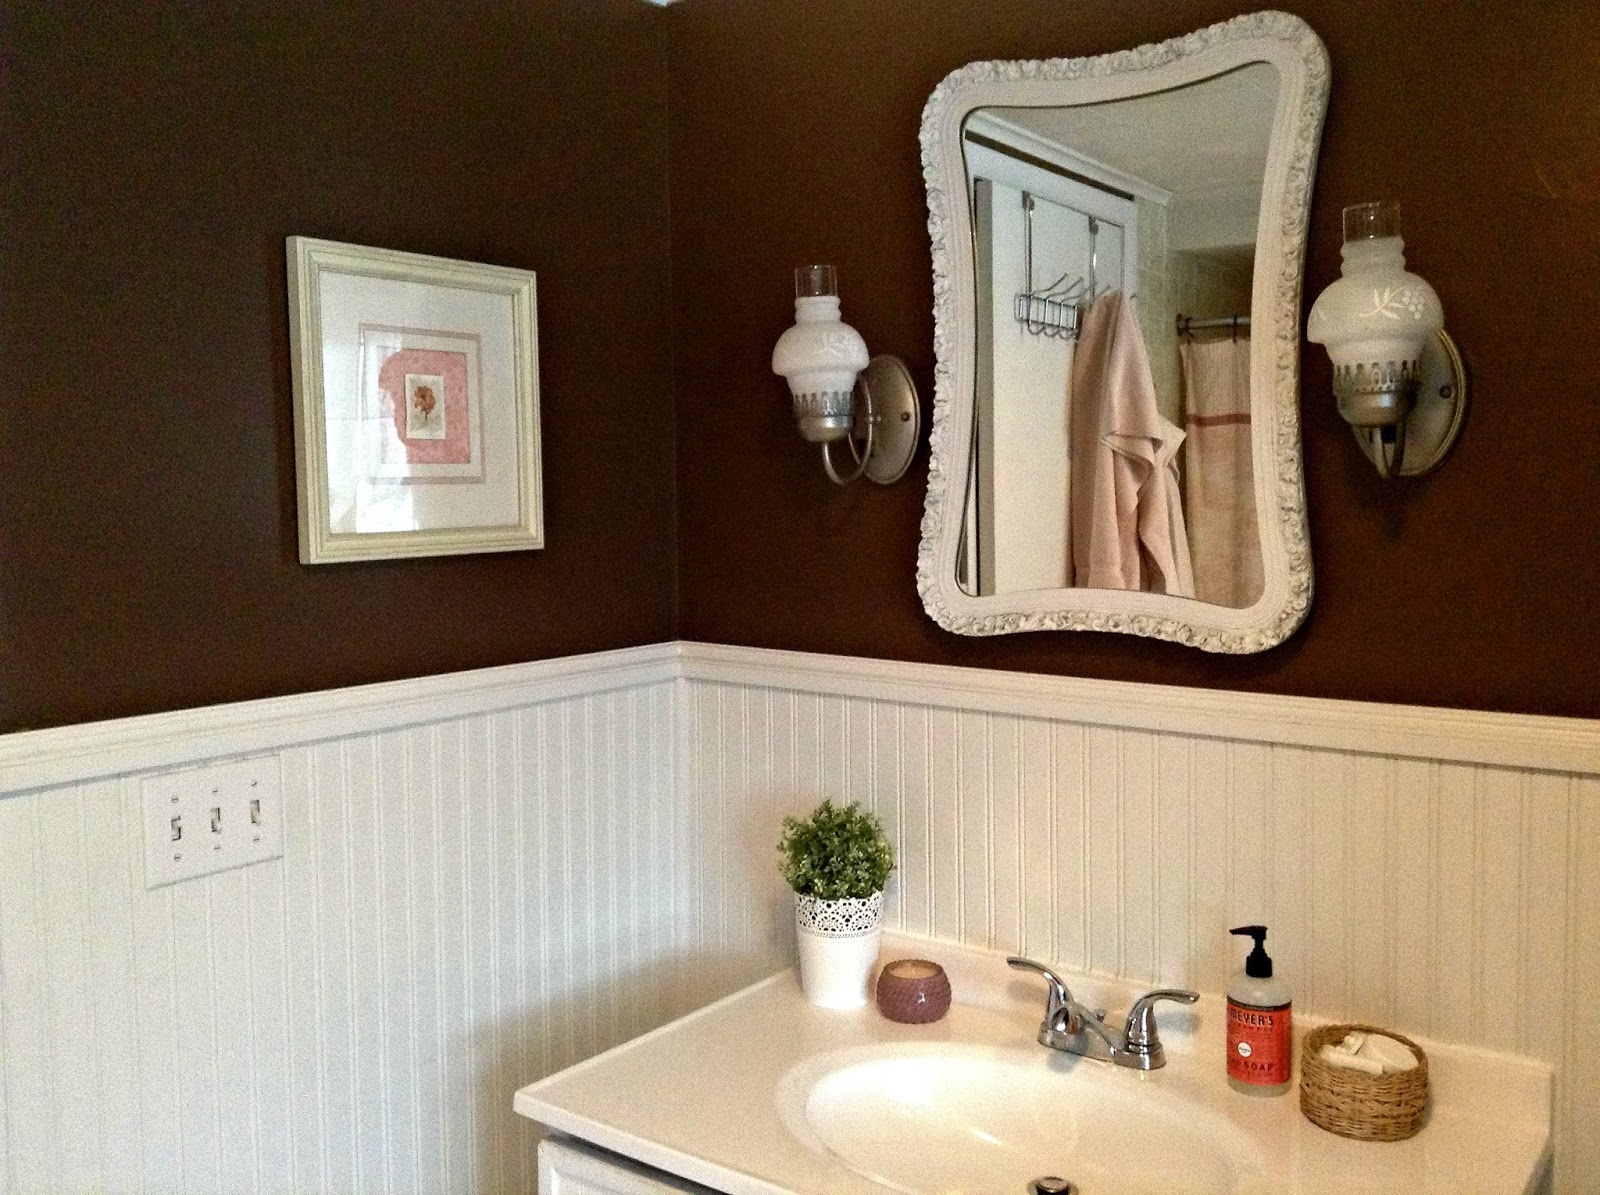
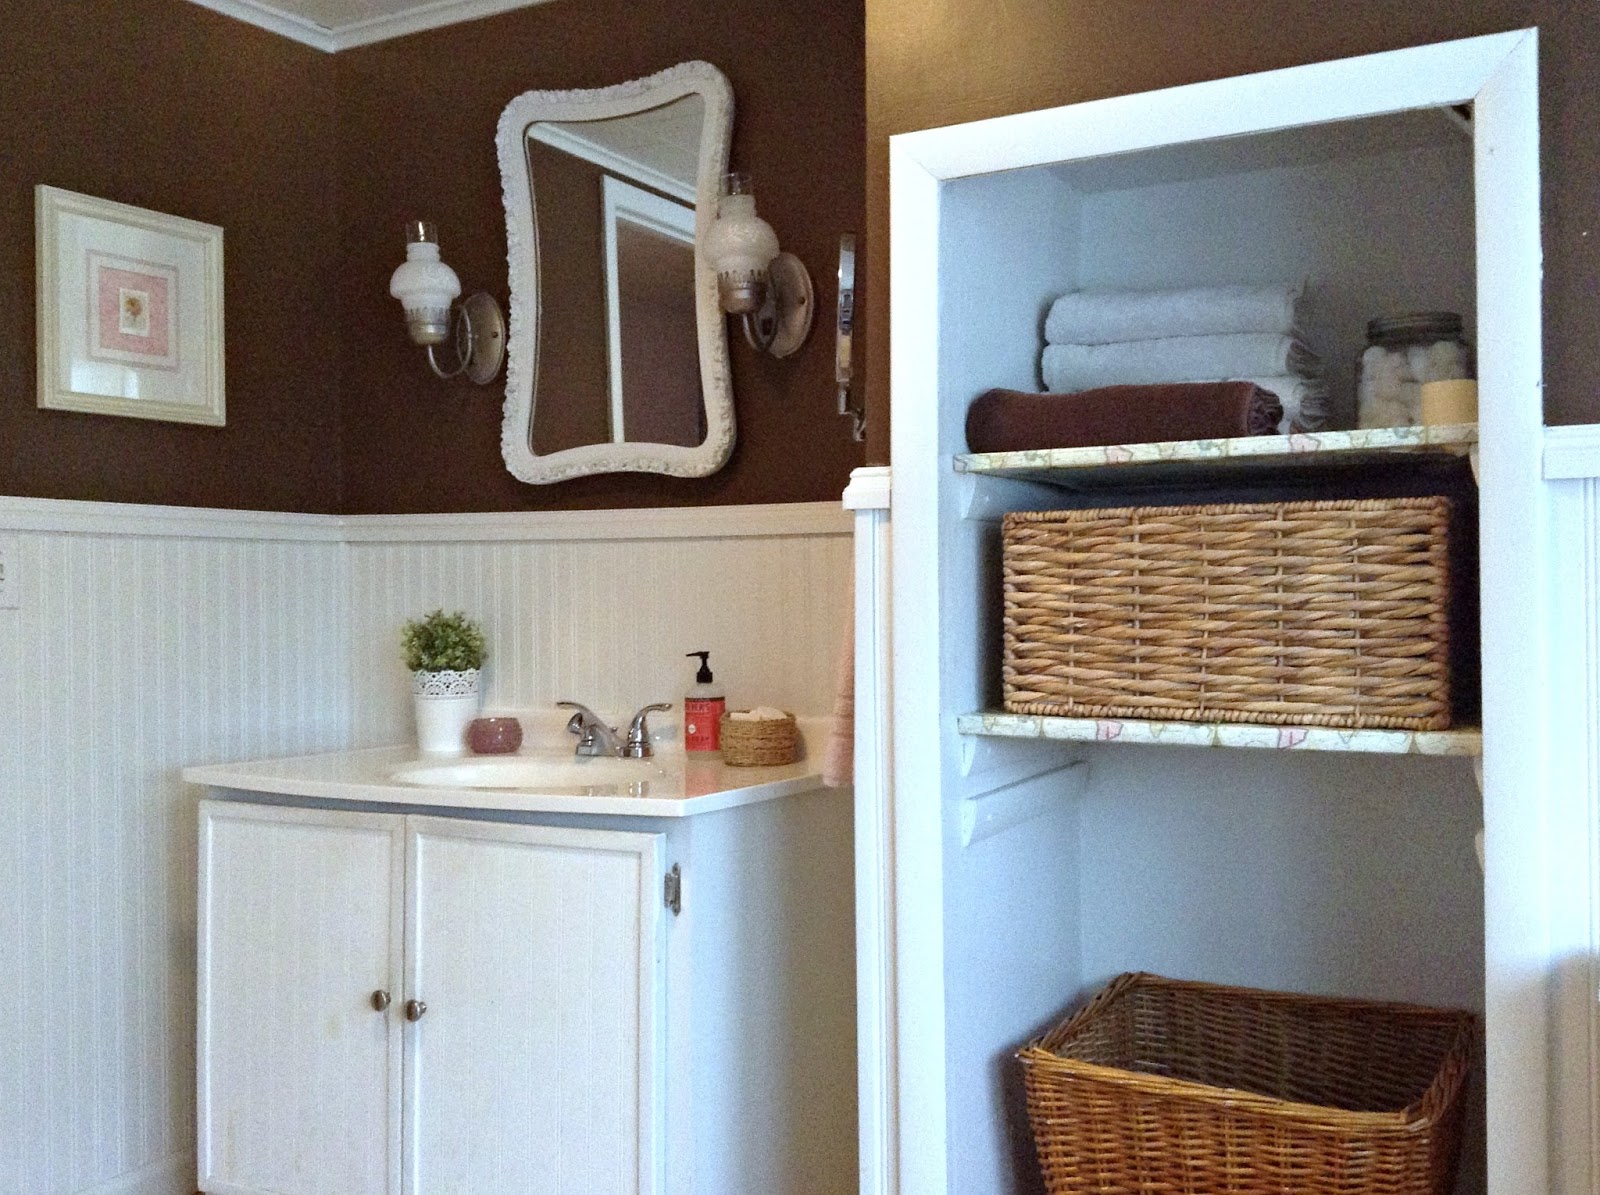
To the left as you enter the bathroom is the sink:


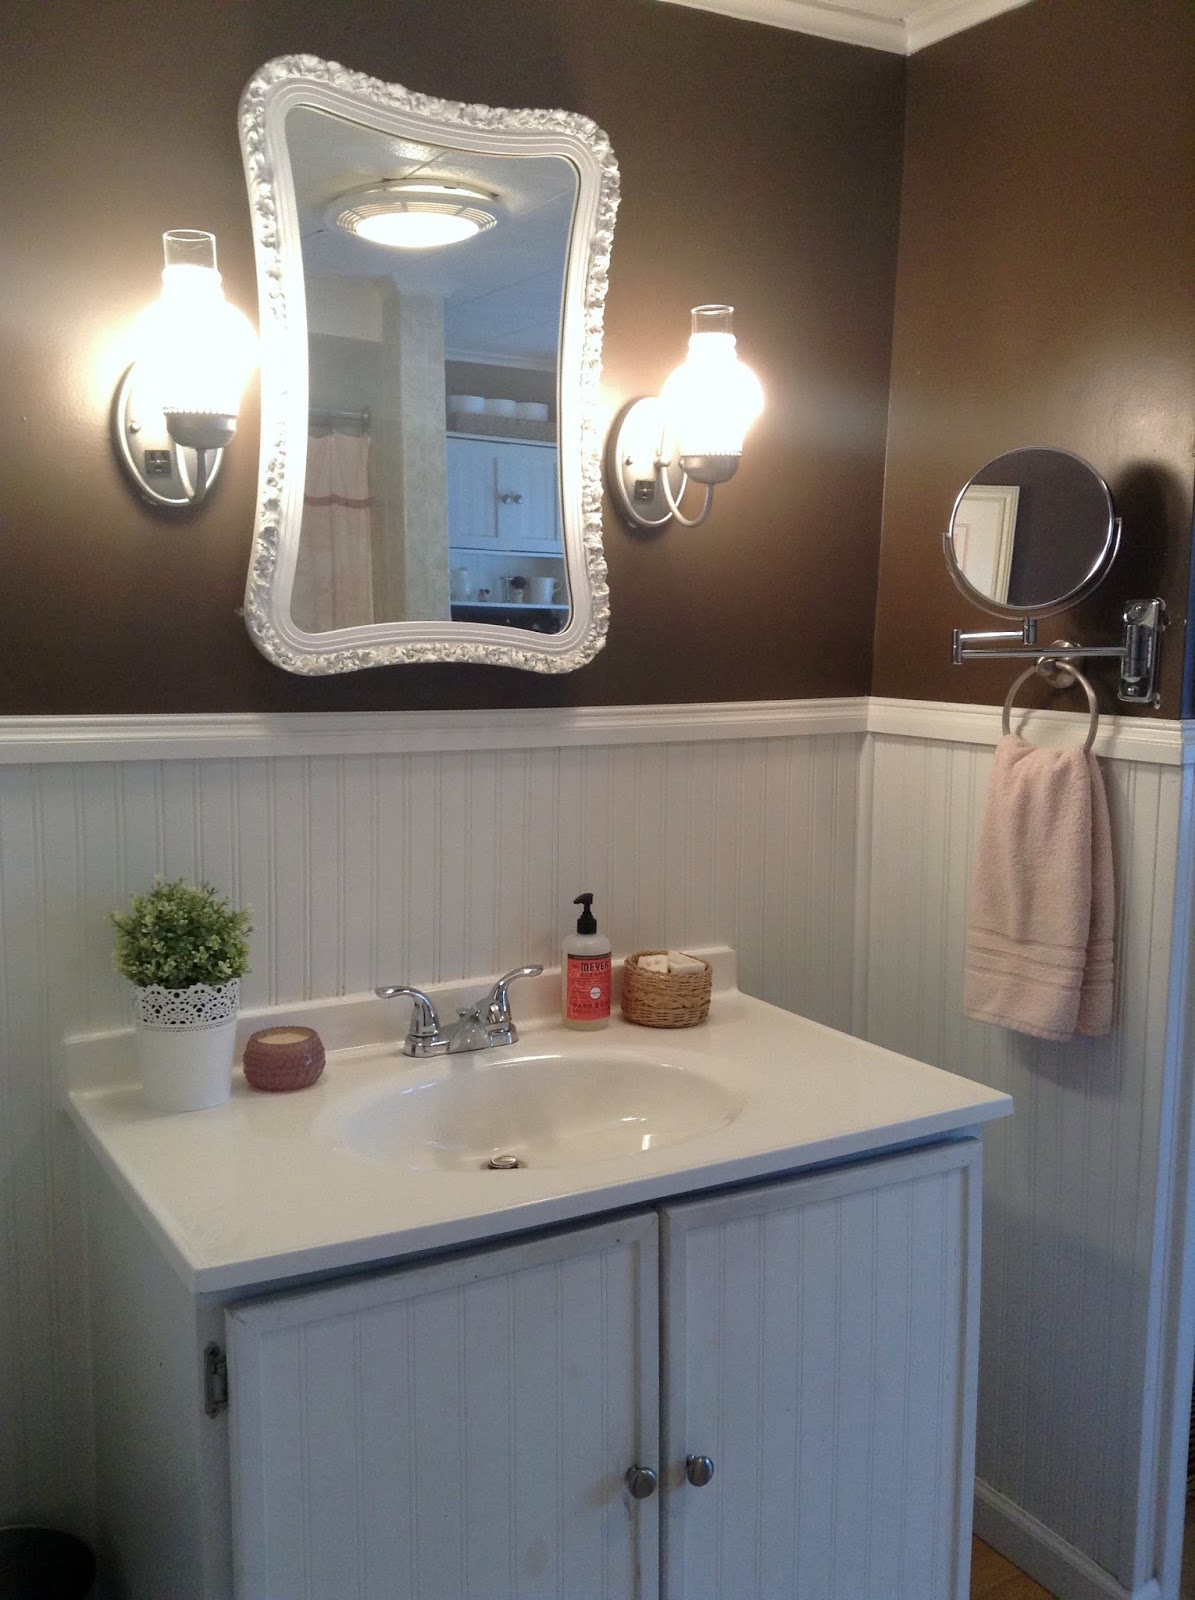
The vanity cabinet has only ever been primed so I need to paint it.


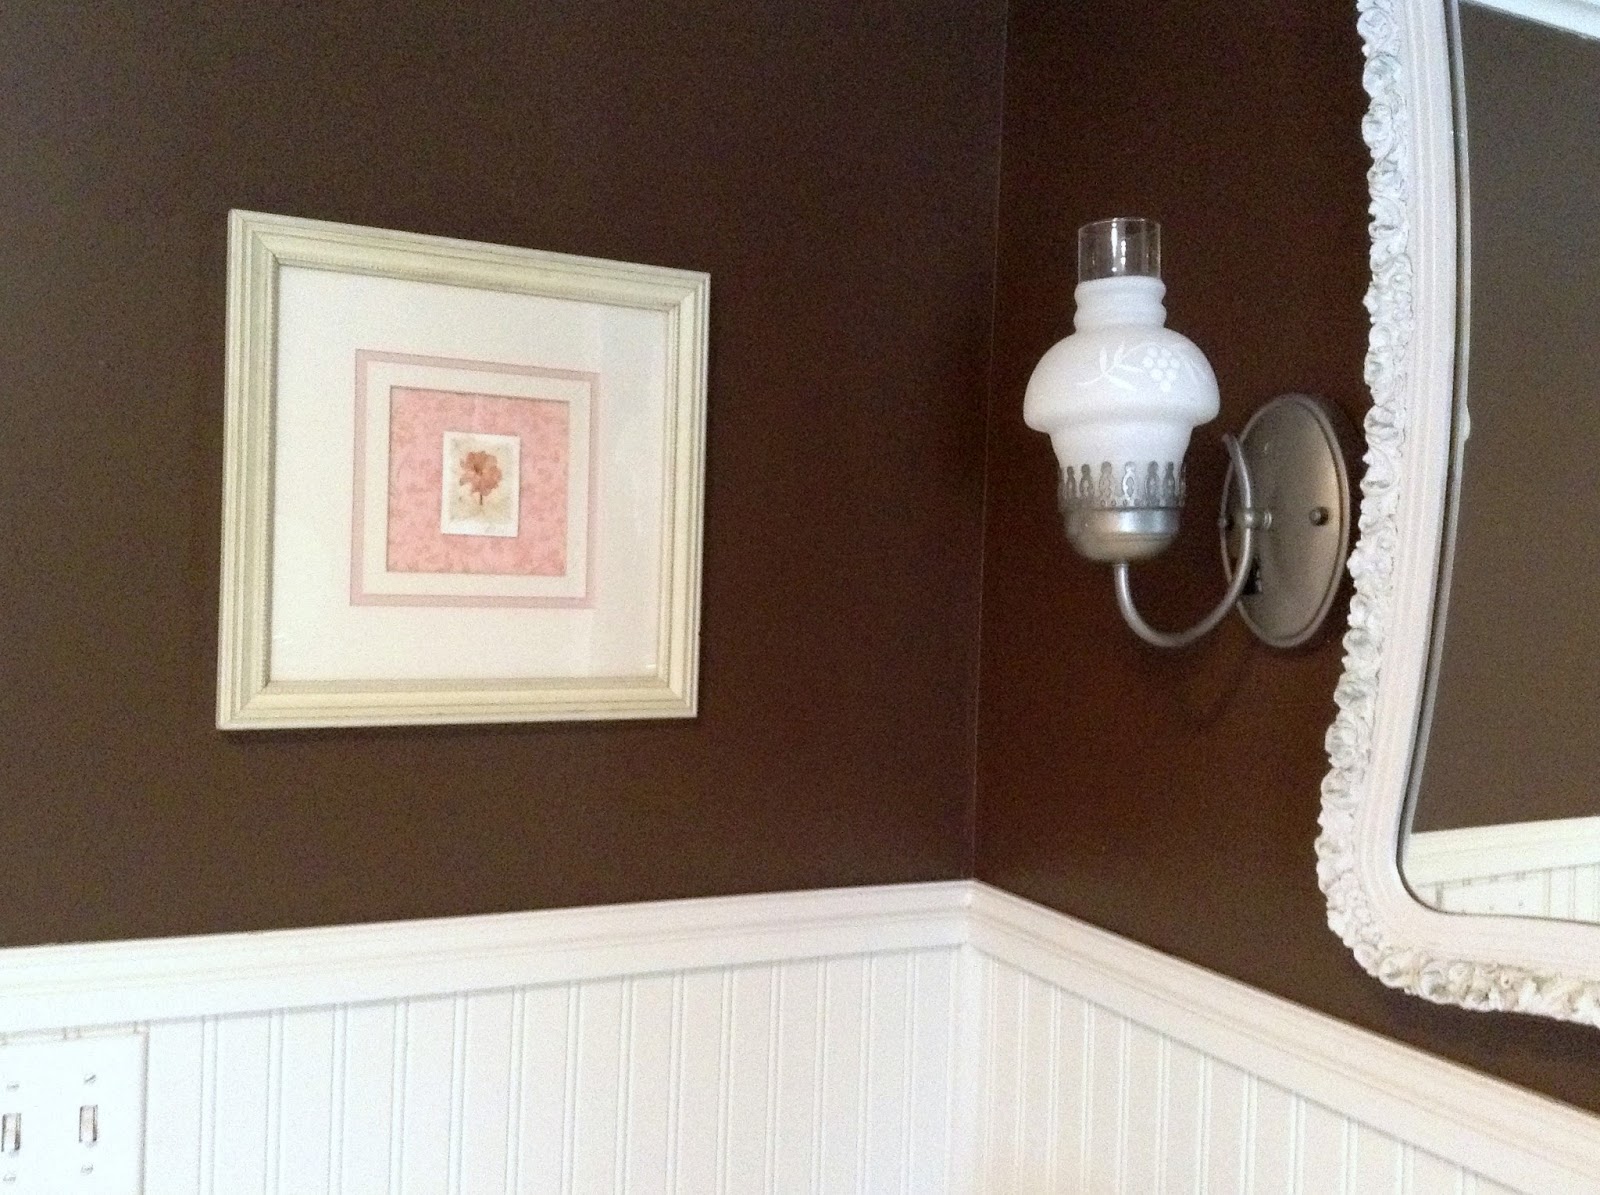
I love the beadboard, the fancy mirror/medicine cabinet, and the vintage wall sconces. They go well with the shabby chic vibe I already had going with my pink toile shower curtain.


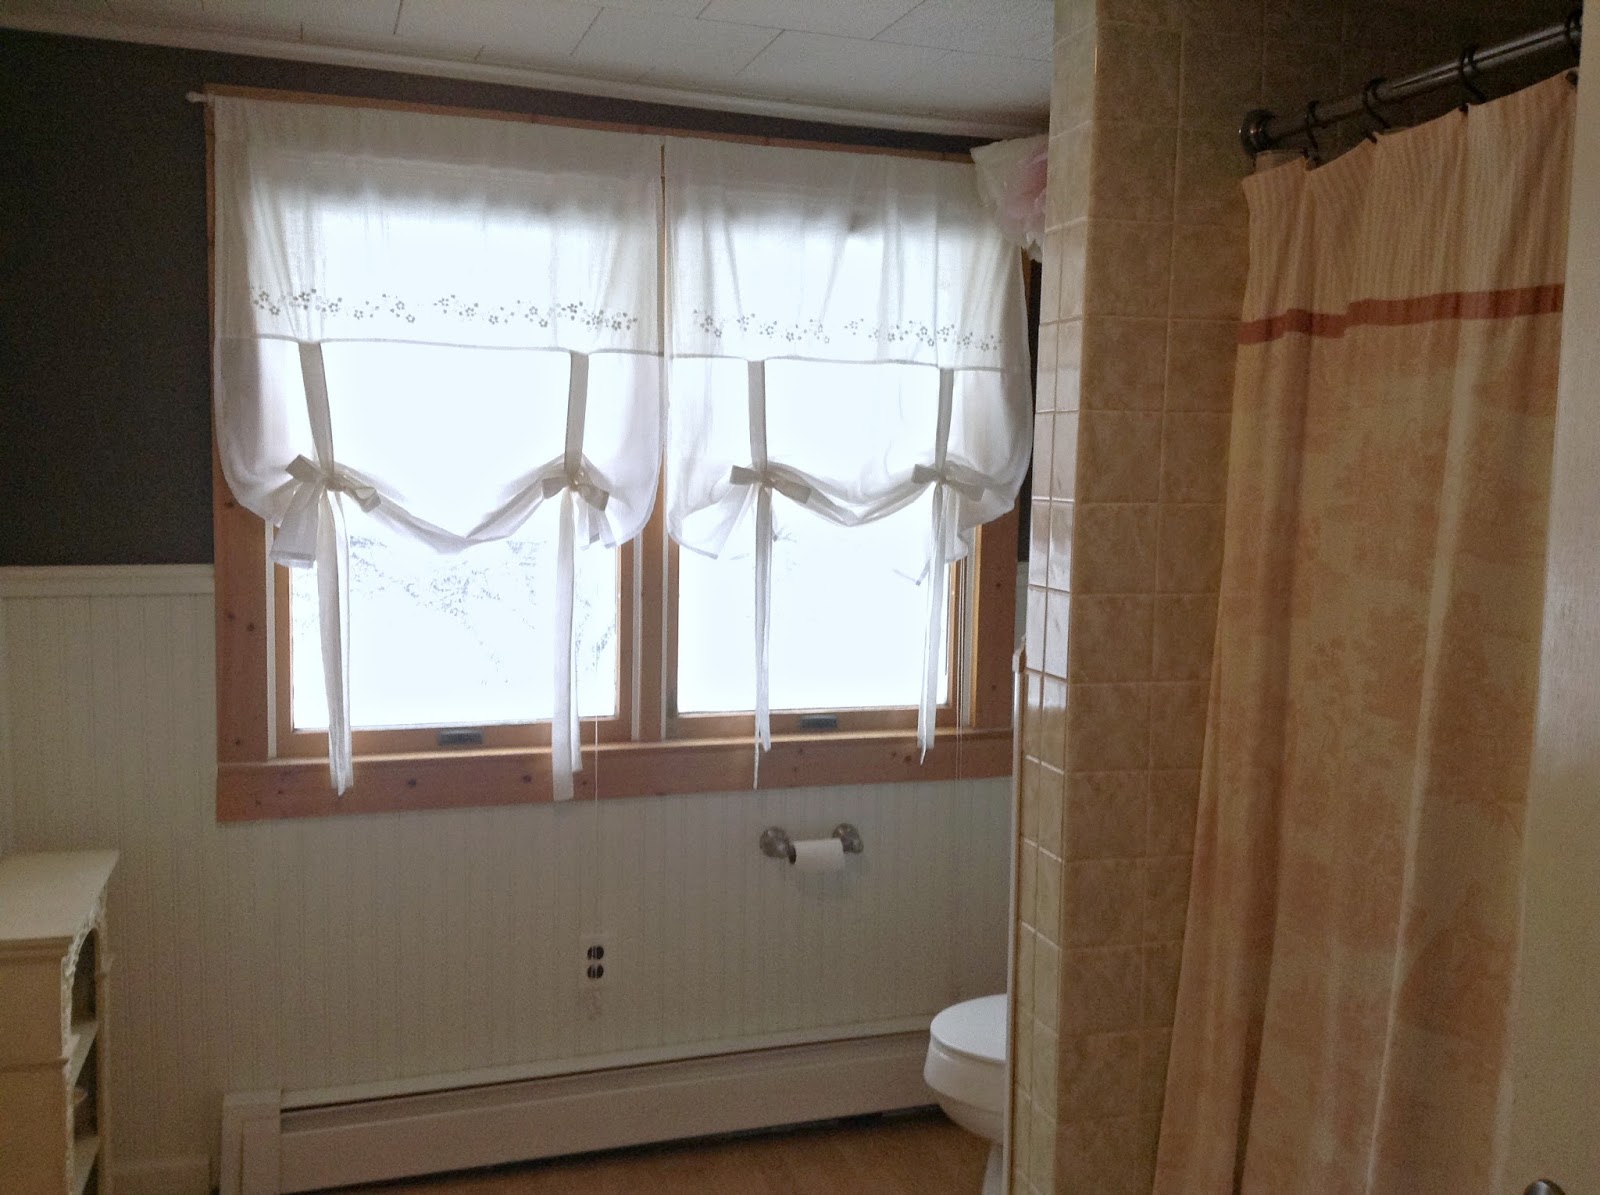
And to the right when you enter the bathroom is the shower:

Behind the shower curtain is an avocado green tub and some tile that is in desperate need of re-grouting. It isn't very attractive. I didn't think you really needed to see it. You can take my word for it.

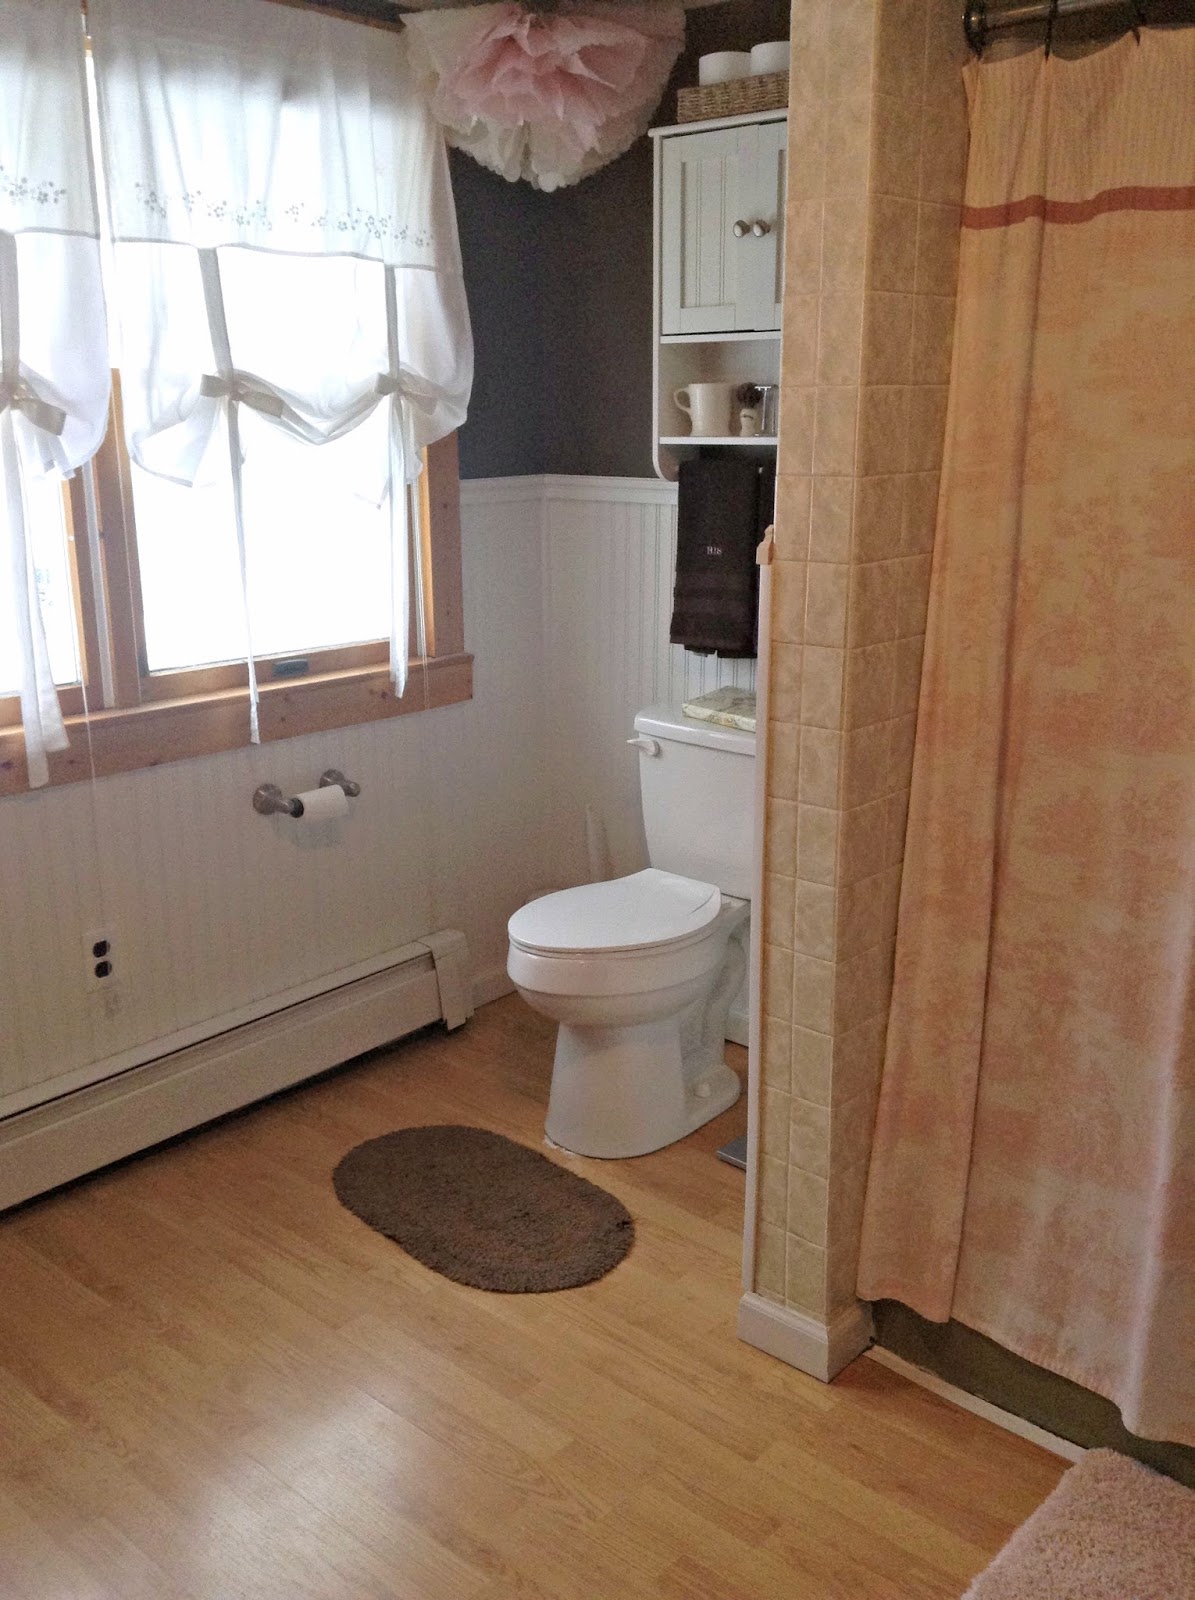
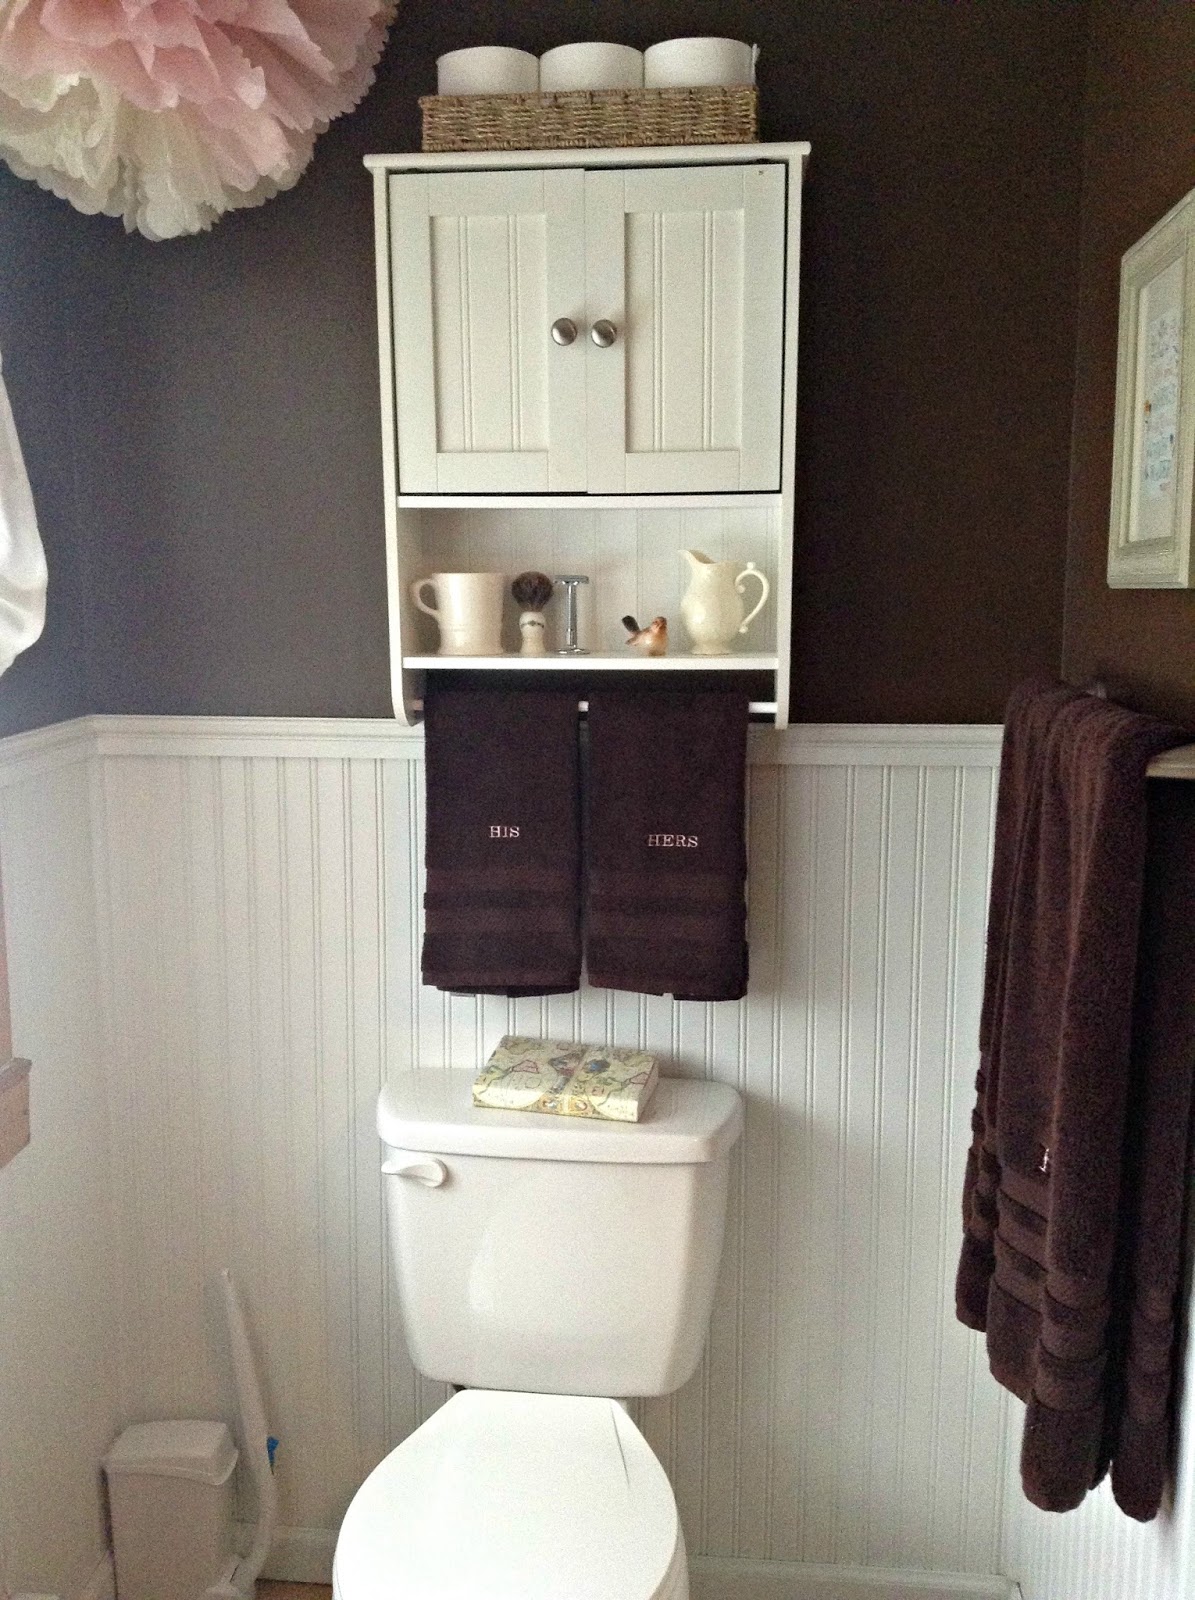
Between the shower and the outside wall is the toilet:


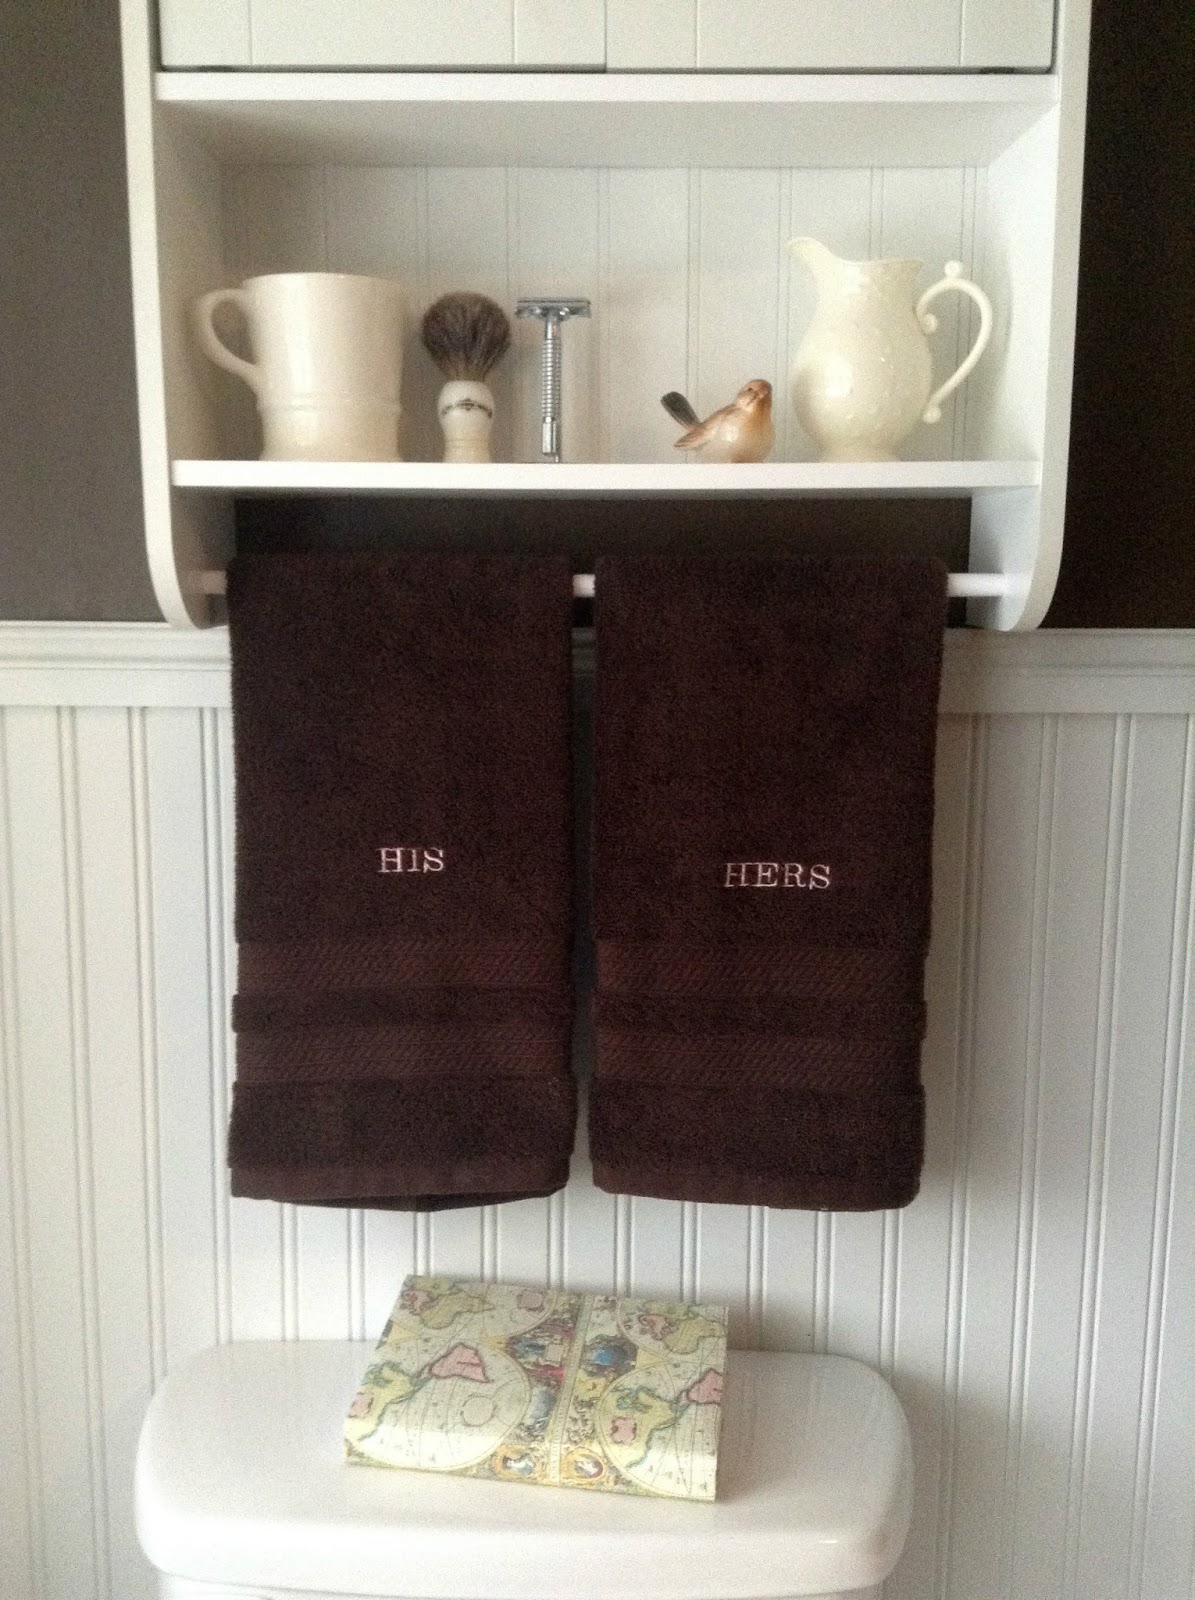
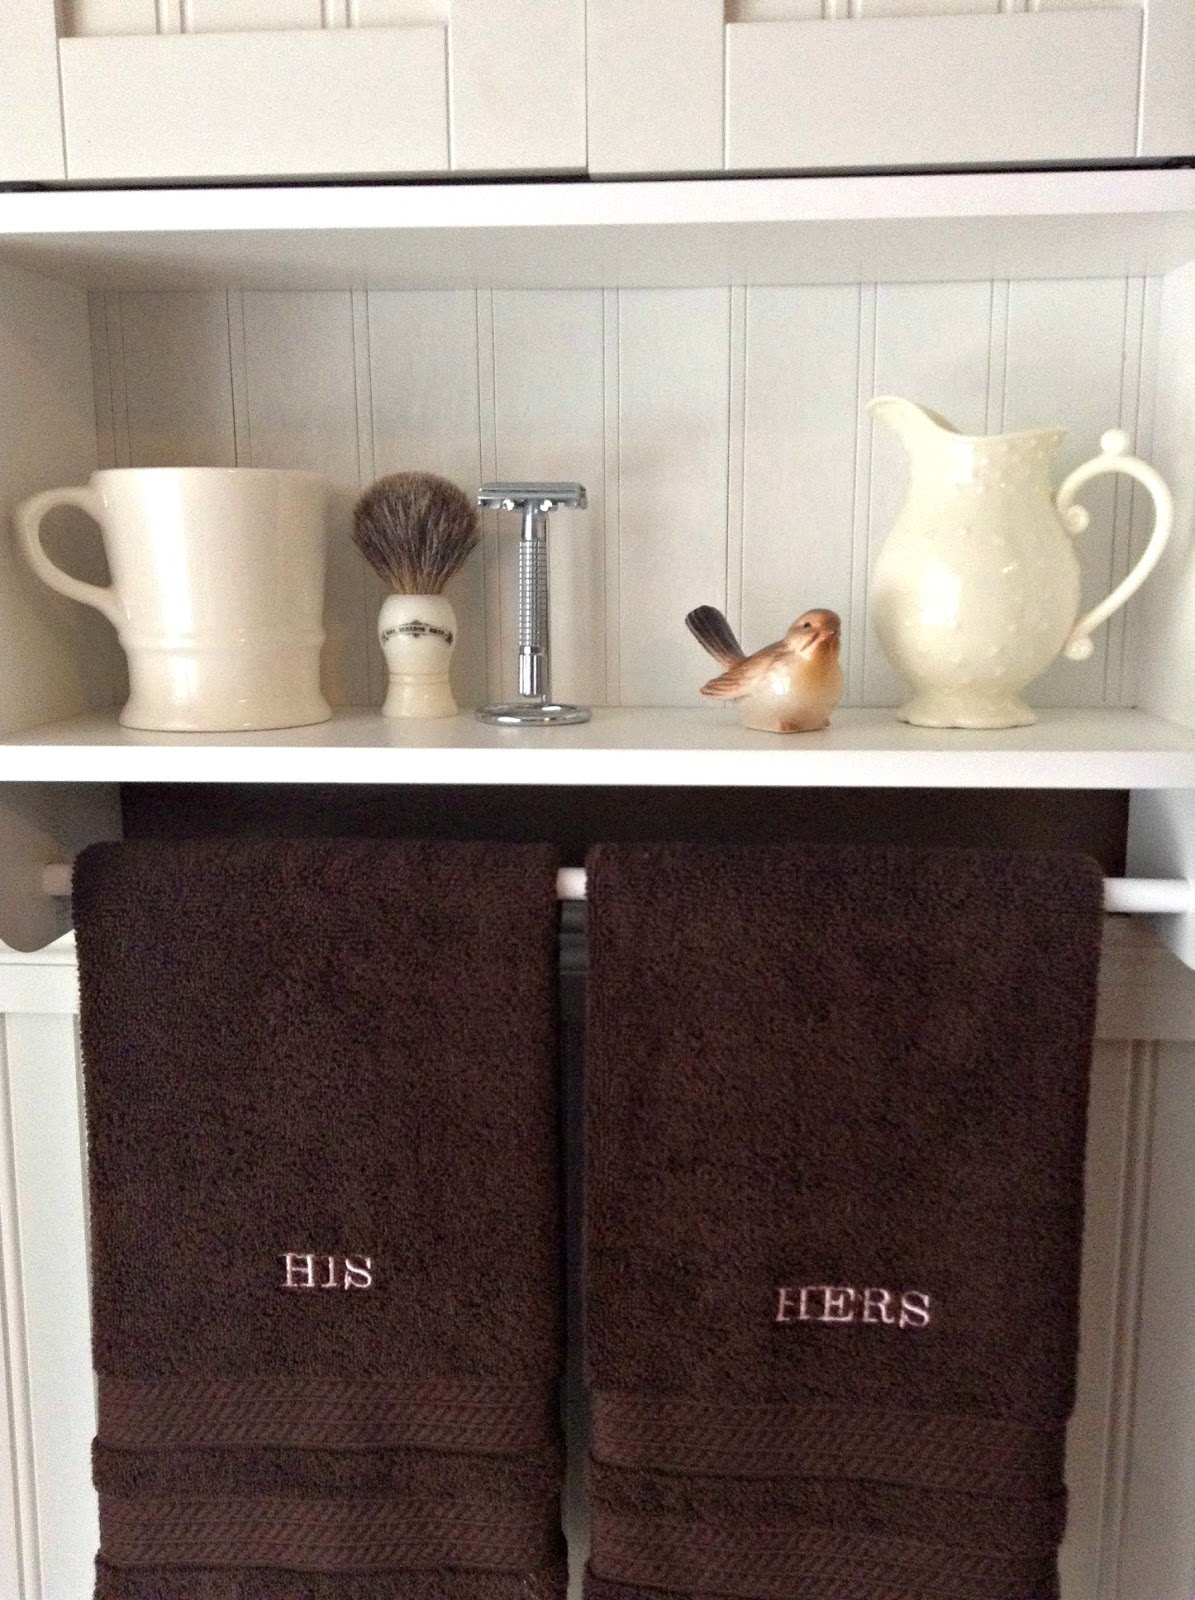
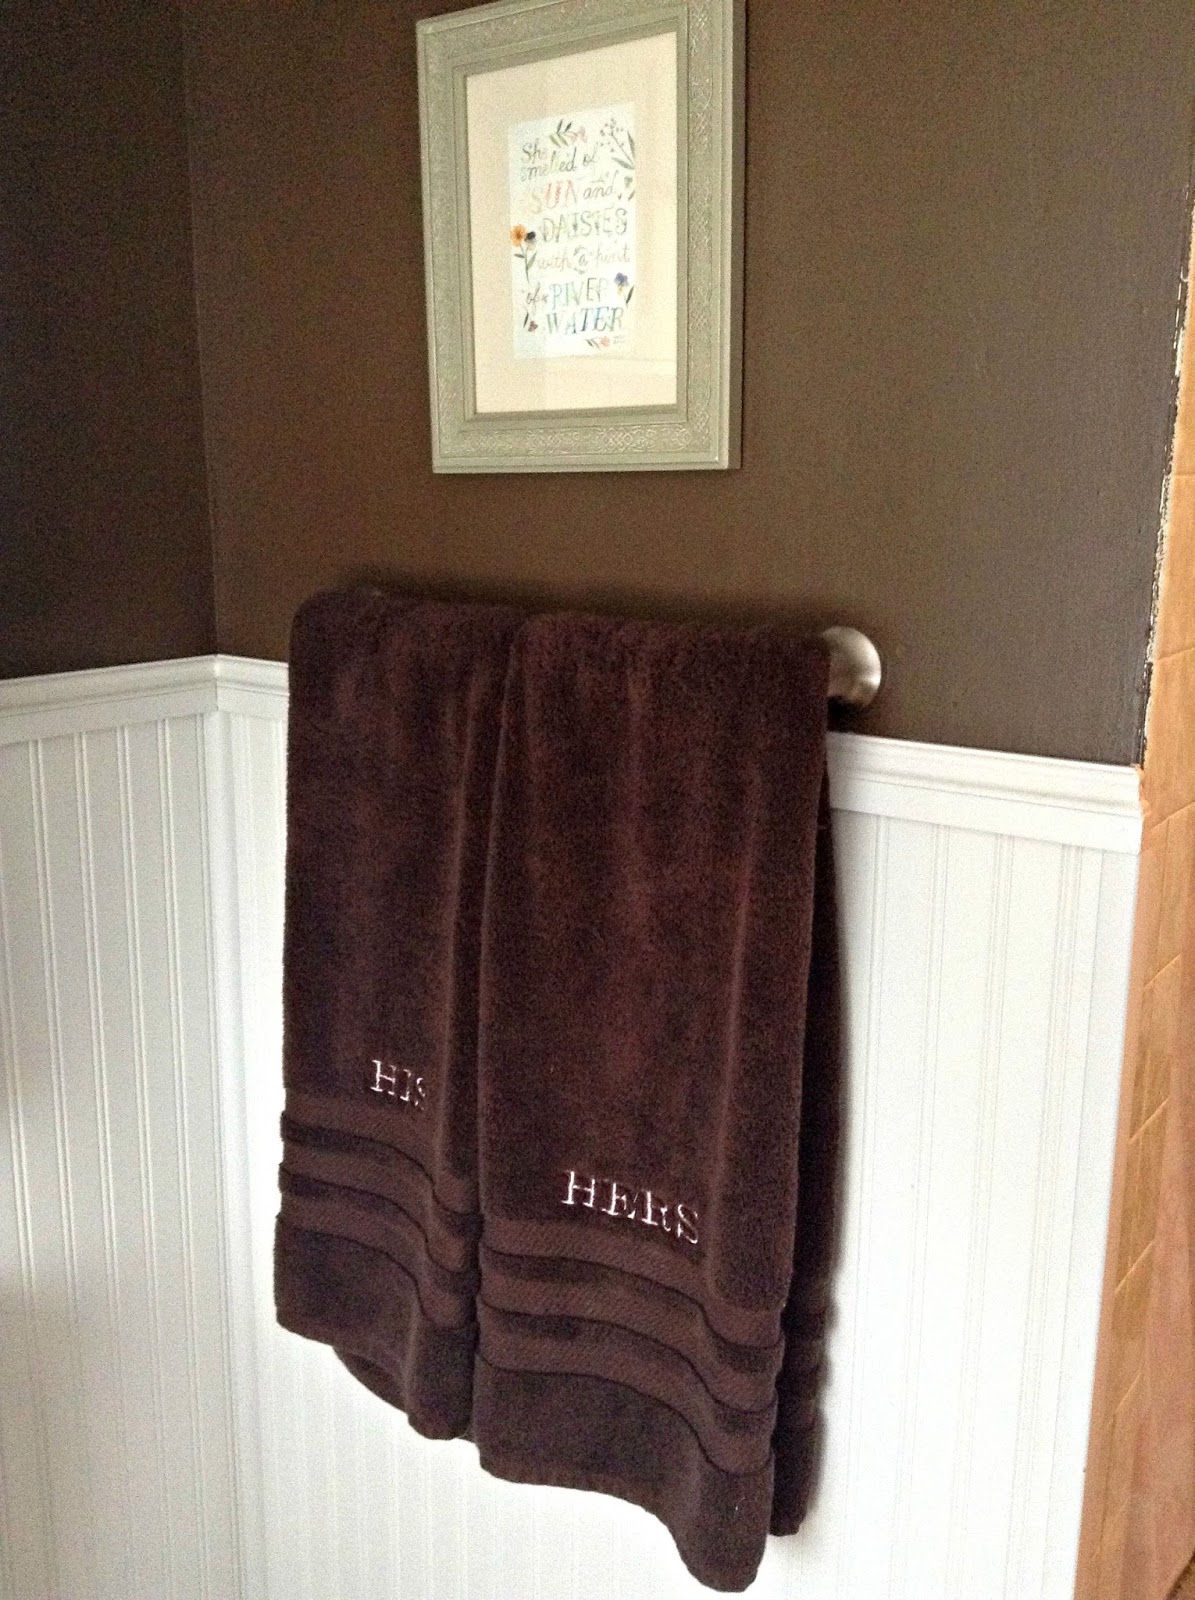
I love my HIS and HERS towels that my mom made for us. Aren't they fun?


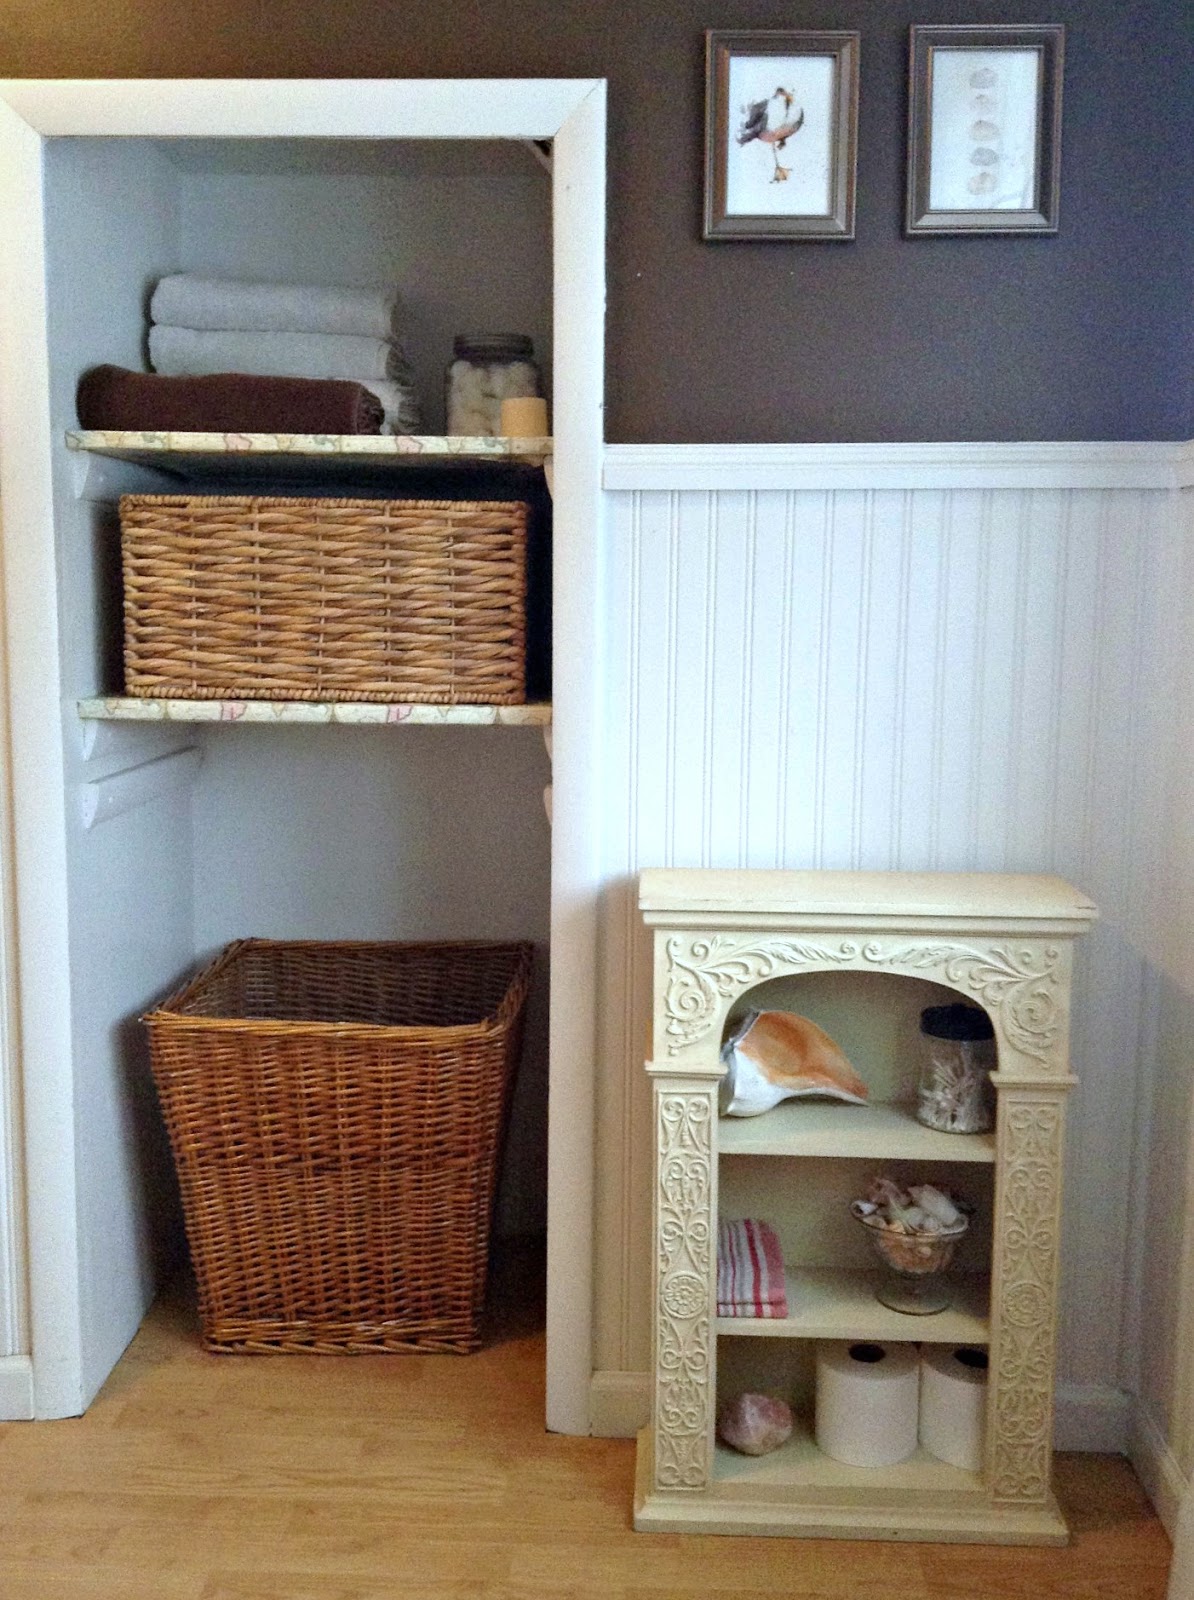
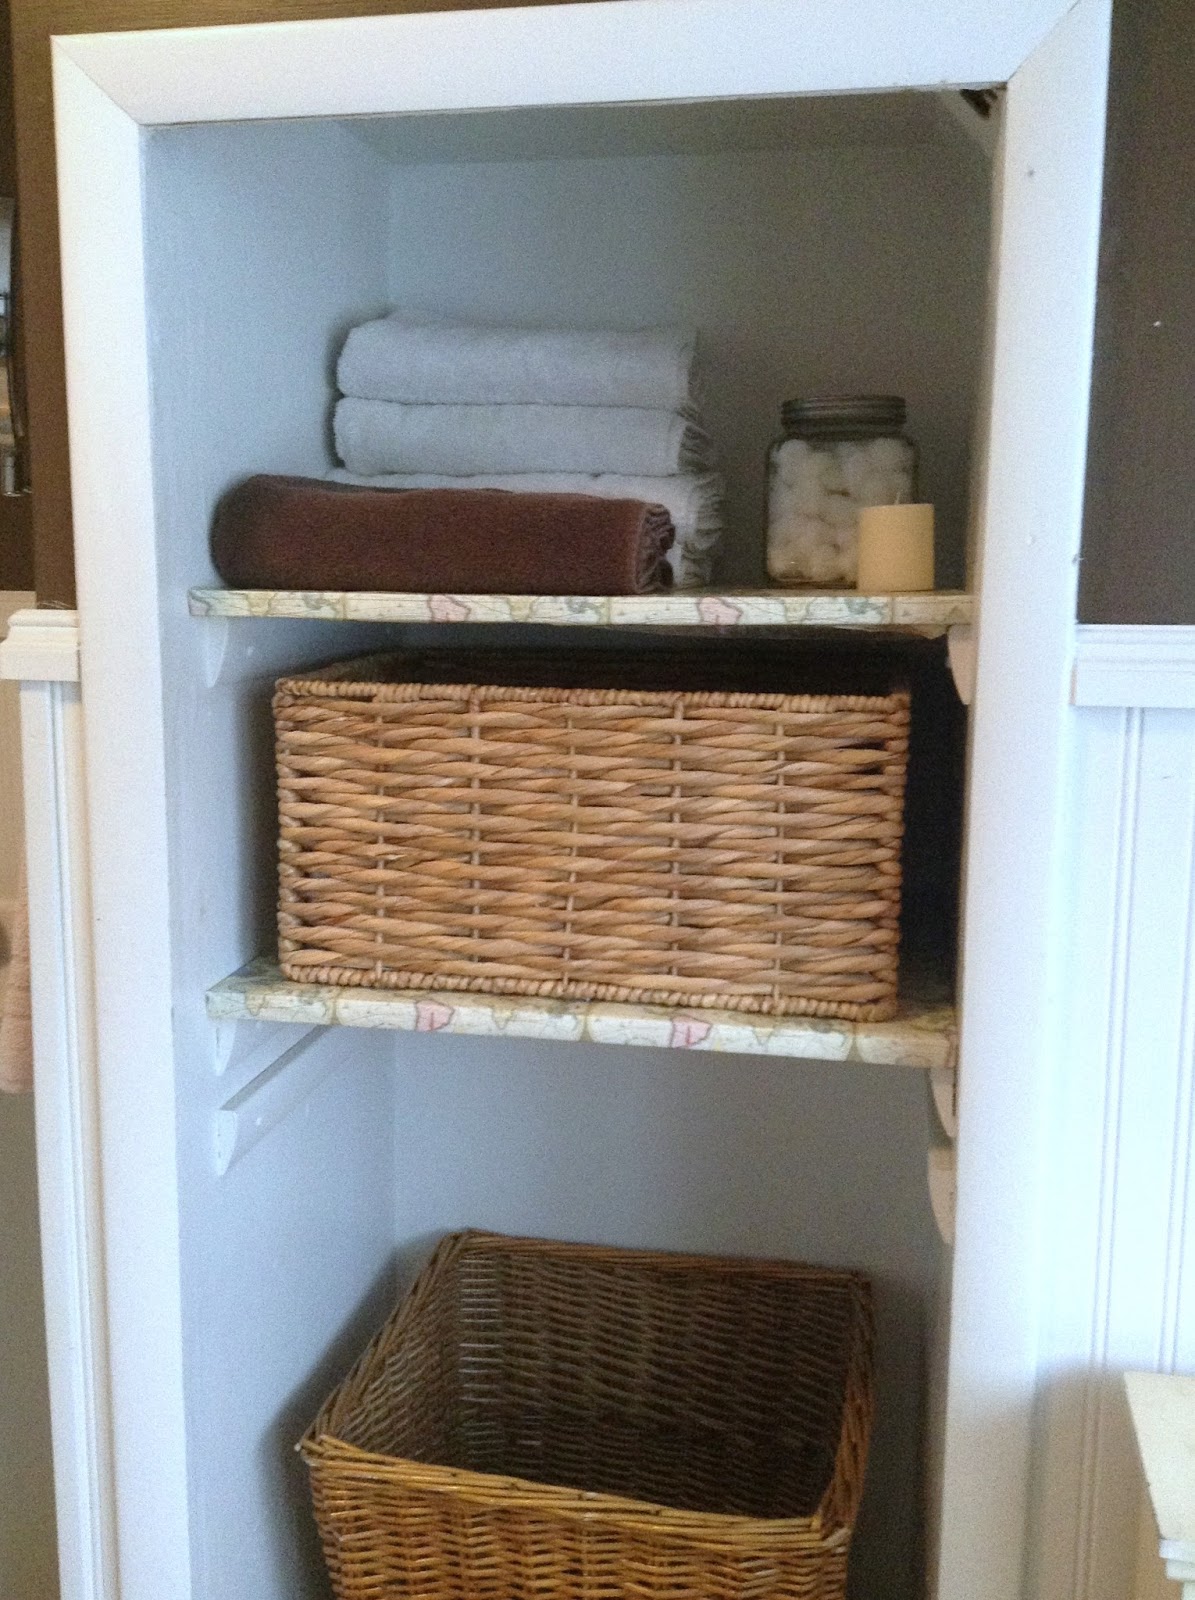
Across from the toilet there is a little cubby hole shelf area for towels and stuff, and a laundry basket:


This little curio cabinet (above) is just sitting on the floor right now until I decide on a permanent home for it. I don't love it here but it is functional and not unattractive so for now it is fine there.


That's it--my shabby chic, pink and brown, upstairs bathroom with the 70s avocado bath tub. What do you think?


Short term updates:
--Re-grout shower tile
--Caulk around tub and fixtures
--Paint vanity cabinet
--Paint around windows
--New curtains (the current ones are okay but one of them is stained from where a mud dauber wasp -built a nest ON the curtain last summer when it found a way through the window screen).
--Find a spot for the curio cabinet
--Refresh wall and ceiling paint in a few spots as needed

Dream home updates:
--Knock out the little cubby wall and expand the vanity area to allow for double sinks.
--Get rid of the avocado tile and tub altogether and replace with something more updated.
--Replace the floor that was water damaged when one of my children (who shall remain nameless) flooded the bathroom two Thanksgivings ago by plugging the sink, leaving the water running, and shutting the door so no one knew what was going on until water started pouring through the living room ceiling.
--Replace the tile ceiling with a drywall one.
--New overhead light fixture/fan.